Author Archives: Alyssa

Crunchy Omelette

A great way to get your vegetables in the morning! Crunchy Omelette is a great healthy way to start your day!
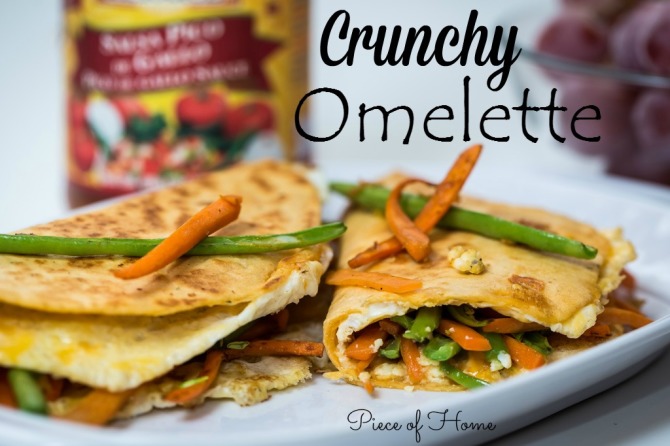
Crunchy Omelette  - Piece of Home

We stayed at a hotel the other night that came with an included breakfast at a nearby restaurant. We were served something similar to this omelette and I did my best to re-create it at home!

It’s a little crunch with a little spice (if you like) and the perfect way to start out the morning! We absolutely love this breakfast!

Slice up some carrots and green beans and roast them until they are a little tender. Not too much because the crunch is the best part in this omelette!
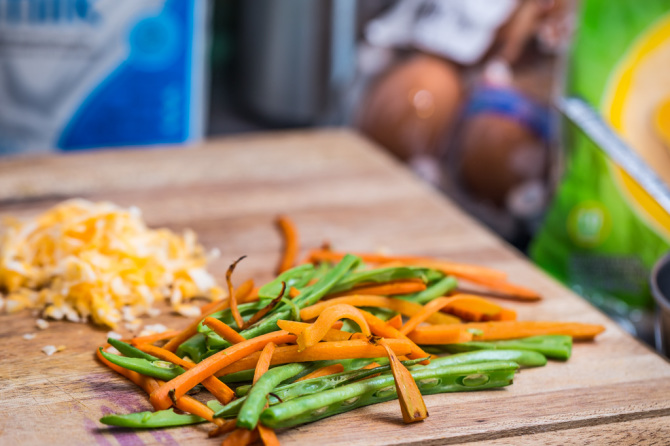
Crunchy Omelette - Veggies Toasted

Next, whip up 2 eggs. You can add a little milk if you like.
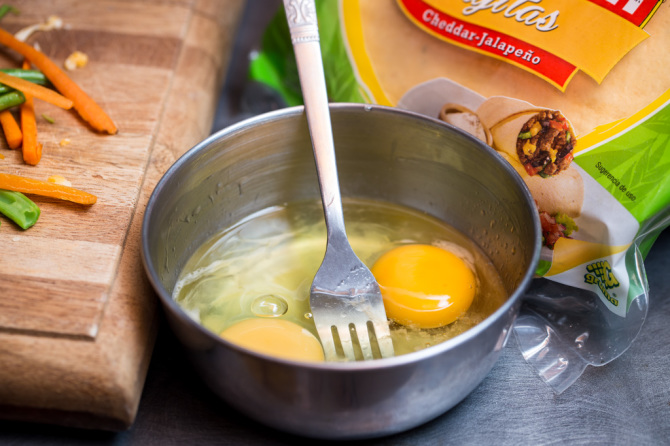
Crunchy Omelette - Whip Eggs

Add some oil. This part is optional and I usually don’t add the oil to my eggs but to get that restaurant flair, it’s crucial! Add salt, pepper, and any other spices you love with your eggs.
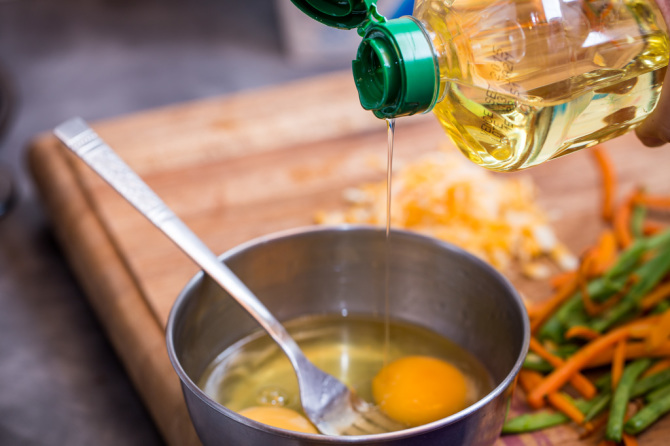
Crunchy Omelette - Add Oil

Add the eggs to a hot oiled pan. I am so in love with these Cast Iron Pans we have been using. The home we are living in has these pans as their primary pans so I have really gotten used to them!

I had one when we first got married but thought it was such a hassle so we never used it. I’m totally convinced now!
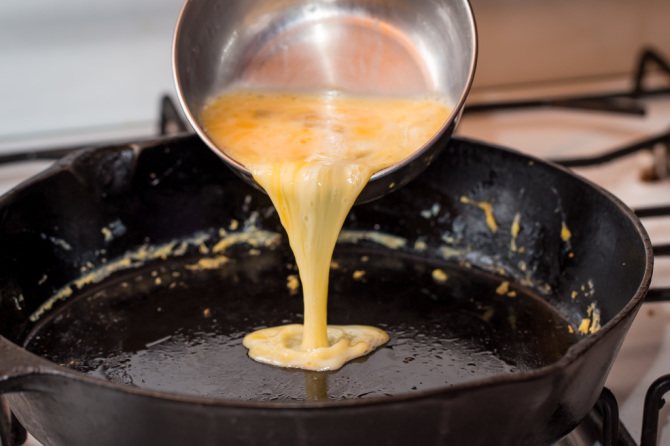
Crunchy Omelette - Pour Eggs in Pan

Let the egg simmer on low until it is cooked well enough to flip over.
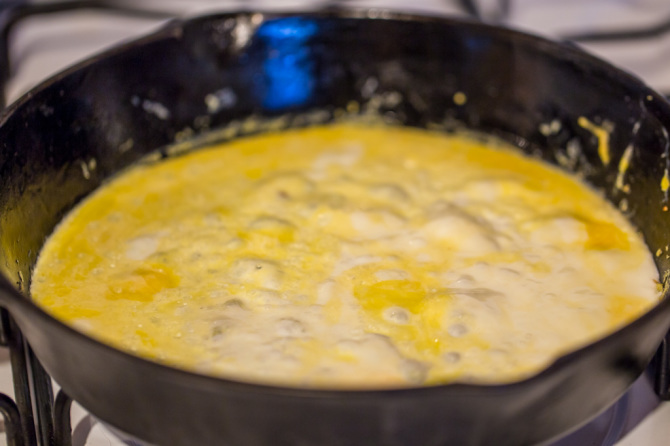
Crunchy Omelette - Cook Omelette

Sprinkle some cheese on top and wait a little so it melts.
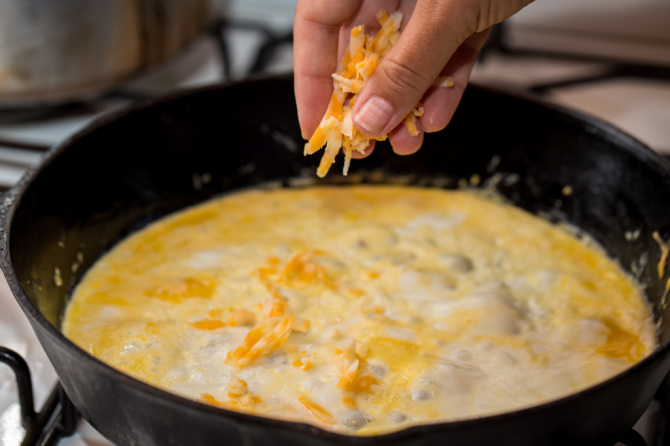
Crunchy Omelette - Add Cheese to Omelette

Place a tortilla on top of the melted cheese. This should help it stick to the egg mixture. We used Jalapeno Cheddar Tortillas so it gave the omelettes a delicious spice!
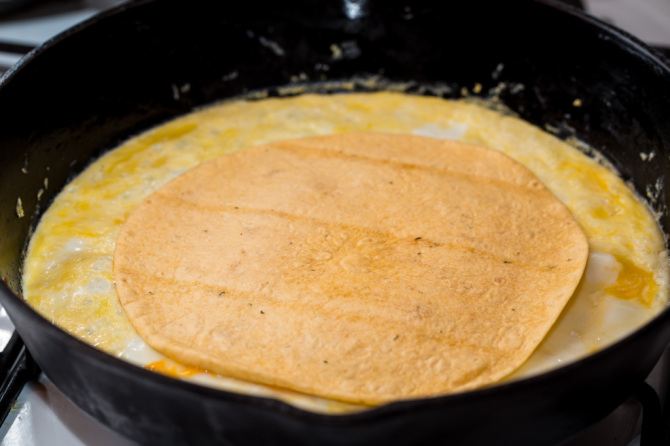
Crunchy Omelette - Place Tortilla on Top

If you are using a big pan like I was you will have to trim off the extra egg or use a bigger tortilla. Once you trim it off then flip the omelette so the tortilla is on the bottom.
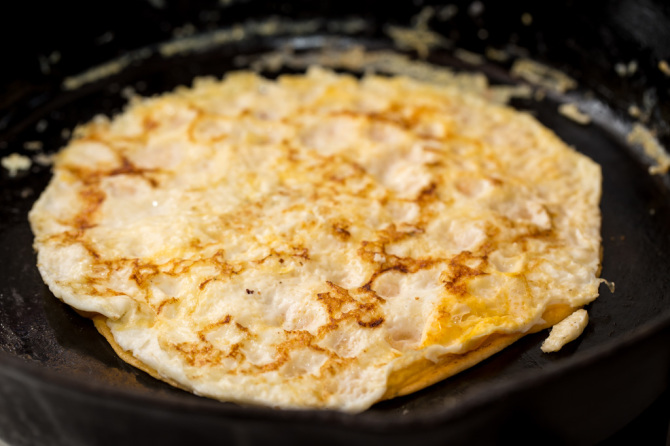
Crunchy Omelette - Flip Omelette

Now add the veggies that you roasted earlier.
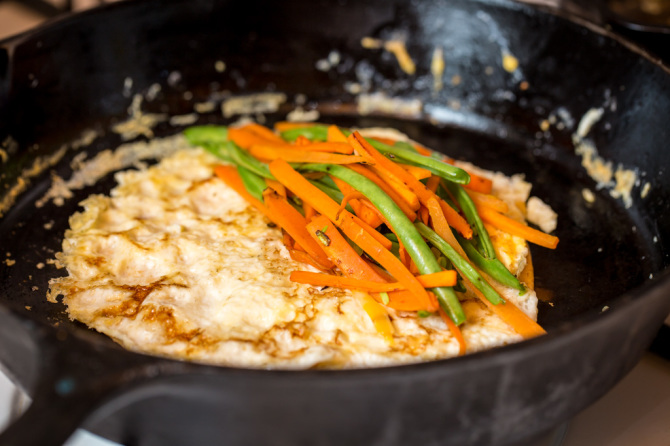
Crunchy Omelette - Add Veggies

Sprinkle a little cheese on top so the “lid” will close.
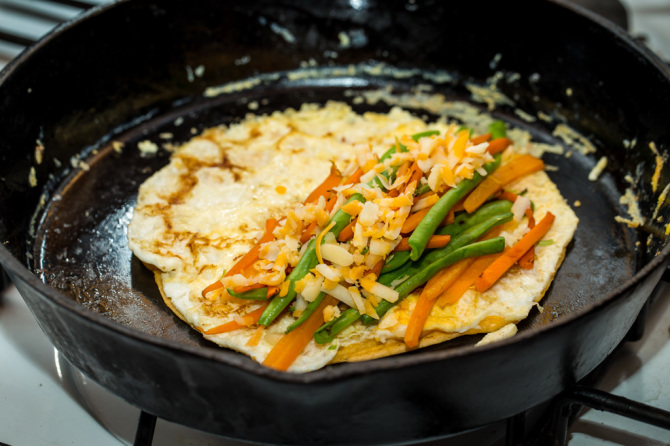
Crunchy Omelette - Veggies and Cheese

Fold it over and let it toast on both sides so the tortilla is toasted and the cheese is melted.
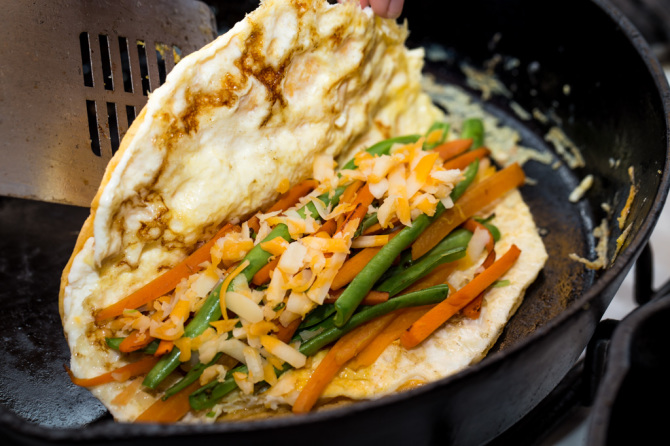
Crunchy Omelette - Fold

It should be really stuffed because after all, this is your morning breakfast and you want all those veggies you can get! Serve with some salsa on top!
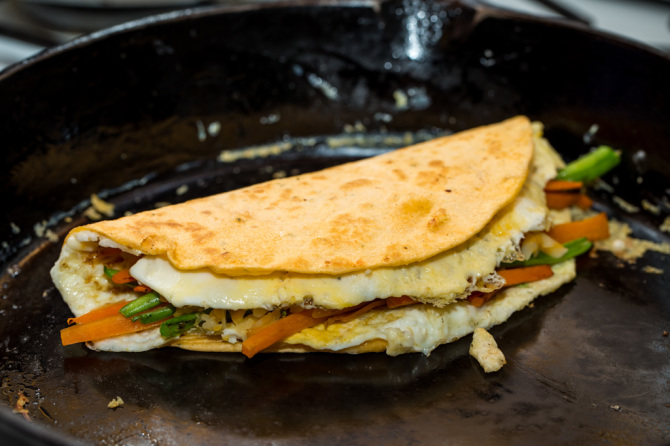
Crunchy Omelette  in Pan

Crunchy Omelette

Ingredients:

2 eggs
1/4 cup green beans, thinly sliced
1/4 cup carrots, thinly sliced
1 Tablespoon milk
1 Tablespoon olive oil
1 tortilla or tortilla wrap
1/4 cup cheese, divided
salt & pepper

Directions:

1. Thinly slice about a half a cup of carrot and green beans. You want them as thin as possible. Don’t worry about the beans in the green beans, just cut right through them.

2. Add the vegetables to a hot pan and roast until tender and somewhat browned. Set aside.

3. In a small bowl, mix two eggs with a Tablespoon of milk and oil (both optional)

3. Pour the eggs into a hot oiled pan and let it simmer until cooked well enough to flip.

4. Using half the cheese, sprinkle it on top of the egg mixture and let melt. Place the tortilla on top of the cheese and flip.

5. Add the roasted vegetables and a little more cheese on top. Fold omelette and let the tortilla toast on both sides. Serve warm with salsa. Enjoy!
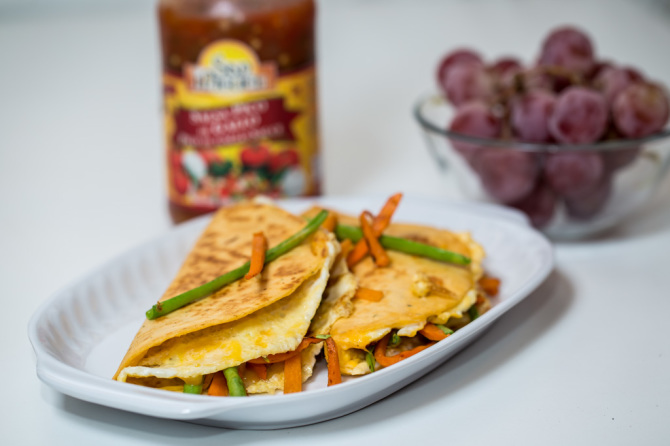
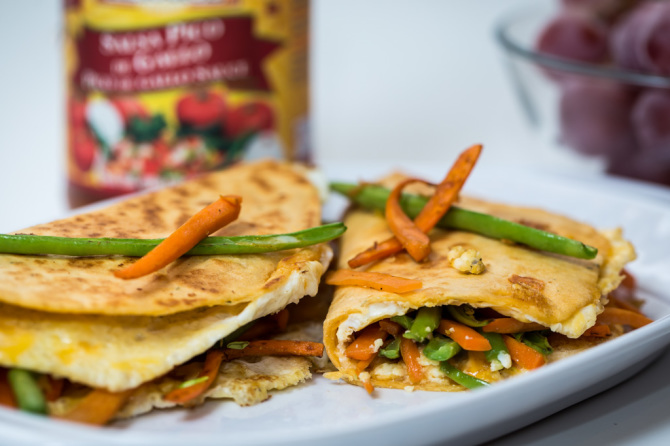
Crunchy Omelette

Crunchy Omelette  2

Hope you enjoy these recipes! Don’t forget to check out some more delicious breakfast recipes here!

If you like what you see, don’t forget to follow me on Pinterest, Facebook, and Twitter!

Alyssa Signature

Read More

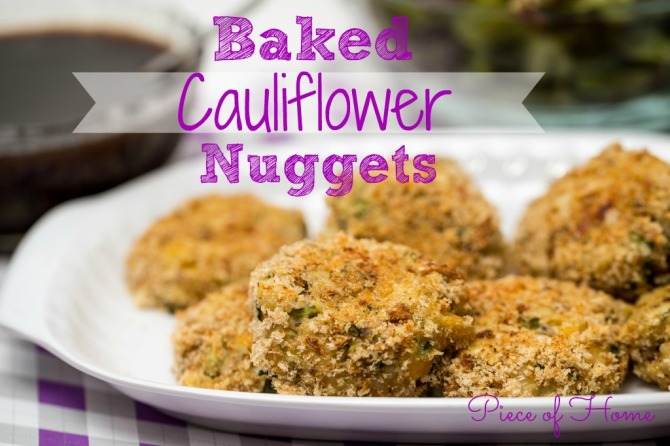
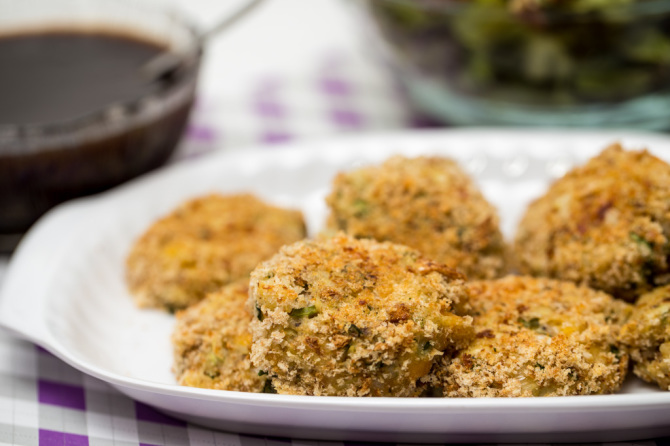
Baked Cauliflower Nuggets

These little Cauliflower Nuggets have a little secret! Shhh…. They are made with vegetables and are healthy! Not that you would have any idea by the taste! Get out your sauces and start dippin’! 

Cauliflower Fritters Piece of Home

You’ve heard of all the different types of fritters, I’m sure. Well….let me tell you. No need to look any further!

When I hear the word nuggets, I automatically think..Yummy! It just has that appeal to it. These Baked Cauliflower Nuggets did not disappoint!

Wait. Back up a minute. Did you say Baked? Yep, you got it! Healthy, I tell you. Dig in!

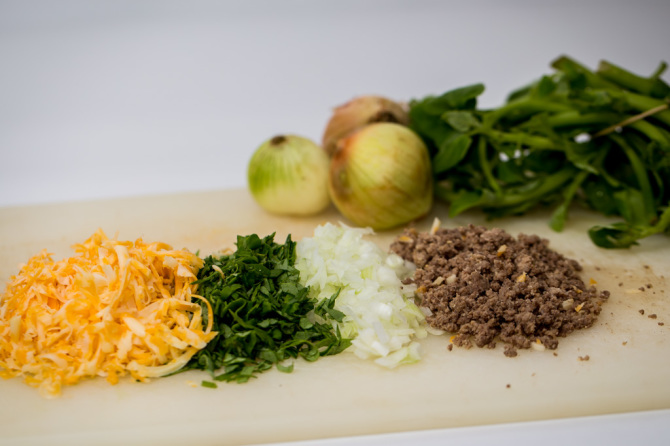
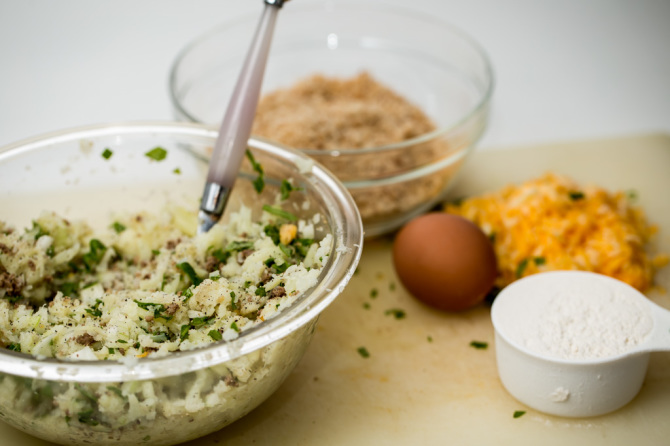
Start by prepping all your add-ins. You can add whatever sounds good to you! This time I added cheese, spinach, onion, and ground beef.

Cauliflower Fritters Ingredients

Using a steamer basket, steam the cauliflower in a large pot until tender. You want them really soft so it’s easier to mash.

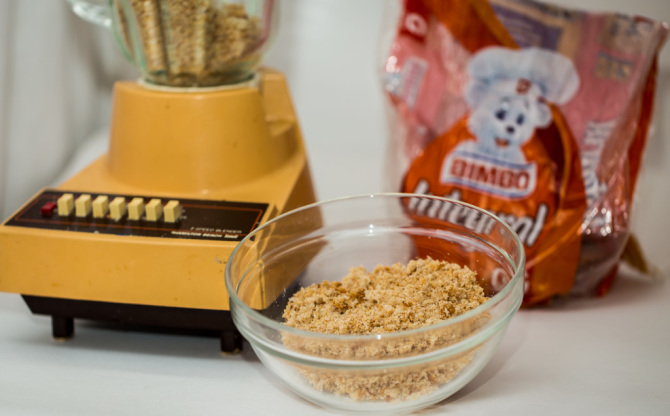
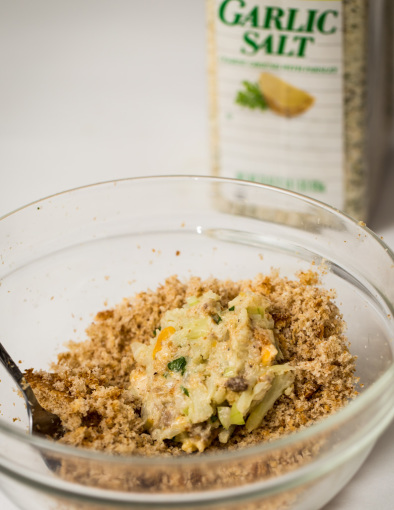
In the meantime, get your breadcrumbs or make them like I did. I blended them up and added some garlic salt for a little extra flavor. Oh, and because I absolutely LOVE garlic salt.

Cauliflower Fritters Bread Crumbs

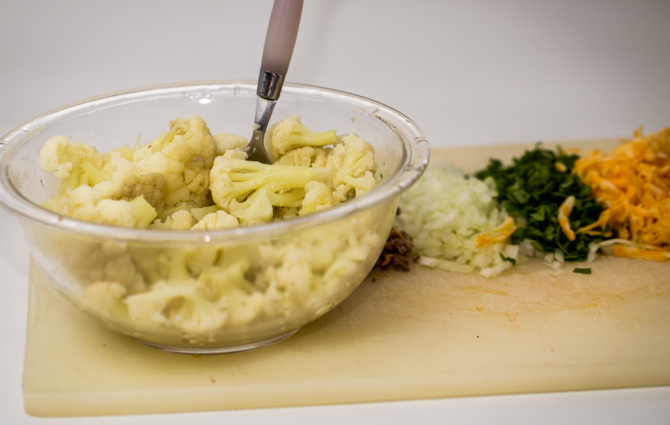
I just used a fork to mash the cauliflower but a masher would work great too!

Cauliflower Fritters Mash

Once it’s all mashed and not too lumpy, add in all the prepared add-ins.

Cauliflower Fritters Ingredients Combined

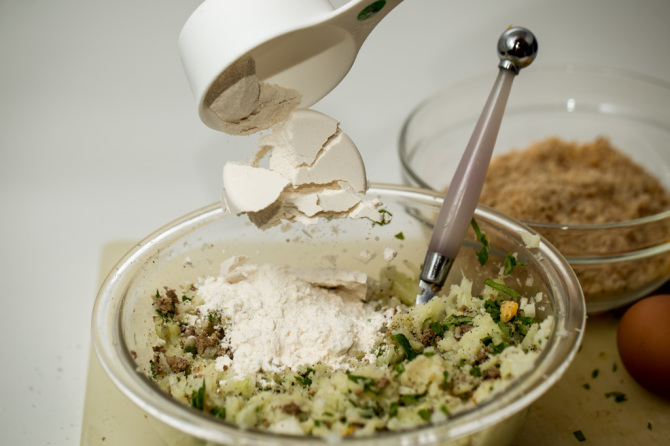
Next, add in a cup of flour.

Cauliflower Fritters Add Flour

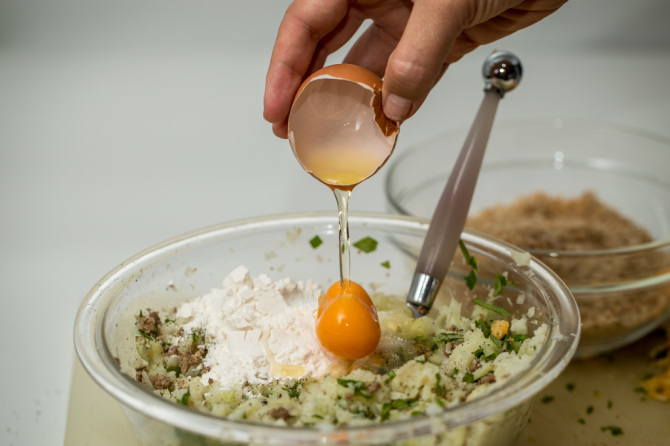
Then an egg – our glue! We want these guys to stick together!

Cauliflower Fritters Add Egg

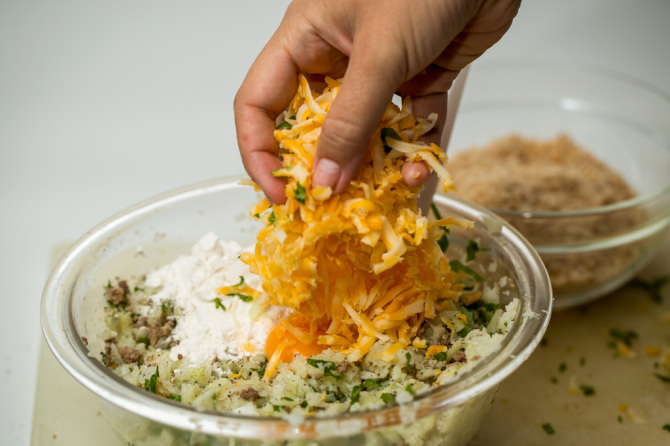
I added the cheese last for some reason. I think it was the dramatic effect I was going for. Just kidding. But really, it looks yummy!

It’s also kind of sad because it was my second to last ration of cheese that I have brought from the States. Just knowing I’m running out is really sad! *sniff*

Cauliflower Fritters Add Cheese

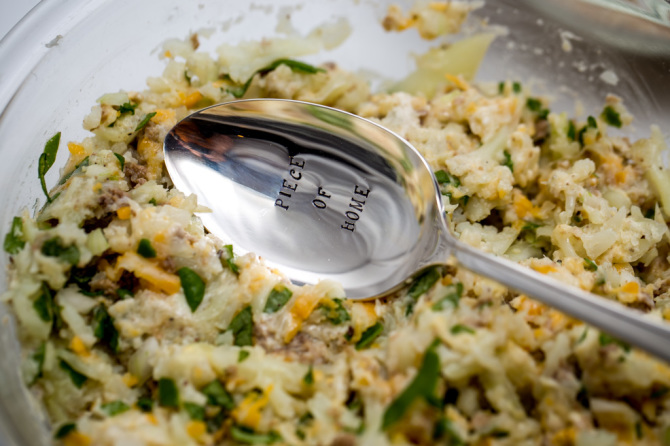
I received a really exciting addition to my kitchen for my birthday present! My very own “Piece of Home” stamped spoon! My brother-in-law and sister-in-law brought it to me when they came to visit. Isn’t it adorable!

I’m so in love and can’t wait to use it some more!

Cauliflower Fritters Piece of Home Spoon

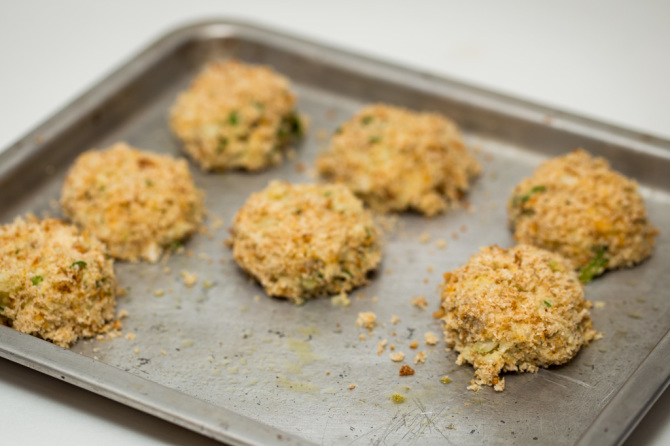
Ok, where are we. The fun part! Preheat the oven to 350F. Make the “dough” into small patties and then roll them into the bread crumbs.

Cauliflower Fritters Roll in Bread Crumbs

Place them all on a tray and pop them in the oven! It’s really that easy.

Cauliflower Fritters Before Baking

These nuggets were a huge hit! My husband rated them a 9! I really enjoyed them as well. It was so hard to tell that they were just a vegetable.

My addition of ground beef made it into a dinner meal! We basically ate all of these…but no guilty feelings. Now THAT I like!

Cauliflower Fritters 3

Baked Cauliflower Nuggets

Ingredients:

1/2 small head cauliflower, broken into florets
1/2 cup chopped spinach
1 medium onion, diced
1 cup ground beef
1/2 cup cheese
1/2 tsp ground black pepper
1/4 tsp garlic salt
1 cup all-purpose flour
1 cup seasoned bread crumbs
1 egg, beaten

For the Sweet and Sour Sauce:

1 tbsp cornstarch
2 tbsp water
2/3 cup vinegar
1/2 cup brown sugar
2 tbsp ketchup
2 tsp soy sauce

Directions:

1. In a large pot, bring a 1/4 inch of water to a boil. Place a steamer basket with cauliflower florets and put the lid on. Steam the cauliflower until very soft and tender.

2. Meanwhile, prepare all the add-ins for the nuggets. Chop the spinach, onion, cooked ground beef, and grated cheese.

3. Once cauliflower is soft, mash it into a creamy consistency. It will be a little stringy.

4. Stir in the spinach, onion, ground beef, and cheese.

5. Add the flour and egg. Stir well until everything is well combined.

6. Roll the cauliflower mixture into small patties. Start with a ball and then smash down a little until it forms a patty. Keep them small so they are like nuggets.

7. Roll the nuggets in the bread crumbs until completely covered. Place them on a cookie sheet. Lightly spray the tops with olive oil and bake for 15 minutes. Remove from oven, flip and bake another 15 minutes or until browned on both sides. Makes about 15-20 nuggets.

For the Sweet & Sour Sauce:

In a small saucepan, mix together the vinegar, brown sugar, ketchep, and soy sauce and bring to a boil. In a small cup mix together the cornstarch and water until all lumps are gone. Add to the vinegar mixture and heat on low about 2 minutes until thickened.

{modified from Sunny Days with my Loves}

Cauliflower Fritters 2

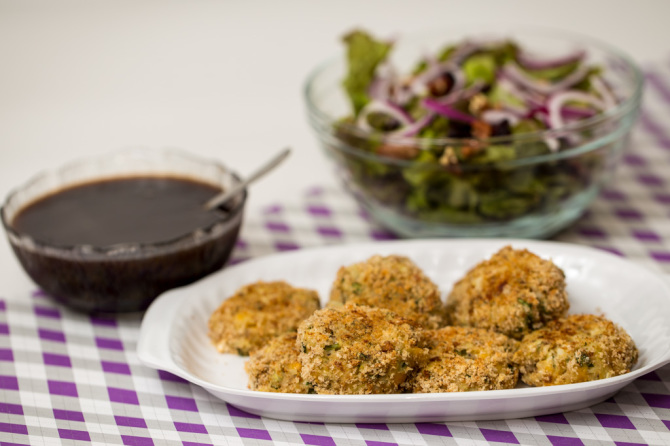
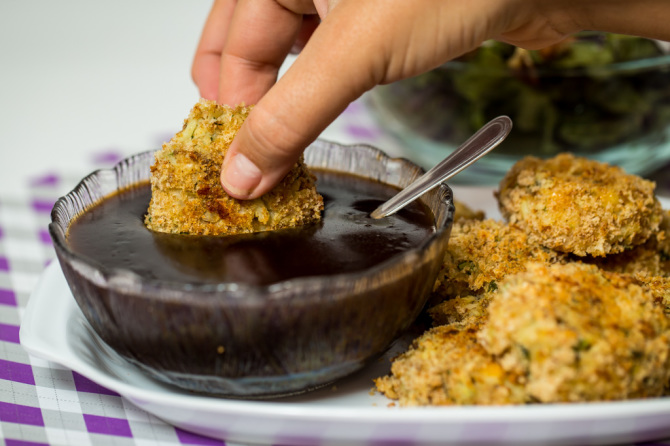
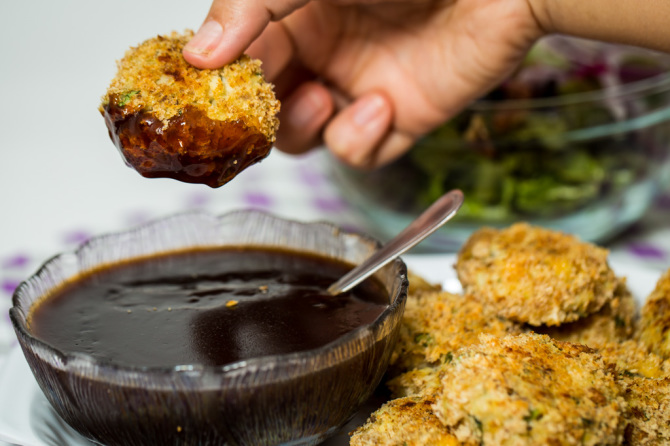
This sweet and sour sauce was our sauce of choice. We are both big sweet and sour fans so it just hit the spot!

Cauliflower Fritters Dipping

Mmm-hmmm…

Cauliflower Fritters Sweet & Sour Sauce

Like this recipe? Remember to like me on FacebookTwitter , and Pinterest to get more!

Alyssa Signature

Read More

Friday Favorites Week 8

Hey guys! This week flew by like usual for me! I was feeling a little sick-ish/allergies which is very odd for me so hopefully that passes soon! In the mean time I’ll just be sneezing my head off! I got six in a row the other day! Crazy… Check out my Friday Favorites this week! This is an awesome round-up!

I am so excited to feature Blogilates this week. Cassey is a great pilates instructor and I have pledged to try her Beginner’s Challenge this month! So far I have loved the workouts and have been drinking so much water!! Check it out below!

Beginners-calendar-new1 (1)
Blogilates Workout Calendar from Cassey @ Blogilates

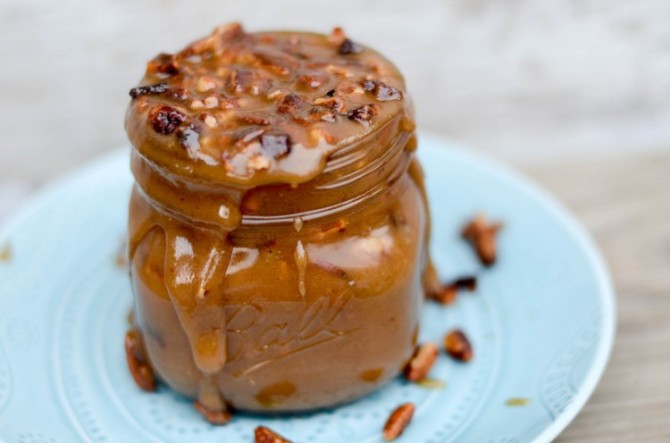
Well I shouldn’t talk about workouts and then post something as amazing as this caramel sauce, but hey that’s life right!? Balance…

caramel-pecan-sauce-2-LR1-750x496

Pecan Caramel Sauce from Simply Kierste

So if anyone wants to get me this… just kidding! It looks like it would be a really fun DIY!

wooden burlap frame

Wooden Burlap Frame from The Green Gift Company

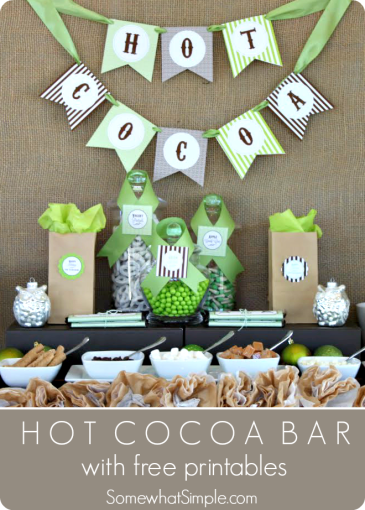
Wintertime! Well for me it’s not wintertime since Costa Rica does not even have a concept  of what that is, but in my heart it’s wintertime for wonderfully cute things like this Hot Cocoa Bar!

Hot-Cocoa-Bar-1

Hot Cocoa Bar from Somewhat Simple

Wintertime is boots too right!? I am so missing my Uggs back home and would LOVE to add a pair of these cuties to my closet!

ugg snow boots

Snow Boots from Ugg

Ok, back to the workouts! I loved this Little Black Dress Workout. These would get you ready, that’s for sure!

new_years_eve_dress_workout

Little Black Dress Workout from Cody Blog

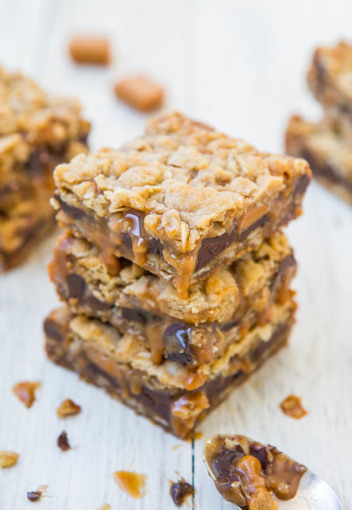
Ack! Why are all the yummy things right after the workouts! Hey at least they are not before right? Workout first, then a teeny tiny treat. Maybe, unless it’s as good as these look then no.

carmelitas-20

Carmelitas from Averie Cooks

This is such a genius idea! I really want to do this with some of my hubby’s photos! Check out the newest sunset picture he got this week! It’s amazing!

DIY-wrapped-canvas-print

DIY Canvas Prints from How Does She?

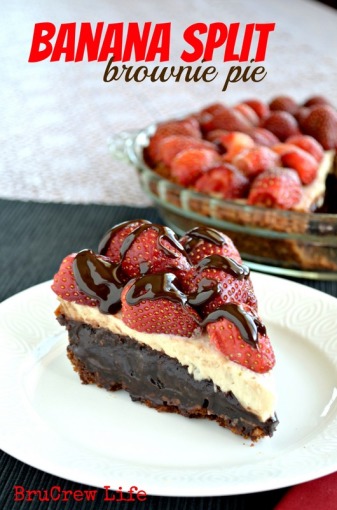
Um, all I can say is chocolate heaven, yes please!

Banana-Split-Brownie-Pie-1

Banana Split Brownie Pie from BruCrew Life

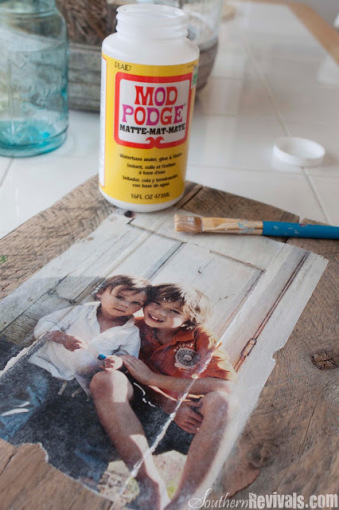
This would be a really fun DIY!

Mod Trans14

DIY Pallet Photo Frame from Southern Revivals

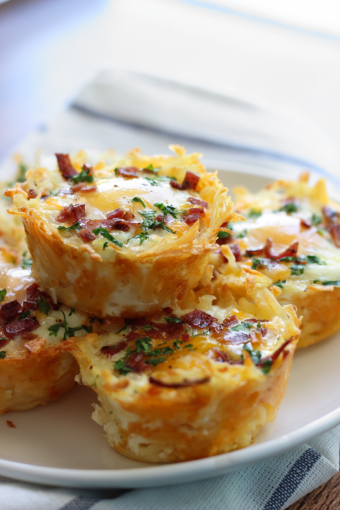
I’m the breakfast lover, that’s for sure! These little guys certainly caught my eye! Yummy!

hash-brown-eggs-nests-with-avocado-2

Hash Brown Egg Nests from The Cooking Jar

Hope you all have a wonderful weekend! Any plans for the weekend? We are headed out of town this next week so my Saturday will consist of packing and getting the house ready. I don’t like leaving with a dirty house so gotta get on it tomorrow! Have a fun one!

Alyssa Signature


Read More

Triple Fudge Chocolate Cookies

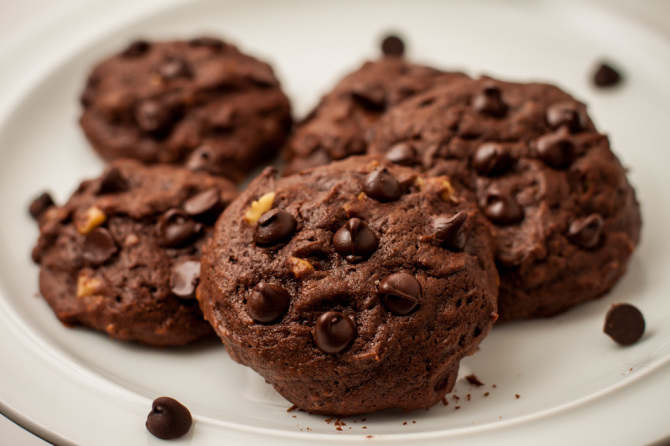
You will love these Triple Fudge Chocolate Cookies because it’s just in time for the holidays and there is much to do, but there’s always time for chocolate! It’s just a much needed break in your day, that’s all ;)

Triple Chocolate Chip Cookies Piece of Home

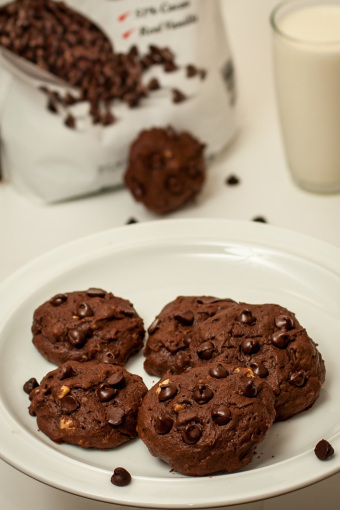
This is truly the kind of cookie that you must have a glass of milk nearby. Aren’t those the greatest! I was totally inspired to make this recipe after seeing the deliciousness on Roxana’s Home Baking.

Now I know you must be a chocolate lover, because really, who isn’t? (except my husband! sheesh)

Get ready for your chocolate fix!

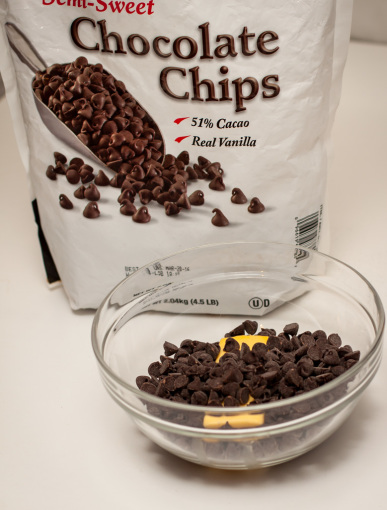
Chocolate Chips and Butter

These cookies are so fun because they have an amazing chocolate sauce that is literally so delectable it almost makes you forget you are making cookies!

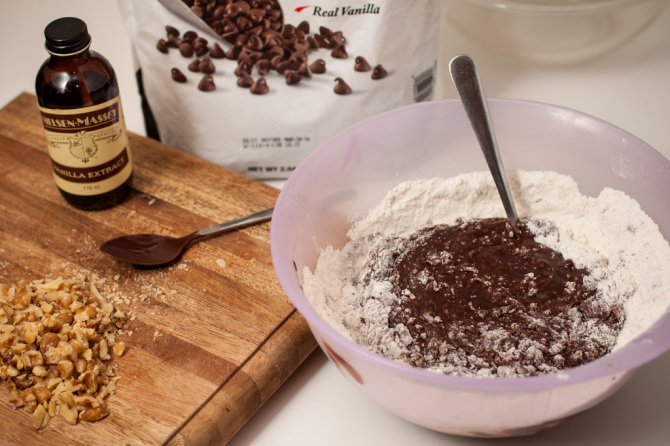
Melt together butter and chocolate chips to create this goodness! You can use the microwave (stirring occasionally) for convenience or a double boiler.

Chocolate Chip Cookies Ingredients

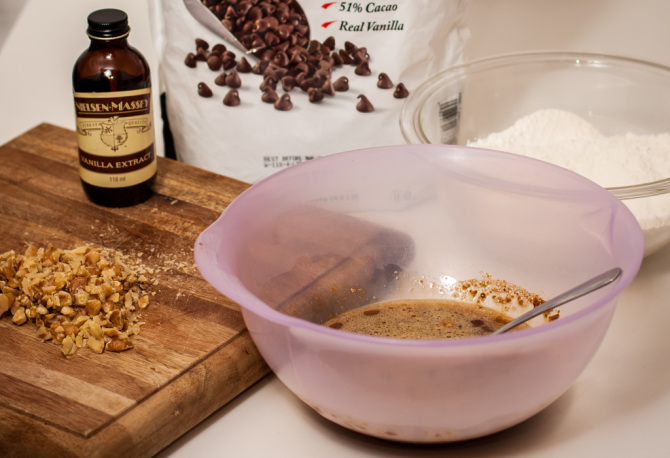
In the meantime, mix together the eggs, sugar and vanilla. At this time you should be smelling the melting chocolate and wondering if you should be doubling this batch!

Chocolate Sauce

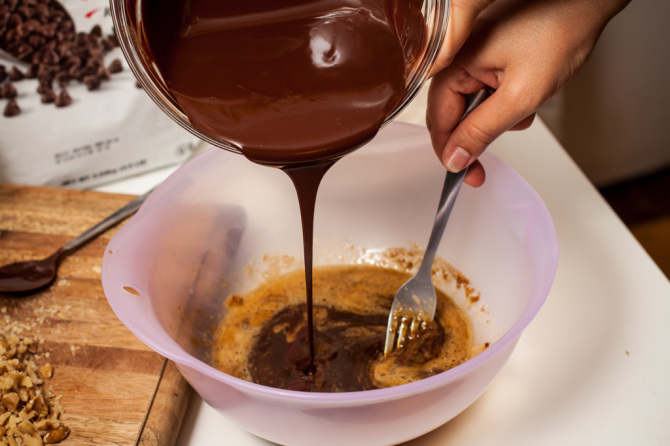
Let the chocolate sauce cool so it’s not boiling hot and then add it to the egg mixture.

Chocolate Sauce and Dry Mix

Slowly add the dry ingredients and stir until everything is moistened and there are no clumps.

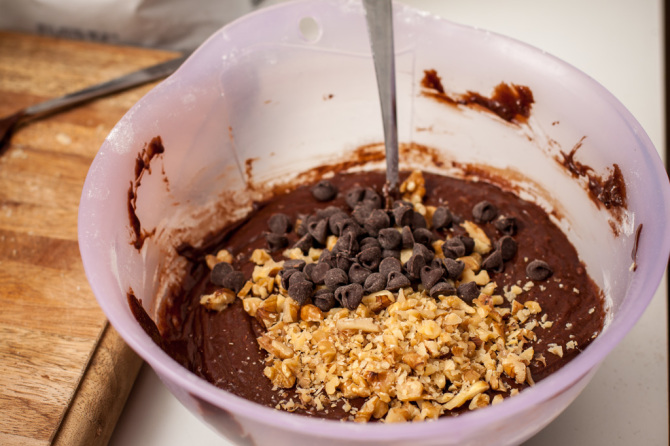
Nuts and Choc Chips

Next, add the chocolate chips and chopped walnuts. Place them on a cookie sheet and bake!

The chocolate smell should be so strong by now you should already feel like a glass of milk! The house will smell so amazing!

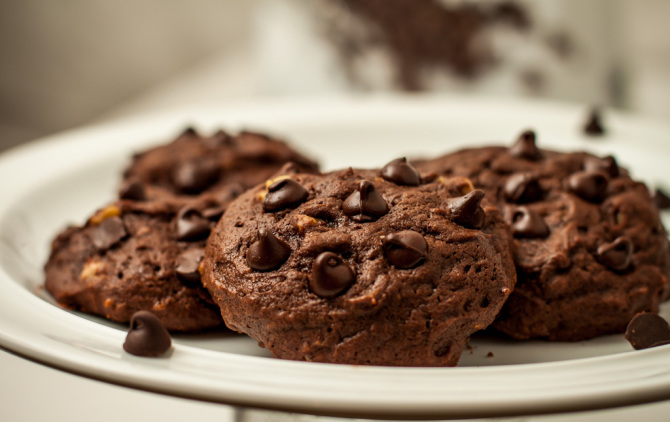
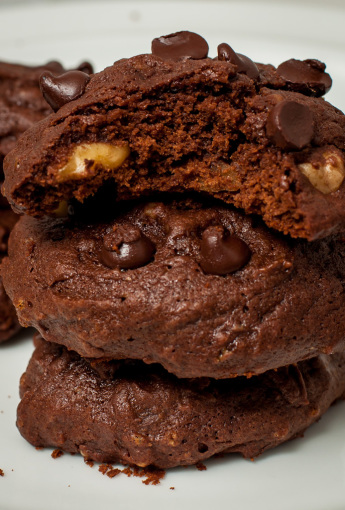
Well, hello gorgeous! *No calorie counting allowed*

Triple Chocolate Chip Cookies 2

Triple Chocolate Chip Cookies 1

Triple Fudge Chocolate Cookies Print Button 50

Recipe Card Border 2

Ingredients:

8 oz. semisweet chocolate chips
6 Tablespoons butter
2 large eggs
3/4 cup brown sugar
1 teaspoon vanilla extract
1 and 1/3 cups all-purpose flour
1/4 teaspoon baking powder
1/3 cup chopped walnuts
4 oz chocolate chips or chunks
1 cup chocolate chips or chunks

Directions:

1. In a microwaveable bowl, melt 8 ounces of chocolate chips and butter in the microwave. Be sure to stir occasionally to help even melting.

2. Meanwhile, in a medium size mixing bowl, beat together 2 eggs, sugar, and vanilla until creamy. The mixture will be fairly frothy.

3. Once the melted chocolate has cooled a bit, stir the melted chocolate into the egg mixture and gently stir in the flour and baking powder.

4. Fold in the chopped nuts and chocolate chips or chunks.

5. Chill the cookie dough for 30 minutes.

6. Once the cookie dough is hardened, using a large scooper, roll cookie dough into balls and place on a baking sheet.

7. Refrigerate the prepared cookie dough for at least 2 hours before baking.

8. Heat the oven to 350F.

9. Just before baking, spinkle the cookies with the remaining 1 cup of chocolate chips and chunks.

10. Bake for exactly 16 minutes.

11. Remove the baking sheet for the oven and let cool on a wire rack.

Triple Chocolate Chip Cookies 3

These are just perfect for the holidays! Your chocolate lover family members will love you for these Triple Fudge Chocolate Cookies!

Triple Chocolate Chip Cookies 4

Enjoy!

Alyssa Signature

Read More

Easy Lentil Soup

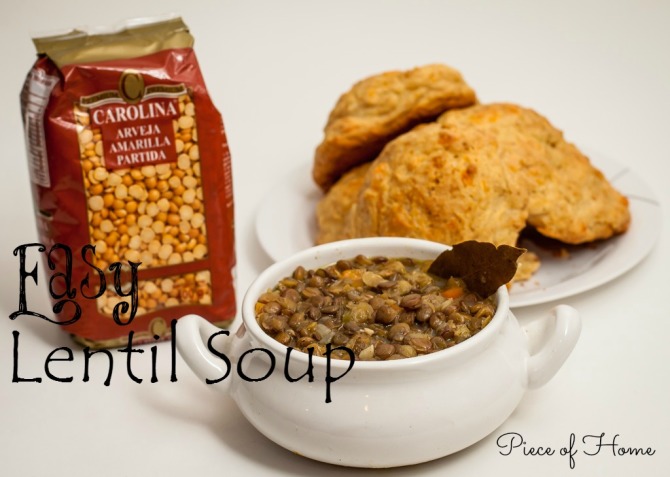
Lentil Soup recipes vary from super hearty to watery and tasteless. This soup is best of both worlds: filling and flavorful!

Lentil Soup with Bread FI

Lentils are a great source of protein and even helps lower cholesterol. Nothing better than eating a meal that has so many benefits!

I have not cooked much with lentils but in Costa Rica they are very popular and there are many different kinds!

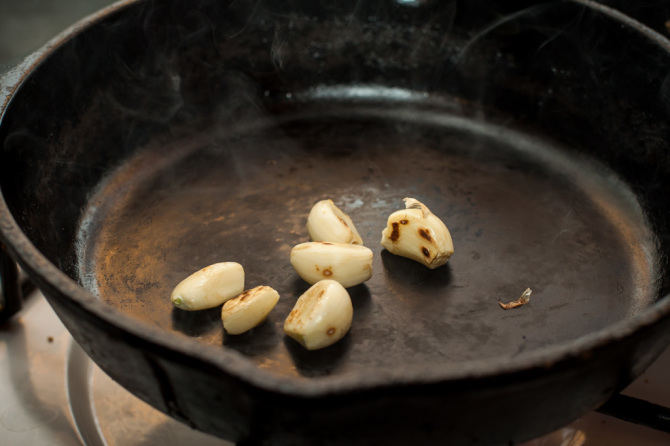
For dinner, we love meals that have lots of garlic. Why not lentils? I roasted the garlic cloves this time and the flavor they added to the soup was amazing!

Well, roasted garlic? I mean what is more amazing than that!? Delish!

Roasted Garlic - Lentil Soup

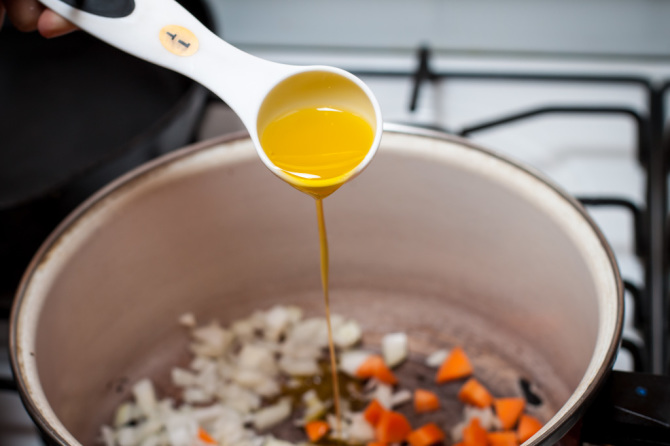
Next, cut up the veggies and add some olive oil. Yep, you guessed it, saute these guys until they are tender.

Oil and Veggies - Lentil Soup

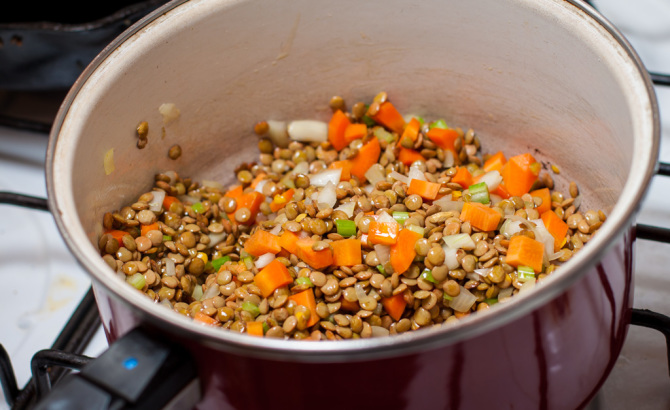
Add the lentils and garlic and stir until they have browned a bit.

Lentil and Veggies - Lentil Soup

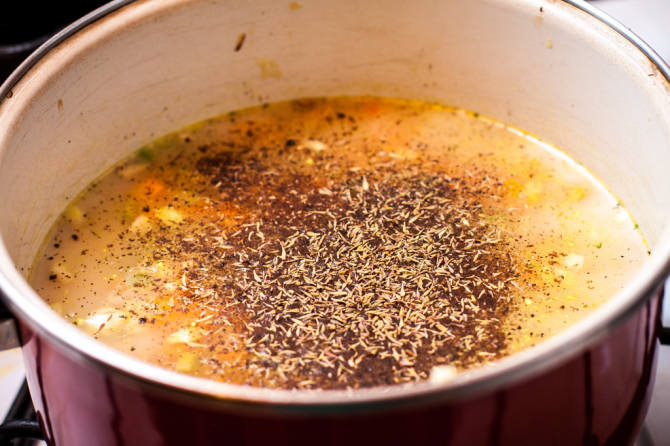
Next, add the broth and seasonings. Cover and let simmer until lentils are soft.

Lentil Soup with broth

Easy Lentil Soup

Ingredients:

4 cloves Garlic
1 Yellow Onion
4 Carrots
4 stalks Celery
3 Tbsp Olive Oil
2 Cups Lentils
1 Tbsp Cumin
2 qt Vegetable Broth
1 Bay Leaf
2 whole sprigs Thyme
Salt and Pepper to taste

Directions:

1. Place the garlic cloves in a large pan and heat until outsides are browned and garlic has softened. Set aside.

2. Roughly chop the Onion, Carrots, and Celery. Add the Olive Oil to the dutch oven and saute until browned and tender.

3. Smash up the Garlic and add it to the pot, along with the Lentils and Cumin. Cook for a few seconds, until the lentils are nicely coated in oil.

4. Empty the Broth into the pot and add the Bay Leaf and whole sprigs of Thyme.

5. Simmer until the lentils are tender, about 30 minutes. Fish out the Bay Leaf and Thyme.

6. Season with Salt and Pepper and serve piping hot. Serve it with a side of hearty whole grain bread or cheesy croutons.

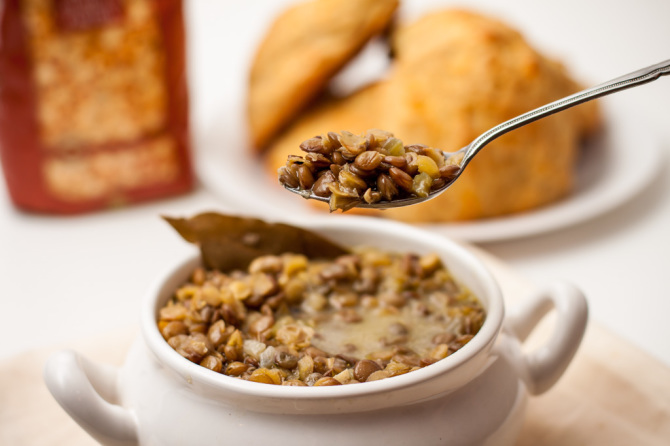
Lentil Soup with Spoon

This soup is really flavorful and packed with all kinds of delicious things! Feel free to add some more goodies like ham, spinach, etc… The possibilities are endless!

Alyssa Signature


Read More

Homemade Granola

The most popular granola in town! This granola is a very tasty, family-friendly meal and best of all customizable!

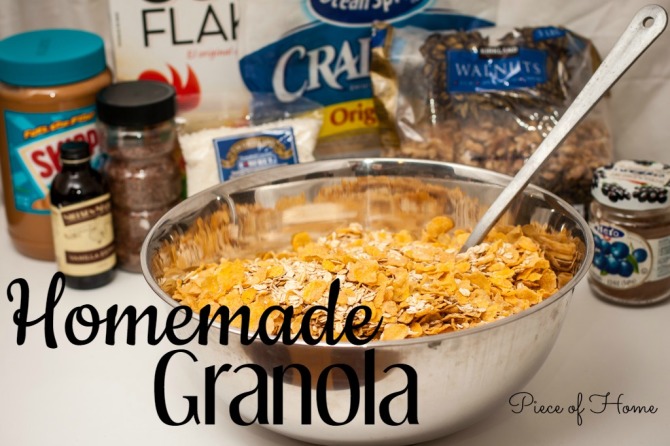
Granola - Oats and Cornflakes Piece of Home

I LOVE homemade granola. It’s just one of those things that is always in our house. Every week I have a “essential items” list to make. It always includes granola, homemade yogurt, and banana bread.

Everyone has to have an essential. This is it for us. Granola!

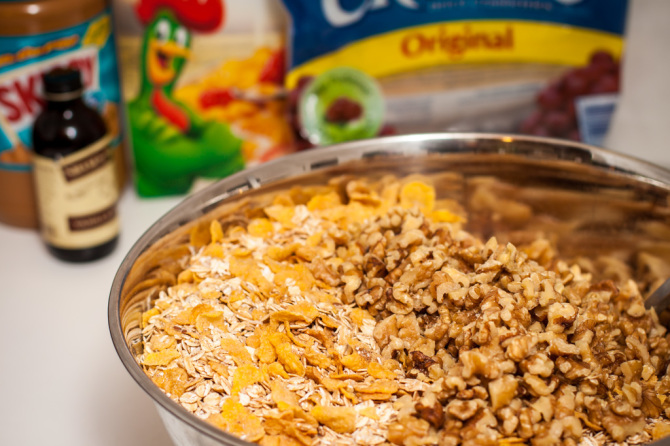
Granola - Walnuts

The best part about granola is you just take whatever you are feeling like and dump it in. I had to write my recipe down this time because I usually just get to throwing things in that I have no idea what my measurements are!

First up, Cornflakes. Oh man, I just love cornflakes. It adds so much to granola too! My husband loves the cornflake chunks he always finds in his granola. So, add them in!

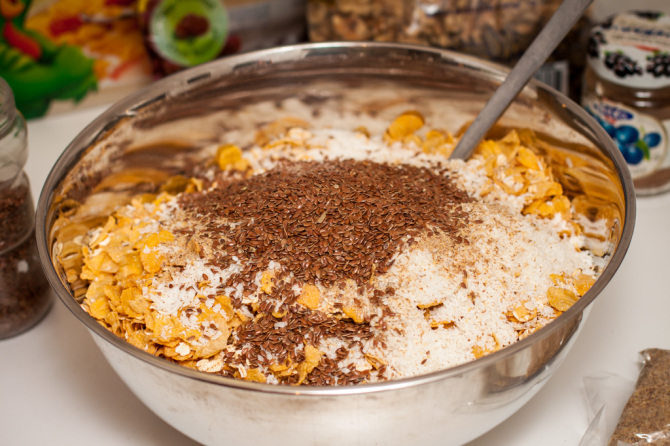
Granola - Flax Seeds

So far, we have oats and cornflakes. Next, I usually throw in some coconut, flax seeds, wheat germ, and a small amount of brown sugar. You can add at this point any other seeds, nuts, or favorite things to the mixture. Get creative!

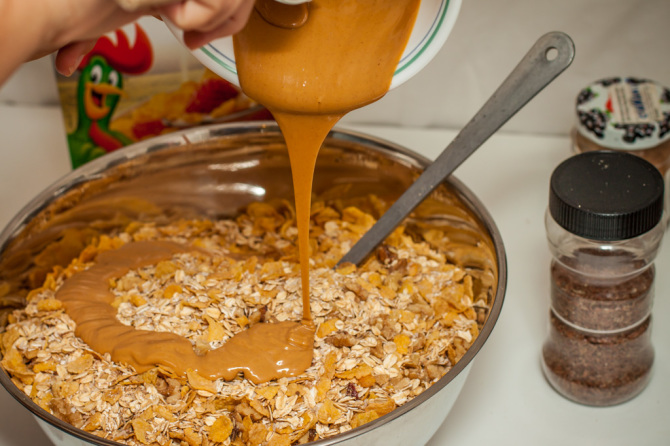
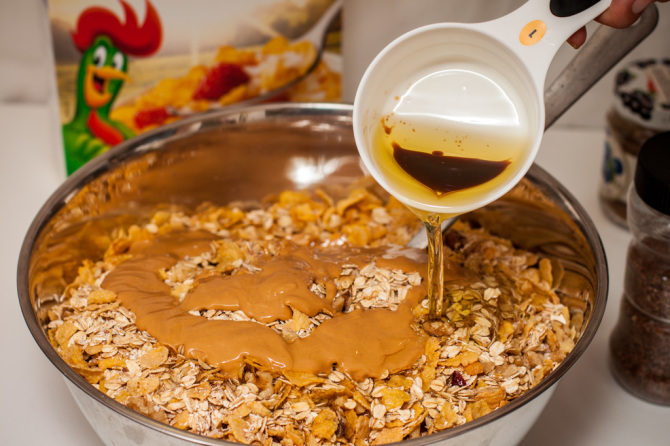
Granola - Peanut Butter

Now for the fun part! Melt some peanut butter and drizzle it over the mixture. YUM!

Granola- Oil and Vanilla

Add oil and vanilla. I mixed mine together this time, not sure why but there it is.

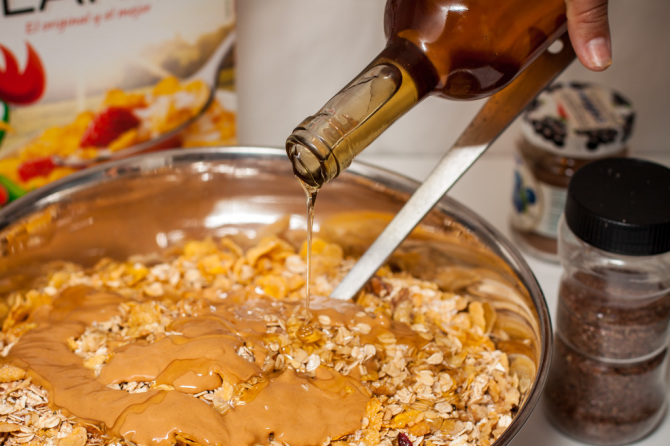
Granola - Honey

For the sticky sweetener, I usually go between honey, maple syrup, or molasses. This day I chose honey because we had just purchased a new jar from a local honey shop! So that’s it! Mix it all together and bake, stirring occasionally until it’s browned. Once it’s browned and cooled, add the dried fruit. Our favorite dried fruits are craisens and blueberries.

*Note I made this batch really huge because I was expecting company but you can make as much as fits the size of your family

Homemade Granola

serving size: about 12, 1/2 cup servings

Ingredients:

4 cups rolled oats
2 cups cornflakes
1 cups walnuts, chopped
2 Tbs. Flax seed
2 Tbs. Wheat Germ
1/2 cup coconut
1 cup dried fruit
1/4 cup peanut butter, melted
1/2 olive oil
2 tsp. vanilla
1/4 honey or maple syrup or molasses

Directions:

1. Preheat the oven to 400 F.

2. Place the oats, cornflakes, coconut, flax seeds, wheat germ, walnuts in a large bowl and mix.

3. In a small microwavable bowl, melt the peanut butter in the microwave until drizzly. Drizzle peanut butter over the mixture.

4. Pour in olive oil, vanilla, and honey. Mix the mixture well until well coated with moisture.

5. Spread the mixture thinly onto baking sheets and bake for 30 minutes or until golden brown or toasty, stirring every 10 minutes.

6. Remove granola from oven and let cool. Once cooled, stir in dried fruit. Place in an airtight container and store in the pantry.

*Note: If you bake the dried fruit with the rest of the mixture, they turn very hard which can be very dangerous when chewing. Make sure to add them after the mixture is done baking and has cooled.

I would love to hear about your granola creations! What are some of the ingredients you add to your granola? 

Alyssa Signature

Read More

Salsa Picante

Great for football night or guys night! This salsa is MUY Picante and will blow your socks off! 

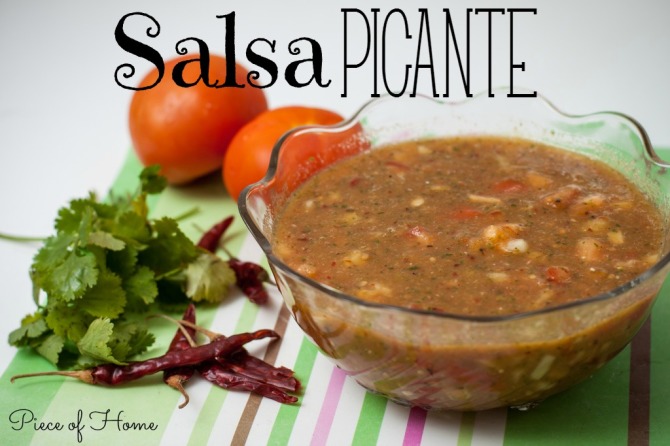
Salsa Picante Piece of Home

My husband loves spicy things! He likes it a lot more spicy then I do. Whew! I can’t handle the heat!

The mix of peppers in this salsa is his favorite! We even grew some in our garden for a while so we could always have this on hand.

Go ahead, make this and impress your man!

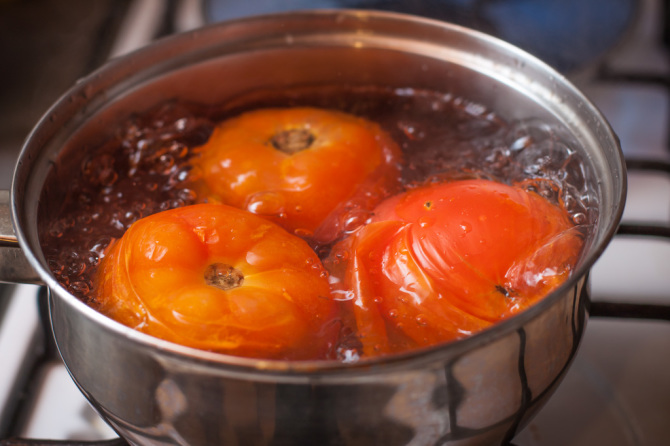
Tomatoes Boiling Salsa Picante

Place tomatoes and tomatillos in a pot of boiling water and heat until skins begin to peel off and tomatoes are tender.

Note: I do not have access to tomatillos here in Costa Rica but they are really yummy in this salsa so I recommend using them!

Blending Onions Salsa Picante

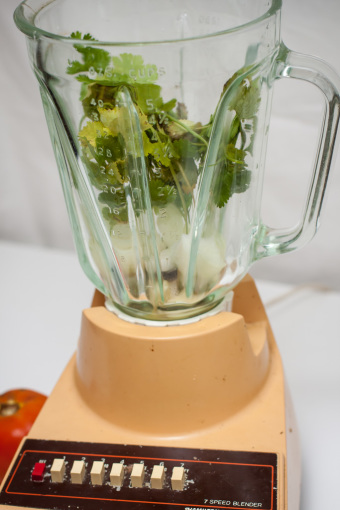
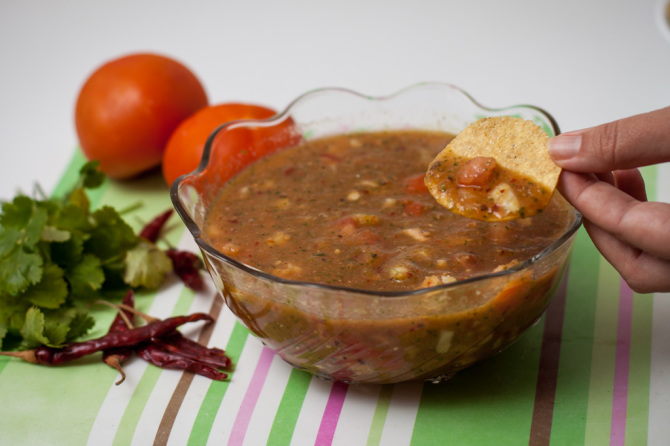
Start by blending the onion, cilantro, boiled tomatoes, tomatillos, lemon juice, and salt.

Chile De Arbol Salsa Picante

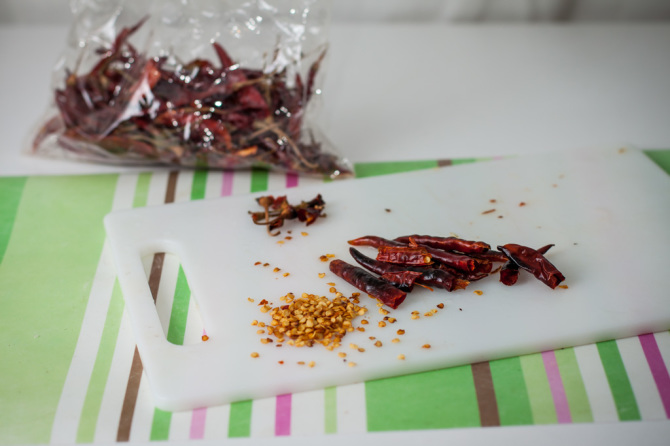
In a small saucepan, toast a few Chile de Arbol peppers. They are a dry pepper that is filled with seeds. The more you use, the more spice so get brave!

These guys pack a punch!

Be careful when toasting because the odor they let off is so strong it will literally send you in a coughing fit and make you feel like your throat is closing up. I speak from experience.

Note: At this point you can toast the Serrano Peppers as well. I also don’t have access to these peppers but they are a favorite in our household so make sure to add them in!

Chile De Arbol Seeds Salsa Picante

Once the chiles are toasted, cut the ends off and dump out all the seeds. You will only use the skins.

Chopped Tomatoes Salsa Picante

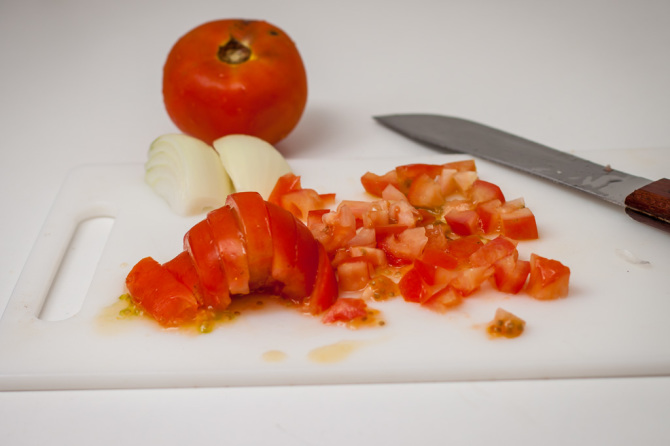
For the salsa, cut a few more small tomatoes and a medium onion into small chunks. This is to help add the “chunky” to the salsa.

Salsa Picante and Chips

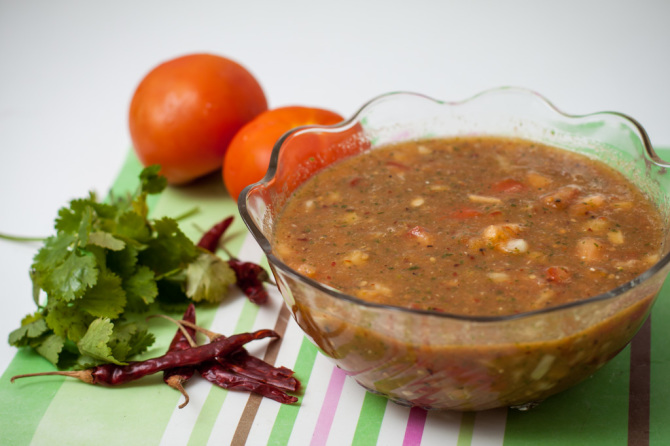
Add the peppers to the blended ingredients and blend until everything is well distributed. Add it to the chunky tomatoes and onion and stir. Chill and serve cold with chips.

*Make sure to test the spicy level. If it’s too spicy add another tomato or two to try and tone it down.

Salsa Picante

Salsa Picante

Ingredients:

3 large tomatoes
2-3 small tomatoes
4-5 tomatillos
1/4 cup chopped cilantro
2 medium onion, diced
3-6 Chile de Arbol Peppers, seeds removed (depending on spicy level)
2-3 Serrano Peppers, seeds removed
2 Tbs. lemon juice
1 tsp. salt

Directions:

1. In a large pot, bring water to boil. Add tomatoes and tomatillos and boil until tender. Remove skins.

2. Place boiled tomatoes, tomatillos, cilantro, onion, lemon juice and salt to the blender and blend.

3. Place peppers in a small saucepan and heat until toasted on both sides. Remove from pan, cut open and remove the seeds.

4. Add the roasted peppers to the blender and mix until well blended.

5. Cut 2-3 small tomatoes and one medium onion into chunks to add to the liquid salsa.

6. Mix together and chill. Serve cold with warm tortilla chips. Enjoy!

Read More

Chia Pudding

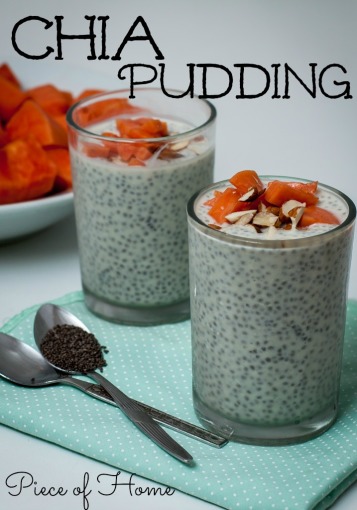
Chia Pudding is a great healthy choice for a snack or even breakfast! Lots of healthy benefits but more importantly, quick and easy! 

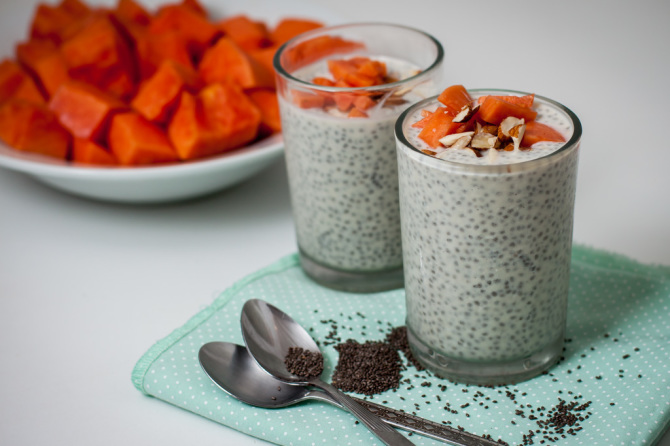
Chia Pudding with Papaya

A friend of ours had to leave to town quickly and we were the recipients of some of their pantry goods that they had to leave behind. Not complaining!

Among the assortment of things was a bag of Chia seeds. Oh Chia… so long I have put off our meeting.

I just didn’t want to fall into the “trend” I suppose. Sometimes I run the other way but this time these Chia seeds came right to me! I figured I would have to try and make something great!

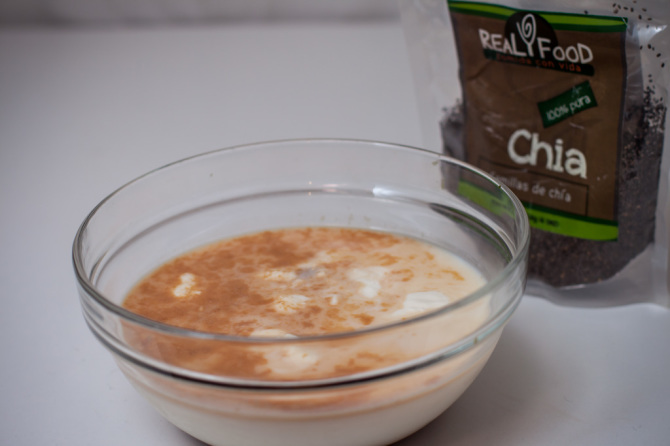
Milk and Maple Chia Pudding

Most Chia lovers have always raved about the Chia pudding. So I decided to start with that! Pretty easy! Just mix milk, vanilla, and maple in a bowl.

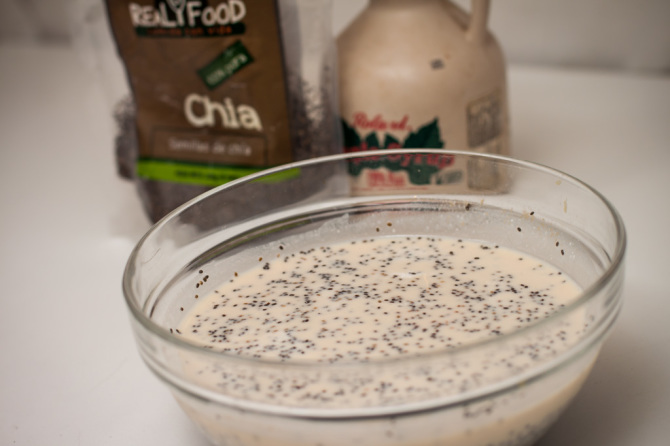
Milk with Chia - Chia Pudding

Add the Chia seeds and put it in the fridge for about an hour. Stir the mixture and then let it sit another 4 hours or overnight. Top it with fruit, nuts, etc.. and enjoy! This is a perfect snack for kids too!

Chia Pudding with Papaya and Almonds

Chia Pudding

Ingredients:

1 1/2 cups of milk or almond milk
2 Tablespoons Maple Syrup
1 teaspoon vanilla
1/3 cup of Chia seeds

Directions:

1. Mix the milk, maple syrup, and vanilla in a bowl.

2. Gradually stir in the Chia seeds and cover.

3. Refrigerate for 1 hour and stir. Re-cover and let sit 4 hours or overnight.

4. Serve cold with fruit and nuts on top. Enjoy!

Read More

Apple Scones

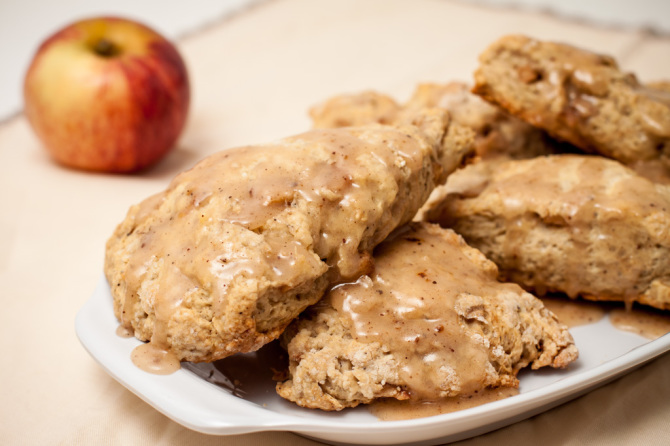
Is there anything more amazing than light and flakey apple scones drizzled with a warm cinnamon glaze? I don’t think so! 

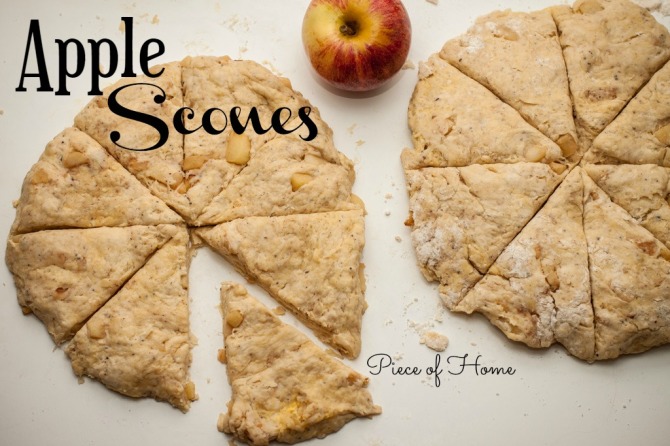
Apple-Scones-dough-slices Piece of Home

Another fall time apple treat! I was loving the smell of cooked warm cinnamon apples from my previous Apple Cinnamon Rolls, and couldn’t resist trying a yummy scone version! I was totally inspired to make this recipe after seeing the idea on Recipe Girls’s Blog! I’m so glad I tried it, they were a hit!

I had to add a thicker apple mixture and it made it so much richer! :)

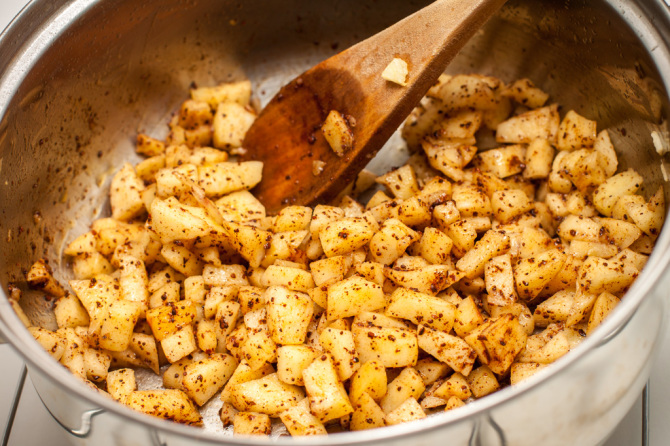
Apple-Scones-cook-apples

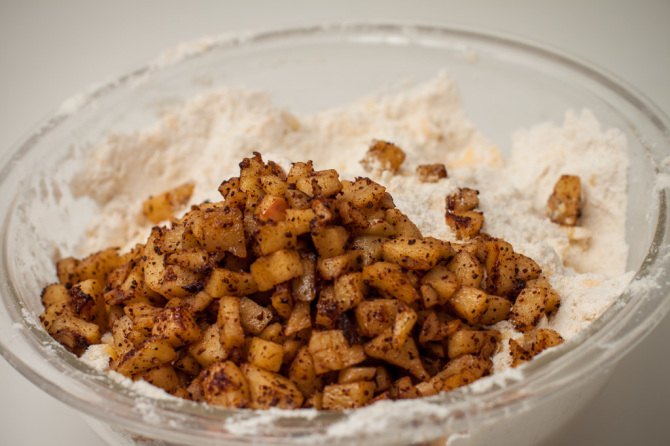
Ahhhh, warm cooked apples. Just. Yes.

Look how chunky the brown sugar is around here! I still haven’t gotten used to it! Some of it is actually freshly ground cinnamon! We were lucky to try some of it and talk about flavor!

Bam! Delicious!

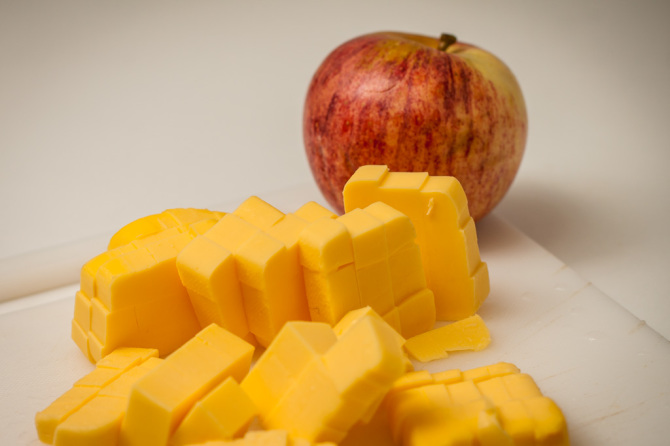
Apple-Scones-chop-butter

Prepare the dry ingredients then add a stick of cubed butter and cut into the mixture with a pastry cutter or your fingers.

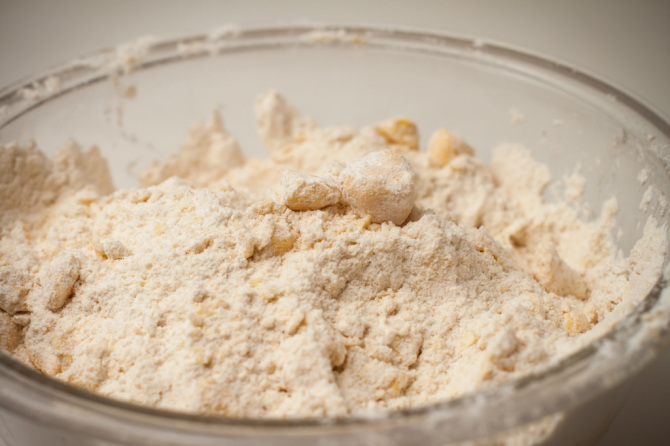
Apple-Scones-cut-butter-into-dough

It should have some random clumps of butter kind of like this!

Add-cooked-apples

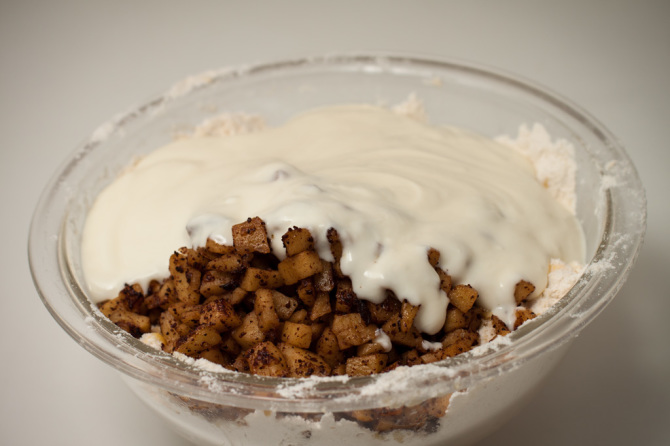
Next, add the cooked apples.

Apple-Scones-add-yogurt

Add the Greek yogurt. The yogurt is only wet ingredient in this recipe except for the apple mixture. Amazing huh?!

Apple-Scones-dough-ball

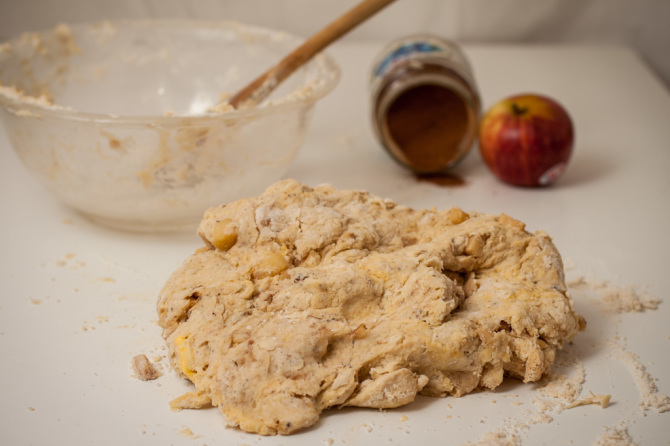
Once the dough forms into a ball, dump it onto a well floured surface.

Apple-Scones-dough-balls

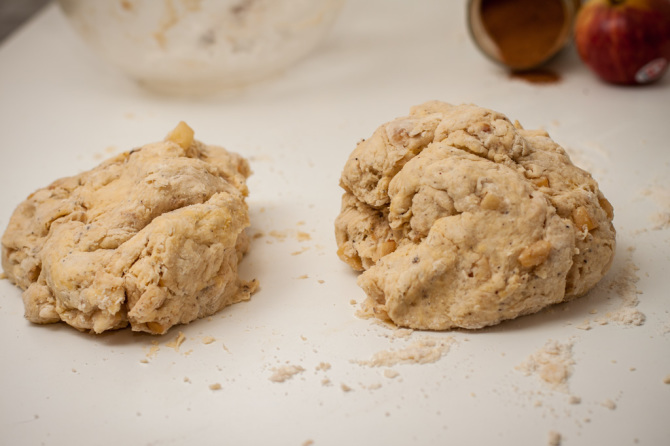
Separate the dough ball into two sections.

Apple-Scones-make-circles

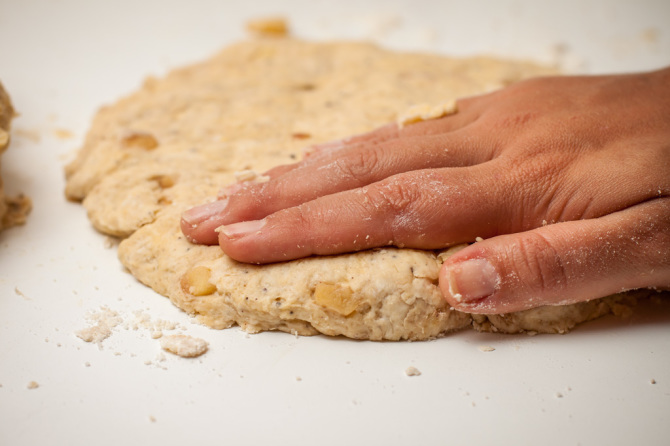
Press each dough ball into a 8-9 in. circle using your hands.

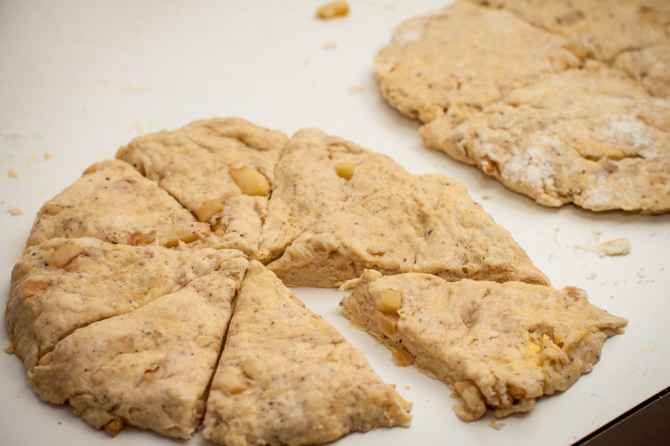
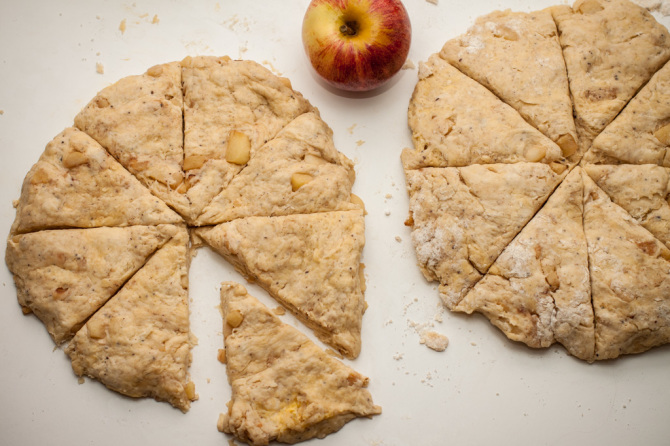
Apple-Scones-cut-into-pieces

You want the dough to be pretty thick so there is some substance to your scones!

Apple-Scones-dough-slices

I almost ate these at this point.

Then I remembered the glaze… And how much better things are when they are warm. So I waited.

Impatiently…*sigh*

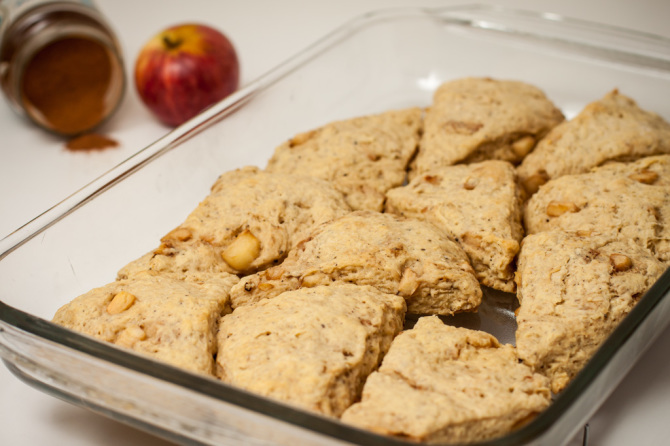
Apple-Scones-hot-pan

These guys came out the oven pipin’ hot and ready for some glaze!

Apple-Scones-with-glaze

Not a problem! I happily smothered them!

As always, I had to put a lot on for the picture! Duh! (hehe)

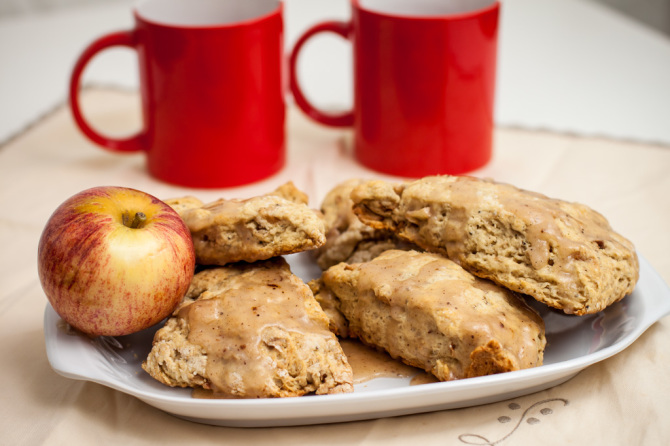
Apple-Scones-with-Glaze-and-drinks

Apple Scones

Ingredients:

Apple Mixture:
1 tablespoon butter
2 medium Gala apples, peeled and chopped
1 teaspoon cinnamon
1/4 cup brown sugar
1 teaspoon flour

Scone Dough:
3 cups Gold Medal® All-Purpose Flour
1/3 cup granulated white sugar
2 tablespoons baking powder
1 teaspoon baking soda
1/2 cup (1 stick) cold salted butter, cut into chunks
1 cup Greek vanilla yogurt (I use natural flavor from my homemade yogurt recipe)

Cinnamon Glaze:
2 Tablespoons butter, melted
2 cups powdered sugar
1 Tablespoon cinnamon
3-4 Tablespoons milk

Directions:

1. Preheat the oven to 350 degrees F.

2. Prepare the apples: Melt the butter in a small saucepan over medium heat. Add the apples, Stir in the cinnamon, brown sugar, and flour – stir and cook until apples are soft. Set the apples aside to cool.

3. Prepare the scone dough: In a bowl, mix together the flour, sugar, baking powder, and baking soda. Add the butter and mix with a pastry cutter or your hands until mixture is crumbly. Stir in the yogurt and apples until the dough comes together. Place the dough onto a lightly floured surface and form roughly a 8-9 inch circle. Use a sharp knife to cut triangle-shaped scones (about 8). Gently pull the triangles apart and set them on your prepared baking sheet. Leave about 1/2-inch between scones.

4.  Bake for 15 to 18 minutes, or until they are thoroughly cooked. Let the scones cool then move them to a rack over a baking sheet.

5. For the Glaze: In small bowl, heat butter in the microwave until melted. Stir in powdered sugar, cinnamon and milk. Using a whisk, stir until mixture has desired consistency either adding more milk or powdered sugar to get it how you like. Drizzle the glaze over the warm scones.

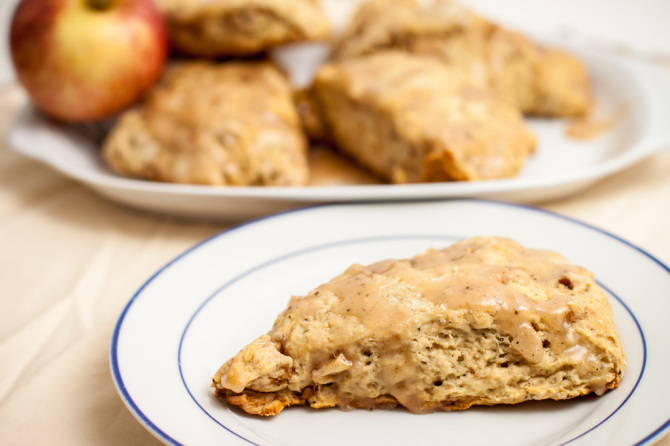
Apple-Scone-with Glaze

My husband and I both enjoyed a warm scone and a cup of tea! It was such a fun little afternoon. I felt like we were British impostors!

Try out these scones and let me know how they are! Thanks for stopping by!

Don’t forget to like Piece of Home on Facebook, Twitter, and Pinterest!

Alyssa Signature

Read More

Friday Favorites Week 7

What a great week! We had lots of catching up and a little bit of down time to recover from our busy week last week! Got all the laundry done and house back in order. Nothing feels better than getting back on track! Check out my Friday Favorites! Featuring Unevensidewalks.com! 

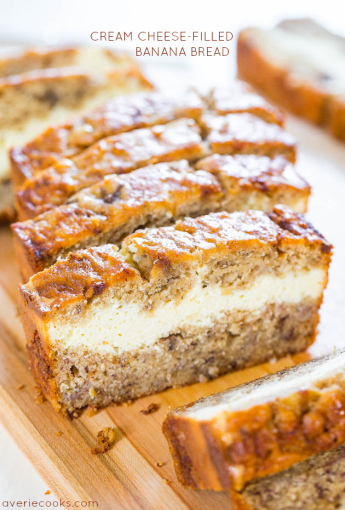
creamcheesebananabreadtext1

Cream Cheese Filled Pumpkin Bread

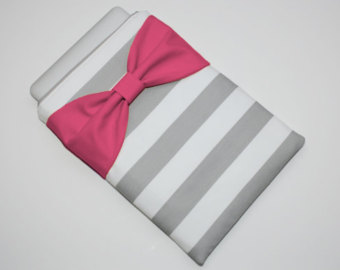
Mac Book Air Case

Mac Book Air Case

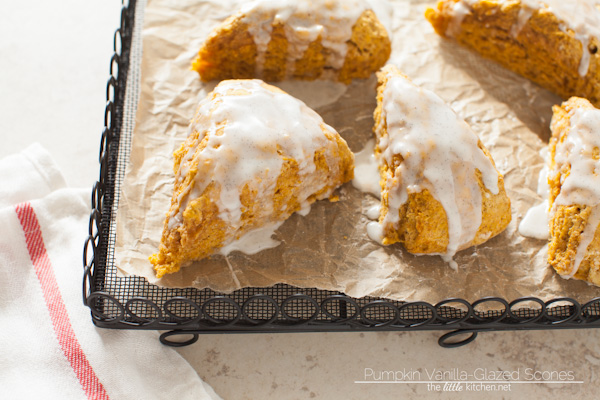
pumpkin-scones-the-little-kitchen-17914

Pumpkin Vanilla Glazed Scones

White Chicken Enchilada Pizza

White Chicken Enchilada Pizza

How-to-Clean-and-Dry-Your-Pillows-easy-steps-to-make-sure-your-pillows-are-nice-and-fresh-and-clean-SpringCleaning-362x

How to Clean & Dry Your Pillows

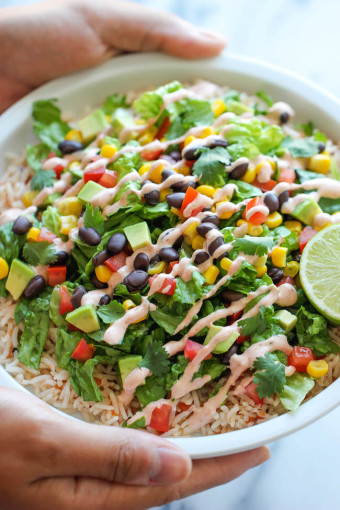
Easy Burrito Bowls

Easy Burrito Bowls

Using-Cupcake-Liners-as-Toppers-for-Jars

Gifts in A Jar

How To Make Chicken Zucchini Fritters Recipe

Zucchini Fritters

Poas Volcano Main Crater with Clear Blue Skies-670x446

Volcano Poas in Costa Rica

VeganBananaProteinCake-500x440

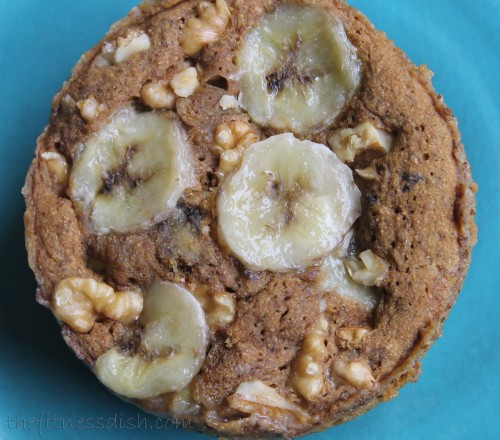
Banana Nut Protein Cake

How to Hide the Ugly Stuff in your home

How to Hide the Ugly Stuff in the House


Have a great weekend! What are your plans for the next few days?

Alyssa Signature


Read More