Author Archives: Alyssa

Yuca Sugar Balls

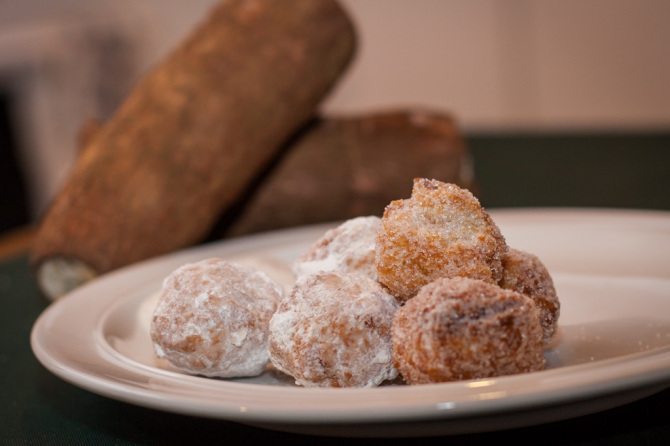
Crunchy, sweet, and delicious! These sugar balls can be addicting! 

Yuca Sugar Balls Piece of Home

After my feature on the yuca farm, I totally failed to get some recipes out. Do you want the truth?

Yuca is an acquired taste that I am getting used to. It doesn’t mean that I don’t like it, it’s just a different type of food that I have to get used to!

Frying them up and covering them in sugar is one way to like them! I think anything cooked this way would be delicious right?

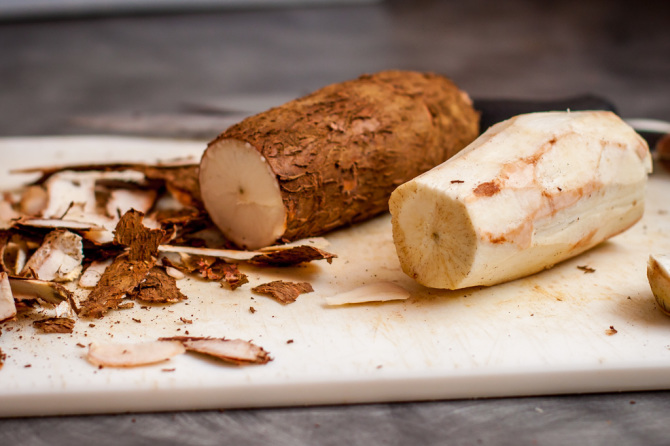
Peeled Yuca

The yuca feels like you are peeling a tree. It has a very different texture but once it’s peeled, it’s pretty easy to work with.

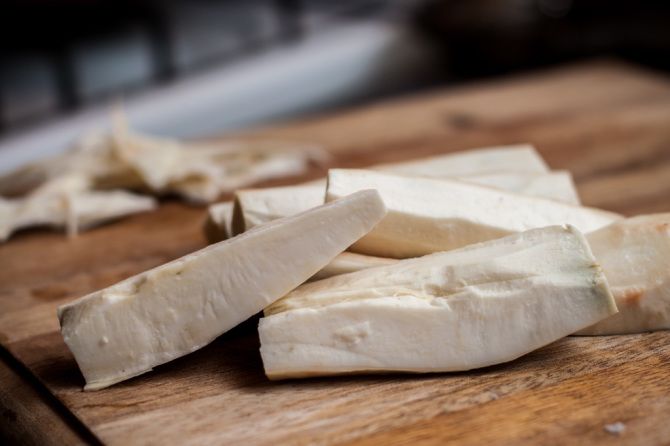
Sliced Yuca

Cut the yuca into half and remove the center vein that runs through each piece.

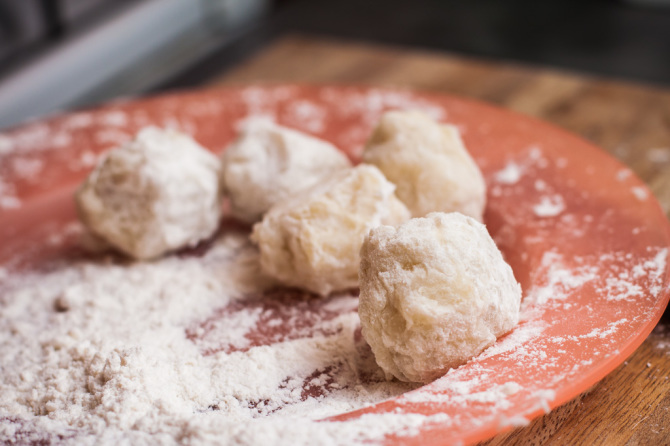
Yuca Balls

Boil the yuca and then smash it. The texture will be really sticky! Just use lots of flour and get the balls rolled into the flour.

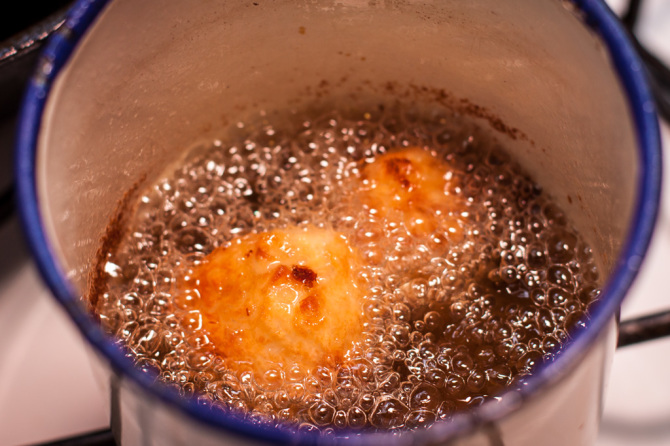
Yuca Balls in Oil

With oil hot and ready, gently place the yuca balls into the oil and cook until golden brown. This should only take about 1-2 minutes. If it’s taking longer, wait for your oil to heat up more.

Roll in Sugar

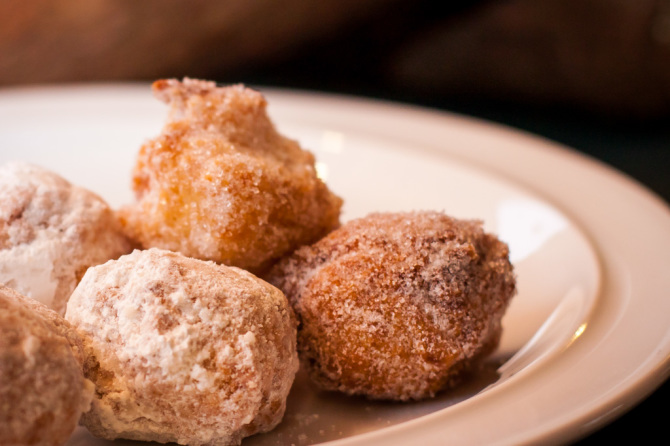
Once the balls have been removed from the oil, roll them in sugar. We tried powdered sugar and regular sugar. Eat them while they are hot, super yummy!

Yuca Sugar Balls

Yuca Sugar Balls

Ingredients:

1 large Yuca
2-3 cups oil
1/2 cup sugar

Directions:

1. Peel and slice the yuca. Remove the inner vein in the middle of each yuca slice.

2. Boil the yuca until tender. Mash until it forms a mashed potato like consistency.

3. Roll the “dough” into small balls and roll in flour. The mashed yuca will be really sticky!

4. Heat oil until nearly boiling. Dip the yuca balls into the oil and cook until golden brown and crispy. About 1-2 minutes.

5. Remove from the oil and roll in sugar. Let cool 1 minute. Eat while warm. Enjoy!


Read More

Sloppy Joes

Add some spin to the original Sloppy Joe! Filled with veggies and spice, roll your sleeves up and dig in! 

Sloppy Joes Piece of Home

Sloppy Joes does not make a very frequent appearance in our house.

Until there is nothing to eat and I need to throw something together… Same ole’ story?

This time I decided to put a spin on the plain sloppy joe and add some veggies! It gave it a wonderful texture and was very yummy!

Sloppy Joe Mix

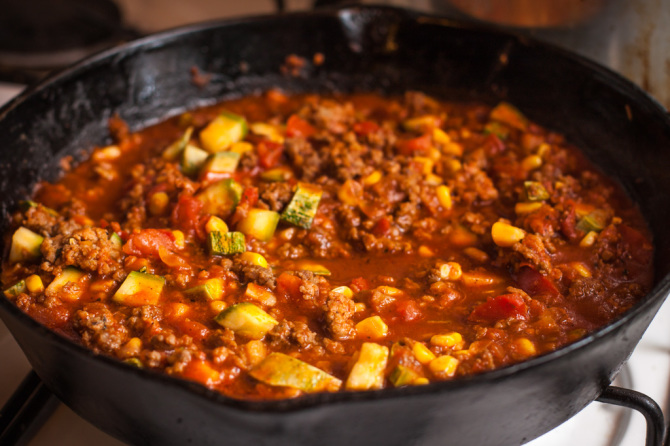
Zucchini, corn, and tomatoes. The super version of Sloppy Joes! Cook up the ground beef, add the spices and veggies and heat on low until the mixture has thickened.

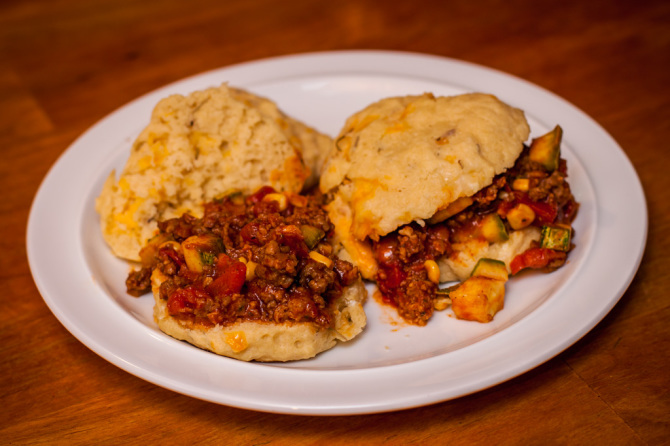
Sloppy Joes with Muffins

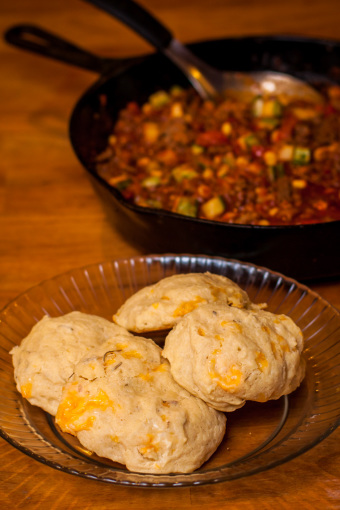
Try it with these yummy cheesy biscuits! You’ll never go back! Nothing worse than a soggy bun and these stay firm until the very last bite!

Sloppy Joe Buns

Sloppy Joes

Ingredients:

1 Tbs. Olive Oil
1 1/2 lbs of ground beef, cooked
1 medium zucchini, cubed
1 tomato, diced
1/2 cup corn kernels
1 medium onion, chopped
2 tsp. steak seasoning
1/4 cup brown sugar
1 Tbs. Red Wine Vinegar
1 Tbs. Worcestershire Sauce
2 cups tomato sauce
2 Tbs. tomato paste

Directions:

1. Heat a large skillet over medium high heat. Add oil and meat to the pan. Spread the meat around the pan and begin to break it up.

2. In a separate bowl, combine brown sugar and steak seasoning. Add sugar and spice mixture to the meat in the skillet and stir. When the meat has browned, add onion, corn, and zucchini.

3. Reduce heat to medium and cook onion, corn, zucchini, red wine vinegar and Worcestershire sauce with meat for 5 minutes.

4. Add tomato sauce and paste to pan. Stir to combine. Reduce heat to simmer and cook Sloppy Joe mixture 5 minutes longer.

5. Using a large spoon, scoop sloppy joe meat onto cheesy biscuit bottoms and cover with bun tops. Have lots of napkins!

{inspired by Piece of Home}

Read More

Friday Favorites Week 6

Happy Halloween! Have a fun Halloween and be safe! Here is my Friday round-up! Don’t eat too much candy!

Skinny Baked Mozzarella Sticks[7]


Skinny Baked Mozzarella Sticks from The Comfort of Cooking

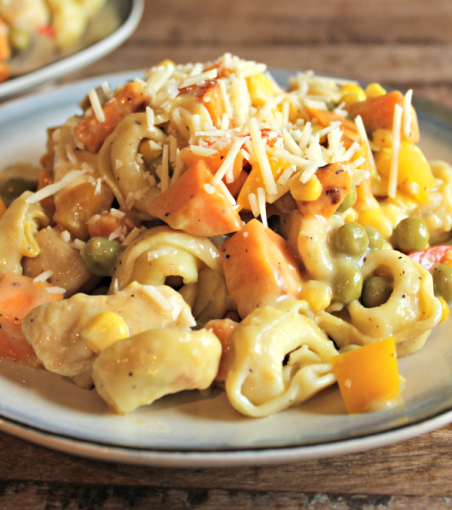
Fall-Tortellini-Bake-1

Fall Tortellini Bake from Chelsea’s Messy Apron

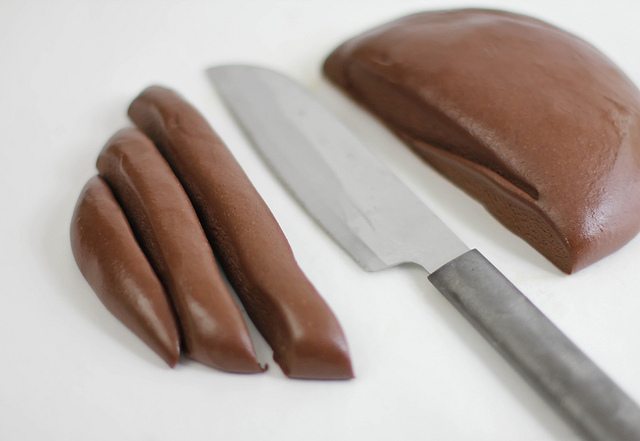
Tootsie Rolls

Homemade Tootsie Rolls from Food 52

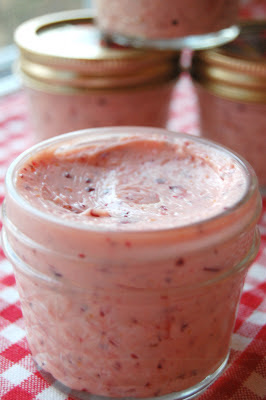
cranberry butter

Cranberry Butter from Eat, Play, Grow

Outdoor Reading Nook

Outdoor Reading Nook from Apartment Therapy

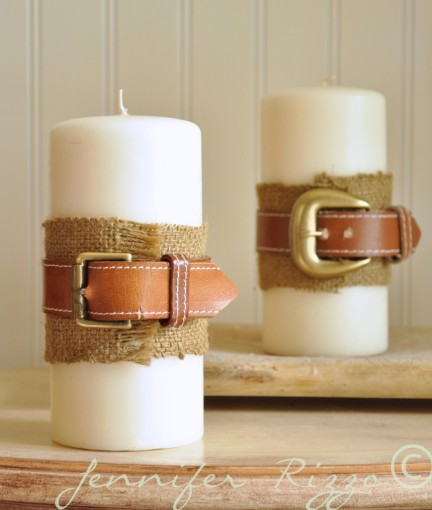
candles

Burlap Belt Candles from Jennifer Rizzo

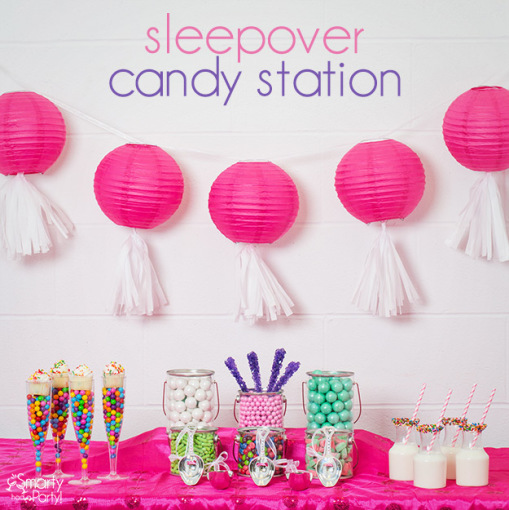
sleep over candy station

Sleepover Candy Station from Smarty Had a Party

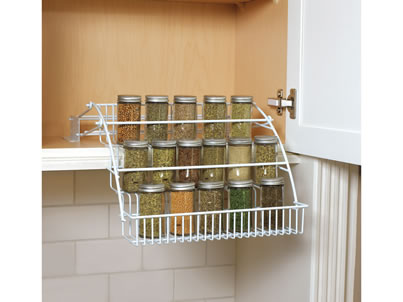
rubbermaid spice rack

Pull Down Spice Rack from RubberMaid

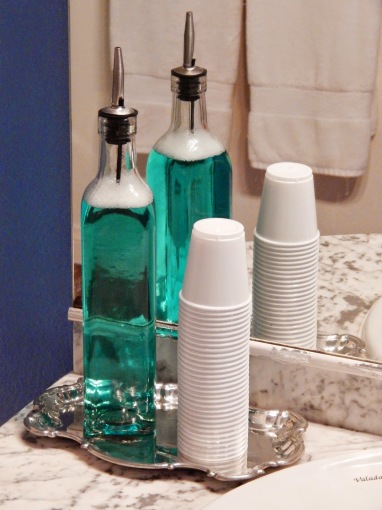
mouthwash

Gettin’ Fresh Mouth Wash from Embrace the Adventure

We have had such a fun week with family visiting us! We are sad that it’s Friday since it means that they are leaving soon. Such is life! Have a great weekend!

Read More

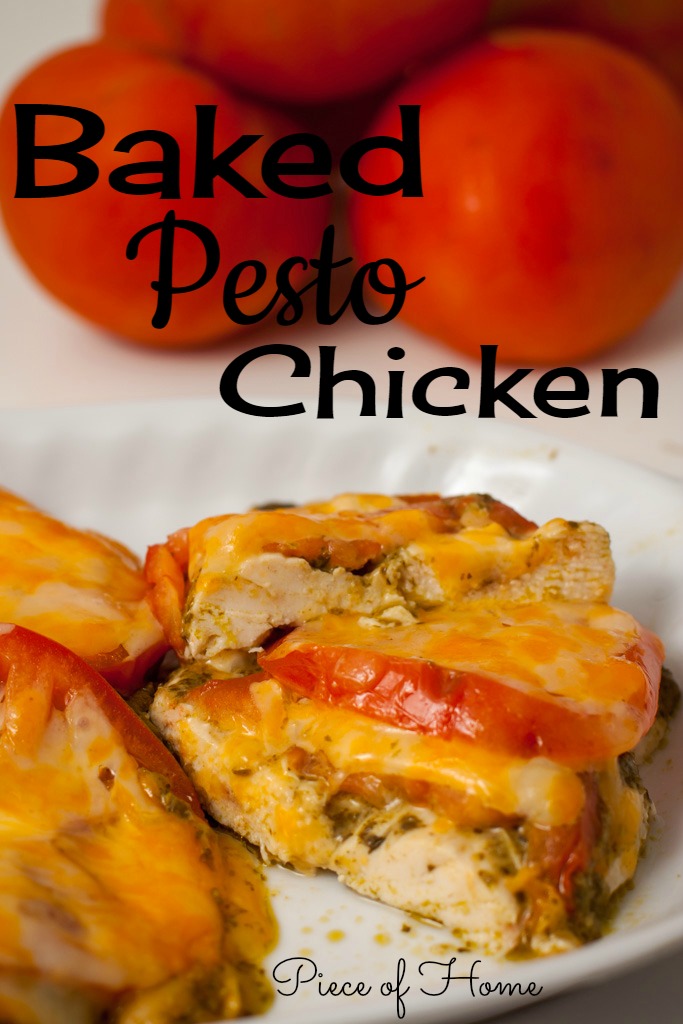
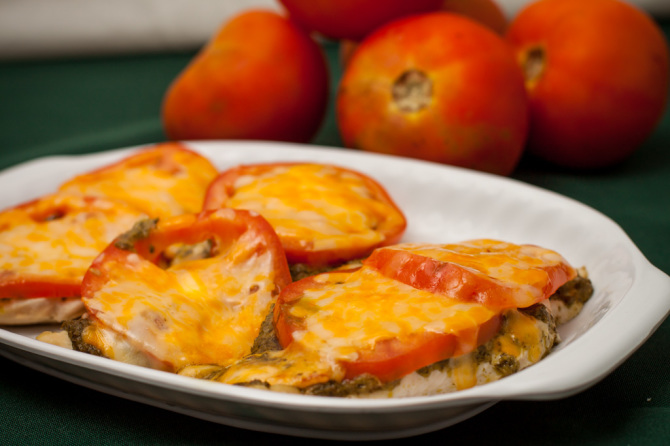
Baked Pesto Chicken

For a fast and satisfying meal, Baked Pesto Chicken is the answer! A healthy and super quick meal that will quickly become a favorite! 

Chicken-Pesto-sliced  Piece of Home

With only a few ingredients in the house, this was the perfect dinner for us the other night! We pretty much always have tomatoes, and this combo was sounding oh-so-fine!

Pesto = happy husband

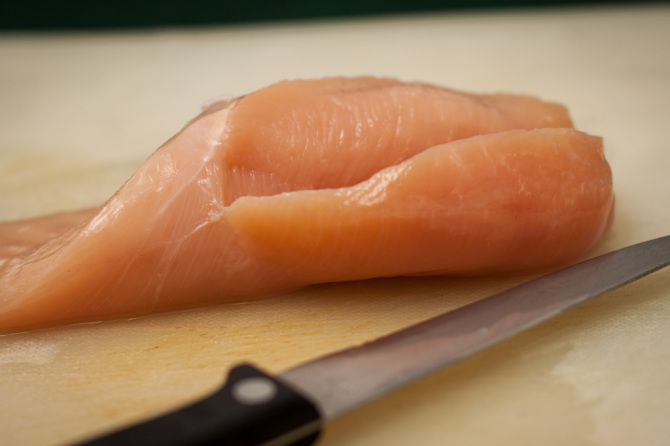
Chicken-Pesto-cut chicken in half

Literally, less than 5 minutes to prepare this bad boy.

Just slice a chicken breast in half.

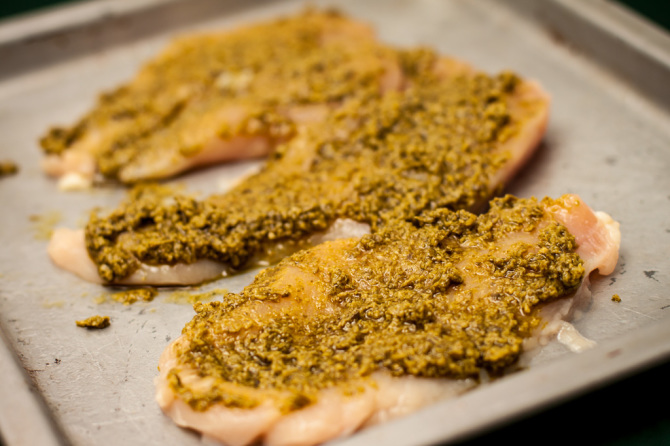
Chicken-Pesto-with-pesto

Smother it in pesto. I went a little over board but my husband loves this stuff!

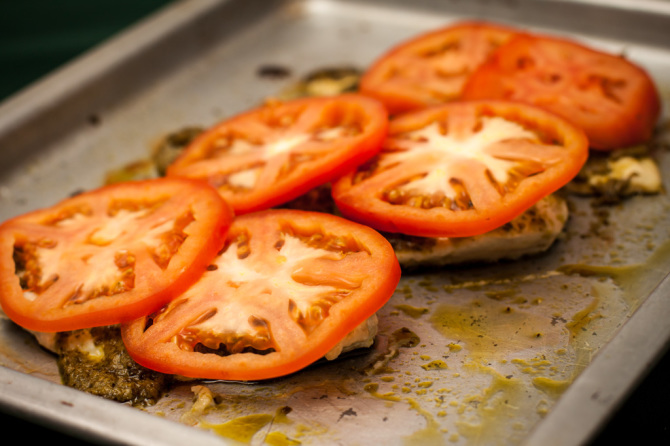
Chicken-Pesto-add-tomatoes

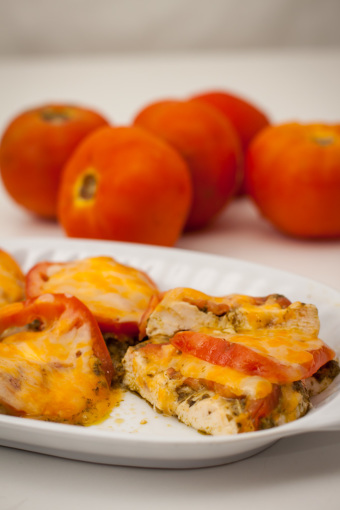
Bake it for 5 minutes then add tomato slices and cheese to the tops.

Chicken-Pesto-add-cheese

Mozzerella cheese would be nice but didn’t have any on hand. It’s also very expensive in Costa Rica so I just used some of my imported cheese I brought from the States.

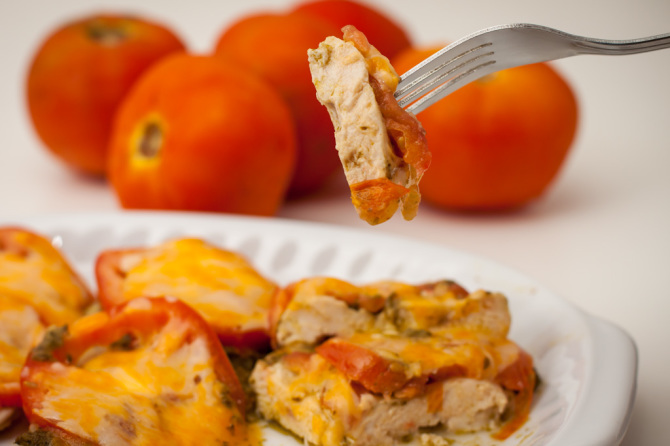
Chicken-Pesto-bite-on-fork

Baked Chicken Pesto

Ingredients:

2 large chicken breasts
1 large tomato
1/2 cup shredded mozzarella cheese
4 Tbs. pesto

Directions:

Preheat oven to 350. Slice each chicken breast in half and place on an oiled baking pan. Place about 1 Tbs of pesto on each half and bake for about 5-7 minutes. Remove chicken from oven and place 1-2 slices of tomato on top of each chicken half. Top with a few sprinkles of cheese. Bake for another 4-5 minutes or until cheese has melted and chicken is no longer pink.

{adapted from: SkinnyTaste}

Apple-Cranberry-Craisen-Salad

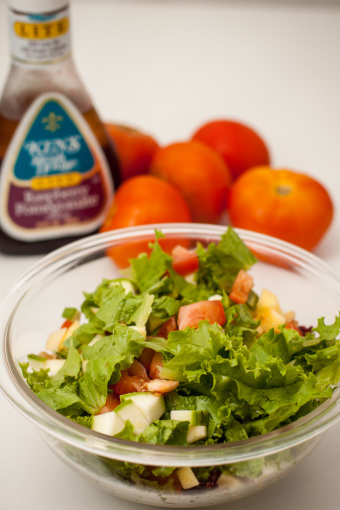
The pesto make this a very juicy and tender meal. It’s very delicious! Add a nice salad to it, and wa-lah! A perfect mid-week dinner! (Salad: Zucchini, tomato, candied walnuts, & craisens.)

Chicken-Pesto-bite-slice

Read More

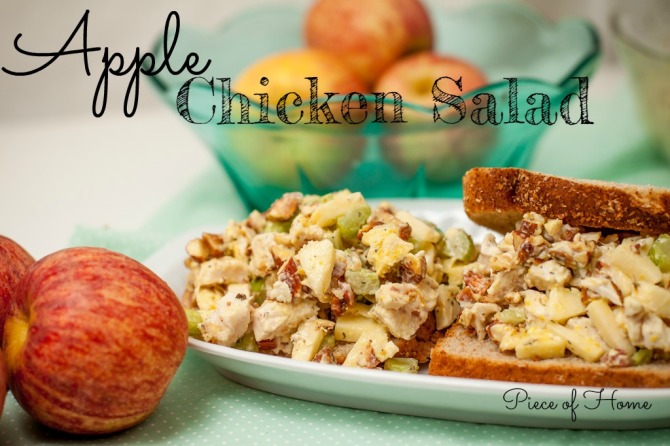
Apple Chicken Salad

A quick, light and refreshing salad that is perfect for lunch! Apple Chicken Salad has the tang and the crunch! 

Chicken-Apple-Salad-2-text

Since the season is for apples, I was really excited to try this Apple Chicken Salad. I have always enjoyed a similar salad with grapes and have loved it!

This one is just as good if not better! I love salad like these where you can add almost anything you want!

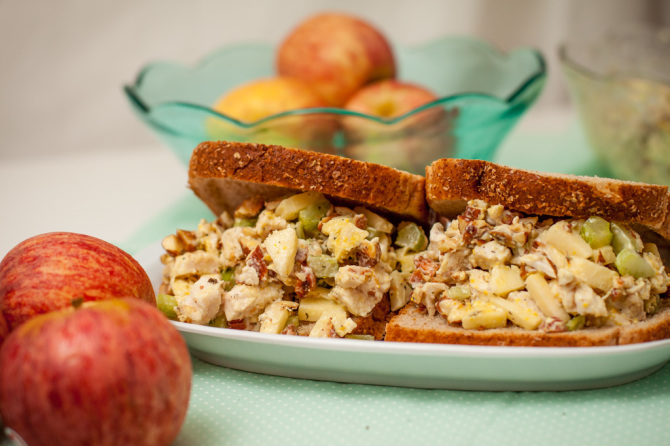
I wasn’t able to find any pita bread when I made this but slap this in a pita and it is the best sandwich you will ever have!

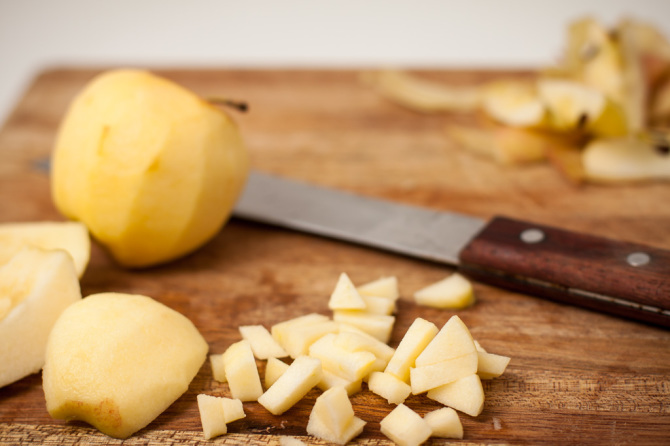
Chicken-Apple-Salad-cut apples

Peel, core, and cut about 2 large apples into small chunks.

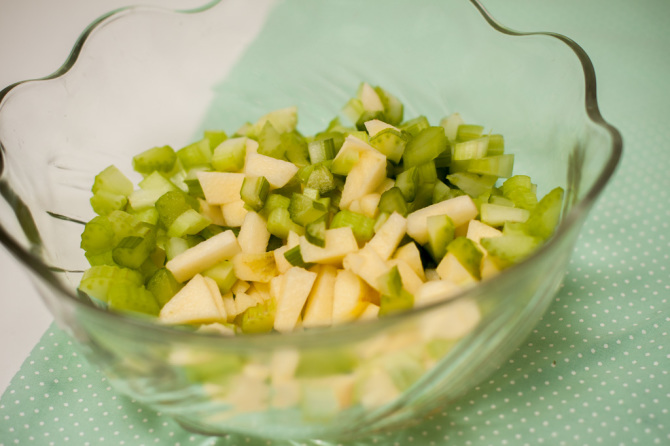
Chicken-Apple-Salad-celery-and-apples

Cut some celery into small chunks and mix it with the apples.

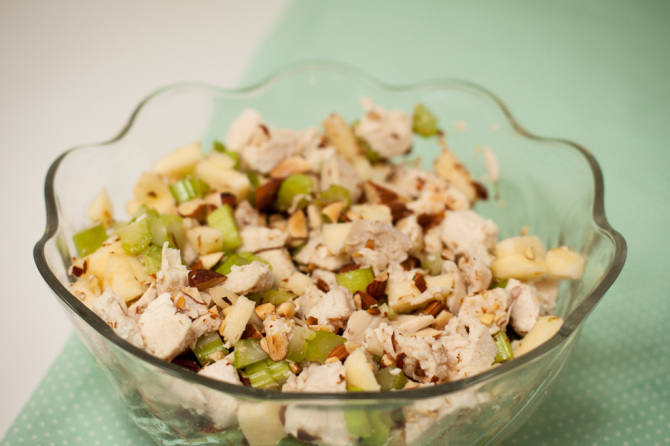
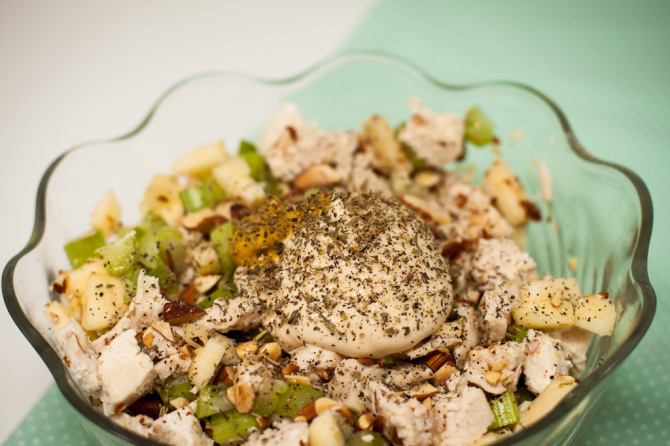
Chicken-Apple-Salad-dry

Add the cooked, cubed, chicken and toasted almonds.

Chicken-Apple-Salad-add-mayo

The best part about this salad is the dressing is as simple as it gets! Add some mayo and mustard, salt, pepper, and a little Italian seasoning. And mix it all up!

This is the perfect meal to take for a picnic because it is all ready to go!

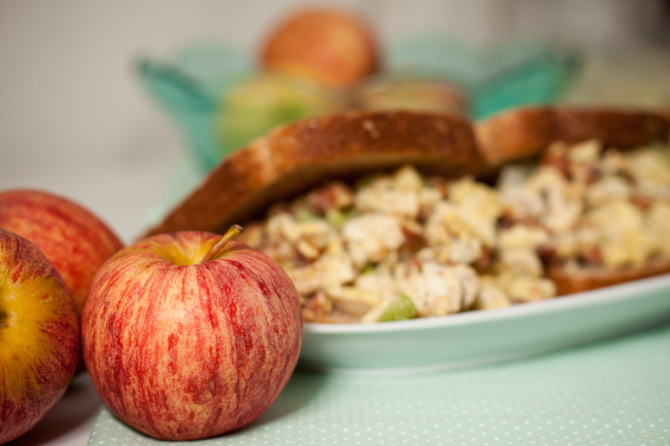
Chicken-Apple-Salad-with-apple

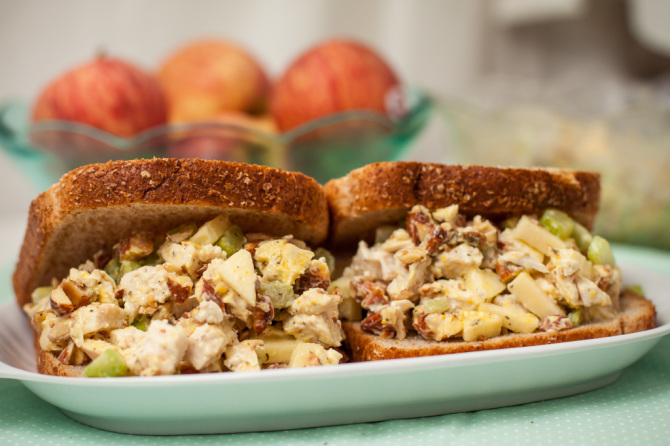
You can enjoy the salad plain, with bread, or in a pita. Best to eat when cold.

Chicken-Apple-Salad

Apple Chicken Salad

Ingredients:

2 large chicken breast, cooked and cubed
2 large apples, peeled and diced
3 stalks of celery, diced
1/2 cup toasted almonds, chopped
1/2 cup mayonnaise
1 Tbs mustard
2 tsp. Italian seasoning
salt & pepper

Directions:

1.Bring a large pot of water to boil. Place the chicken breasts in the boiling water and boil until no longer pink and thoroughly cooked. Set aside to cool.

2. Meanwhile, peel two large apples, de-core, and cut into small cubes. Add to a small mixing bowl.

3.Cut 3 stalks of celery into small cubes and mix with the apples. Once the chicken has cooled, cut and cube into small bite size pieces. The smaller, the better.

4. Pour the almonds onto a plate and toast in the microwave for about 4 minutes, stirring every 30 seconds. Chop them as finely as you can. Add the toasted almonds to the bowl.

5. Once it all all together in the bowl, add the mayo, mustard, and seasons. Chill before eating.

{adapted from Cake & Allie}

Chicken-Apple-Salad-Sandwich

Read More

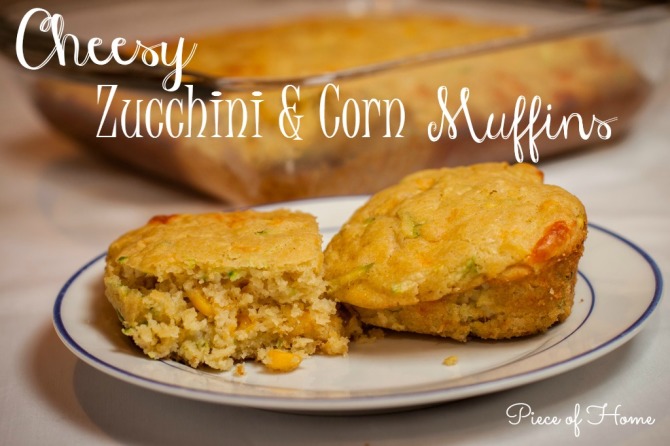
Cheesy Zucchini and Corn Muffins

Soft and moist muffins stuffed with veggies and oozing with cheese! The best cornbread you will ever have! 

Zuchini-Bread-muffins-text

One of the worst things in the world is super dry scratchy cornbread. I guess what’s even worse is when it sticks in your throat and you feel like you can’t swallow right when someone starts talking to you at the table.

The. absolute. worst.

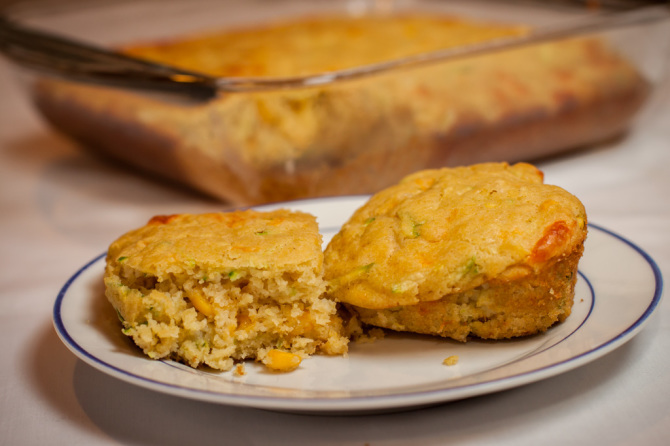
The Best? Problem solved! These amazing corn muffins are filled with zucchini, corn, and cheese making them a super duper moist muffin. They are so amazing!

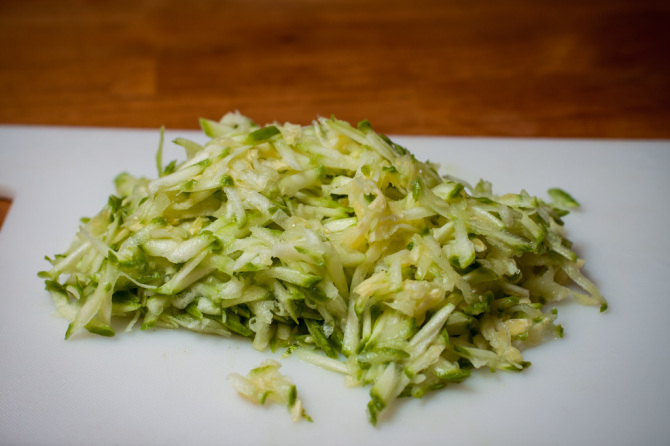
Shredded-Zuchini- for-muffins

Lightly peel the zucchini and shred.

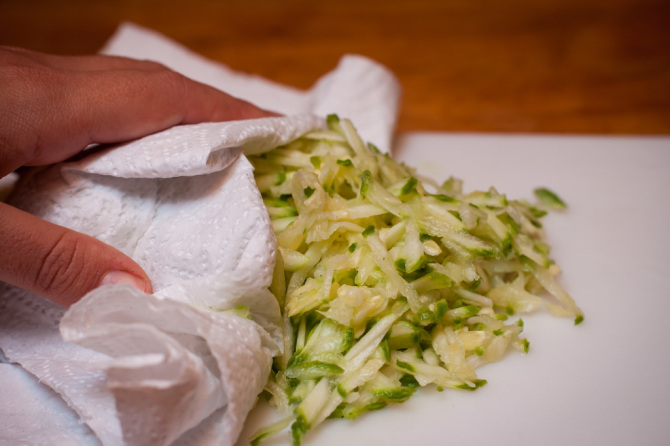
Zuchini-Muffins-drying

Pat dry with a paper towel to get some of the moisture out. You may need to squeeze it some if your zucchini is really juicy.

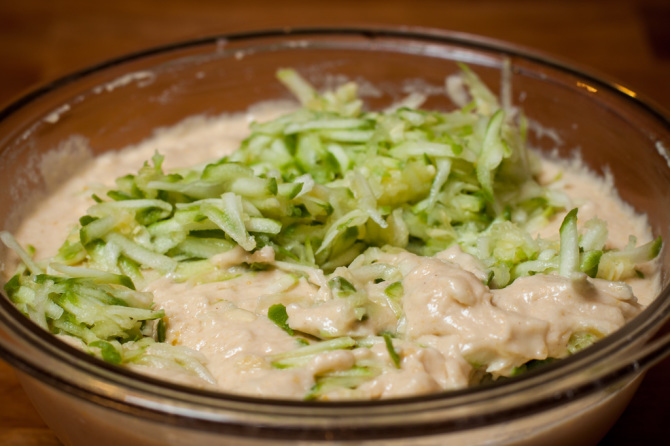
Zuchini-Muffins-dough-mix

In a medium bowl add the flour, cornmeal, sugar, baking powder, baking soda, and salt. In another bowl mix together the buttermilk, eggs, oil, and butter. Add the dry ingredients to the milk mixture and stir.

(Note: I used corn flour because there is no cornmeal in Costa Rica and it turned out really yummy!)

This dough is really fun, its the perfect consistency! Throw in the prepared zucchini.

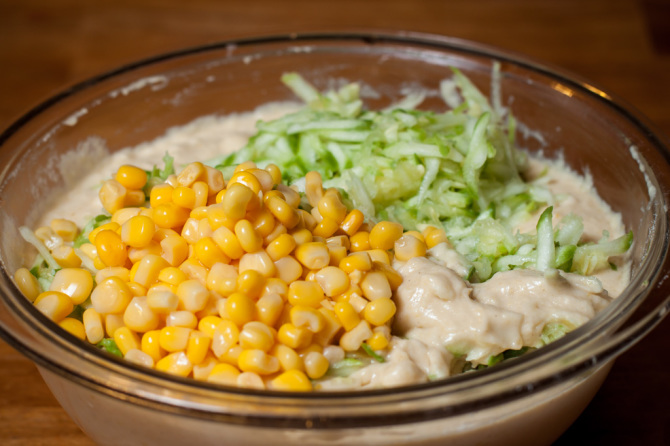
Zuchini-Muffins-corn-and-zuchini

Then toss in the corn kernels. See, isn’t this looking amazing!

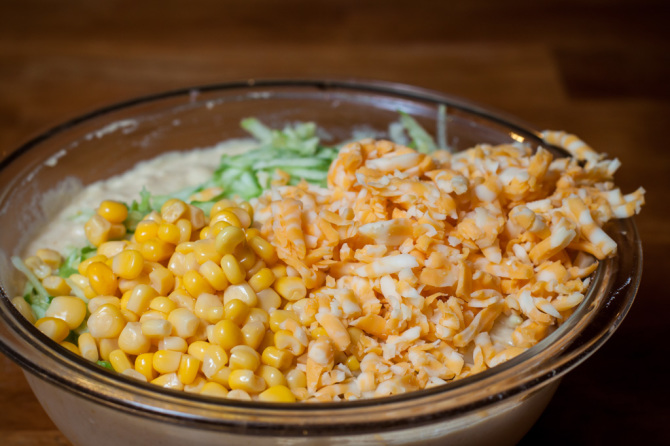
Zuchini-Muffins-with-corn-and-cheese

Of course, can’t forget the cheese!

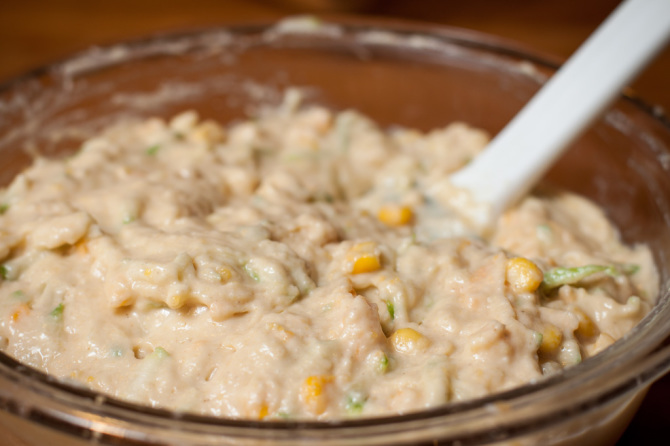
Zuchini-Muffins-dough-mixed

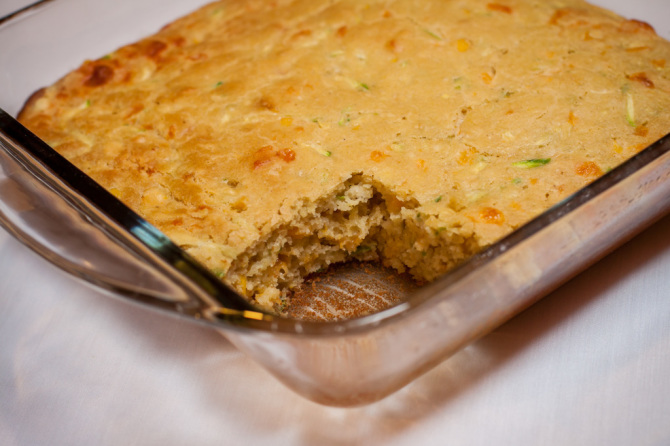
Mix it all up and scoop into muffin tins, or an 8×8 glass baking pan. Serve warm with your favorite chili or soup!

Zuchini-Bread-Pan

Cheesy Zucchini & Corn Muffins

Ingredients:

1 cup all-purpose Gold Medal flour
1 cup course ground yellow cornmeal or corn flour
4 tablespoons granulated sugar
2 1/2 teaspoons baking powder
1/4 teaspoon baking soda
1/2 teaspoon salt
1 cup buttermilk
3 tablespoons unsalted butter, melted and cooled
3 tablespoons canola oil
2 large eggs
1/2 cup shredded zucchini, patted dry
1/2 cup sweet corn kernels
1 cup shredded Cheddar Cheese

Directions:

1. Preheat the oven to 400 degrees F. Prepare a muffin pan with cooking spray or an 8×8 glass baking pan.

2. In a large bowl, whisk together the flour, cornmeal, sugar, baking powder, baking soda, and salt. Set aside.

3. In a medium bowl, whisk the buttermilk, melted butter, canola oil, and eggs until well blended. Add the dry mixture to the liquid and mix well. The batter will be lumpy. Fold in the zucchini, corn, and cheddar cheese. Scoop the batter into the muffin tin or glass pan.

4. Bake for 15 minutes, or until the tops are golden. Let it cool for 5 minutes. Serve warm.

{adapted from Two Peas and Their Pod}

Zuchini-Bread-muffins

Read More

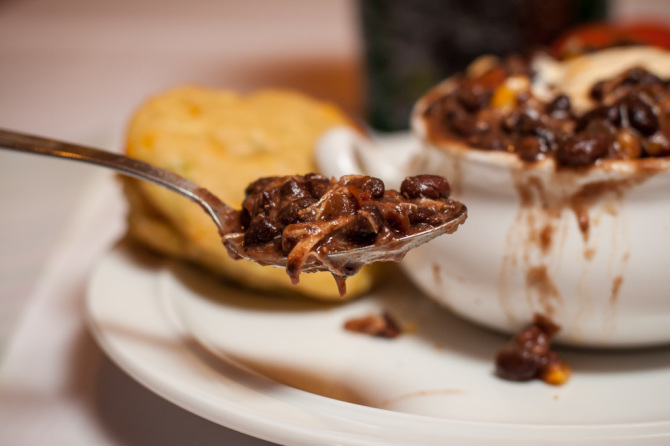
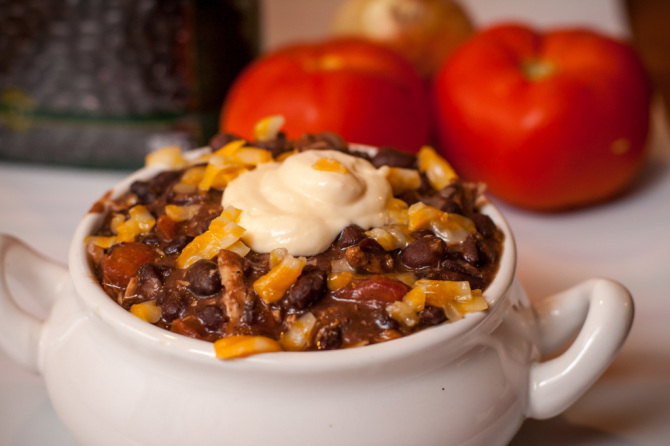
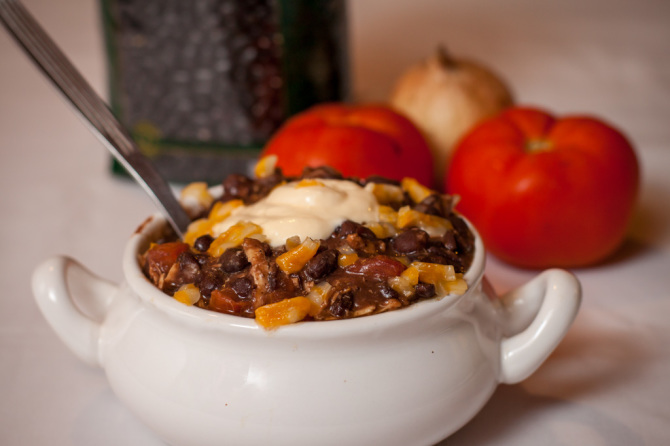
Black Bean Chili

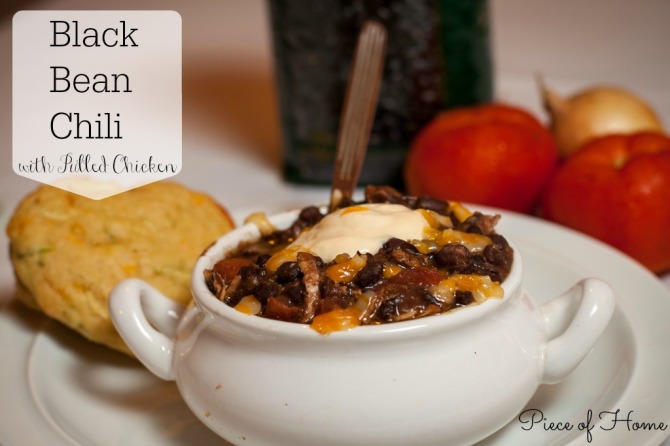
A meal packed with protein and spice! Black Bean Chili is a quick meal that fills you up fast! 

Chili-Beans-Piece-of-Home

Oh black beans… how I have come to like you after all this time.

Growing up in Southern California where pinto beans and Mexican food is abundant, imagine my surprise in finding only black beans in Costa Rica…

Oh and never mention a burrito… *blank stare* What’s a burrito?

Yes folks, Central America is not Mexico. No burritos, no tacos, and no pinto beans *sniff*

Black Bean Soaking

A friend of mine and I were chatting the other day when he asked me if I had any chili bean recipes up my sleeve. Well, my options are way more limited than what I am used to but black beans are my only option. It’s really quite delicious, hence the love hate relationship.

I’ll always be loyal to my pinto beans though. It’s a forever kinda thing.

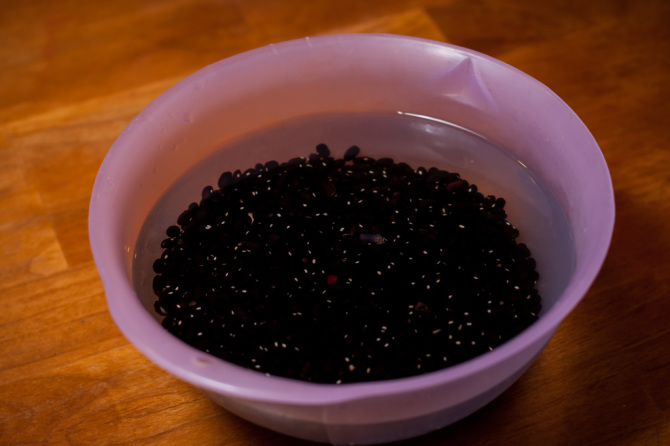
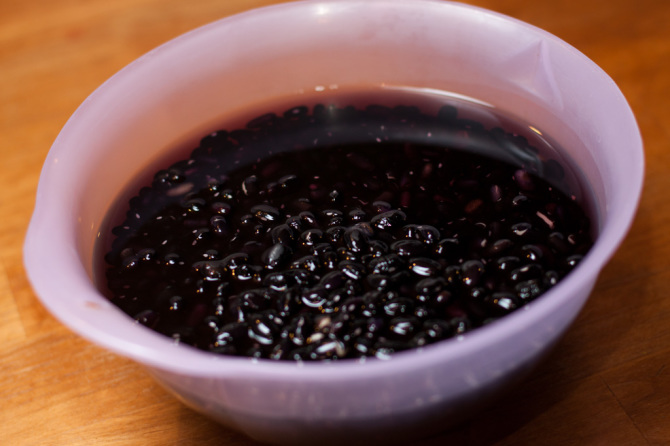
So I have never really made beans from scratch until we moved here. I always went for convenience rather than time. But it’s pretty easy! I start by soaking the beans in water about 30 minutes before cooking them. See how they swell!

Beans Soaking

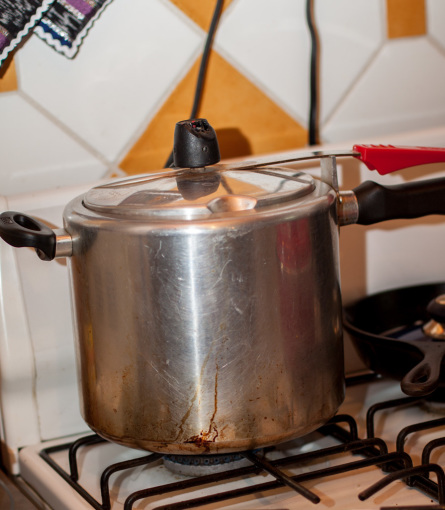
Then put them in a pressure cooker and cook for about 40 minutes. If you don’t have a pressure cooker you can simmer them in a pot until tender. About 1 hour.

The pressure cooker scares me because I have heard so many horror stories but I just be as careful as I can!

Beans in Pressure Cooker

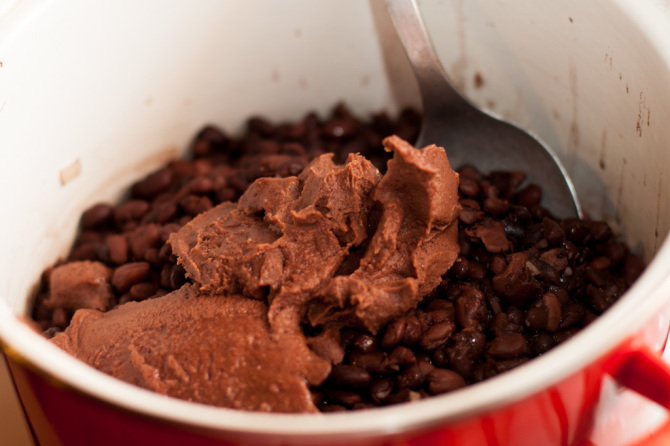
Once the beans are done, add them to a large cooking pot. I strained out some of the water but left enough to make the chili juicy. Stir in 1 can (or in CR it’s a pouch) of re-fried beans. These of course were also black beans but you can try this recipe with your favorite bean or even a mix!

Beans with Refried Beans

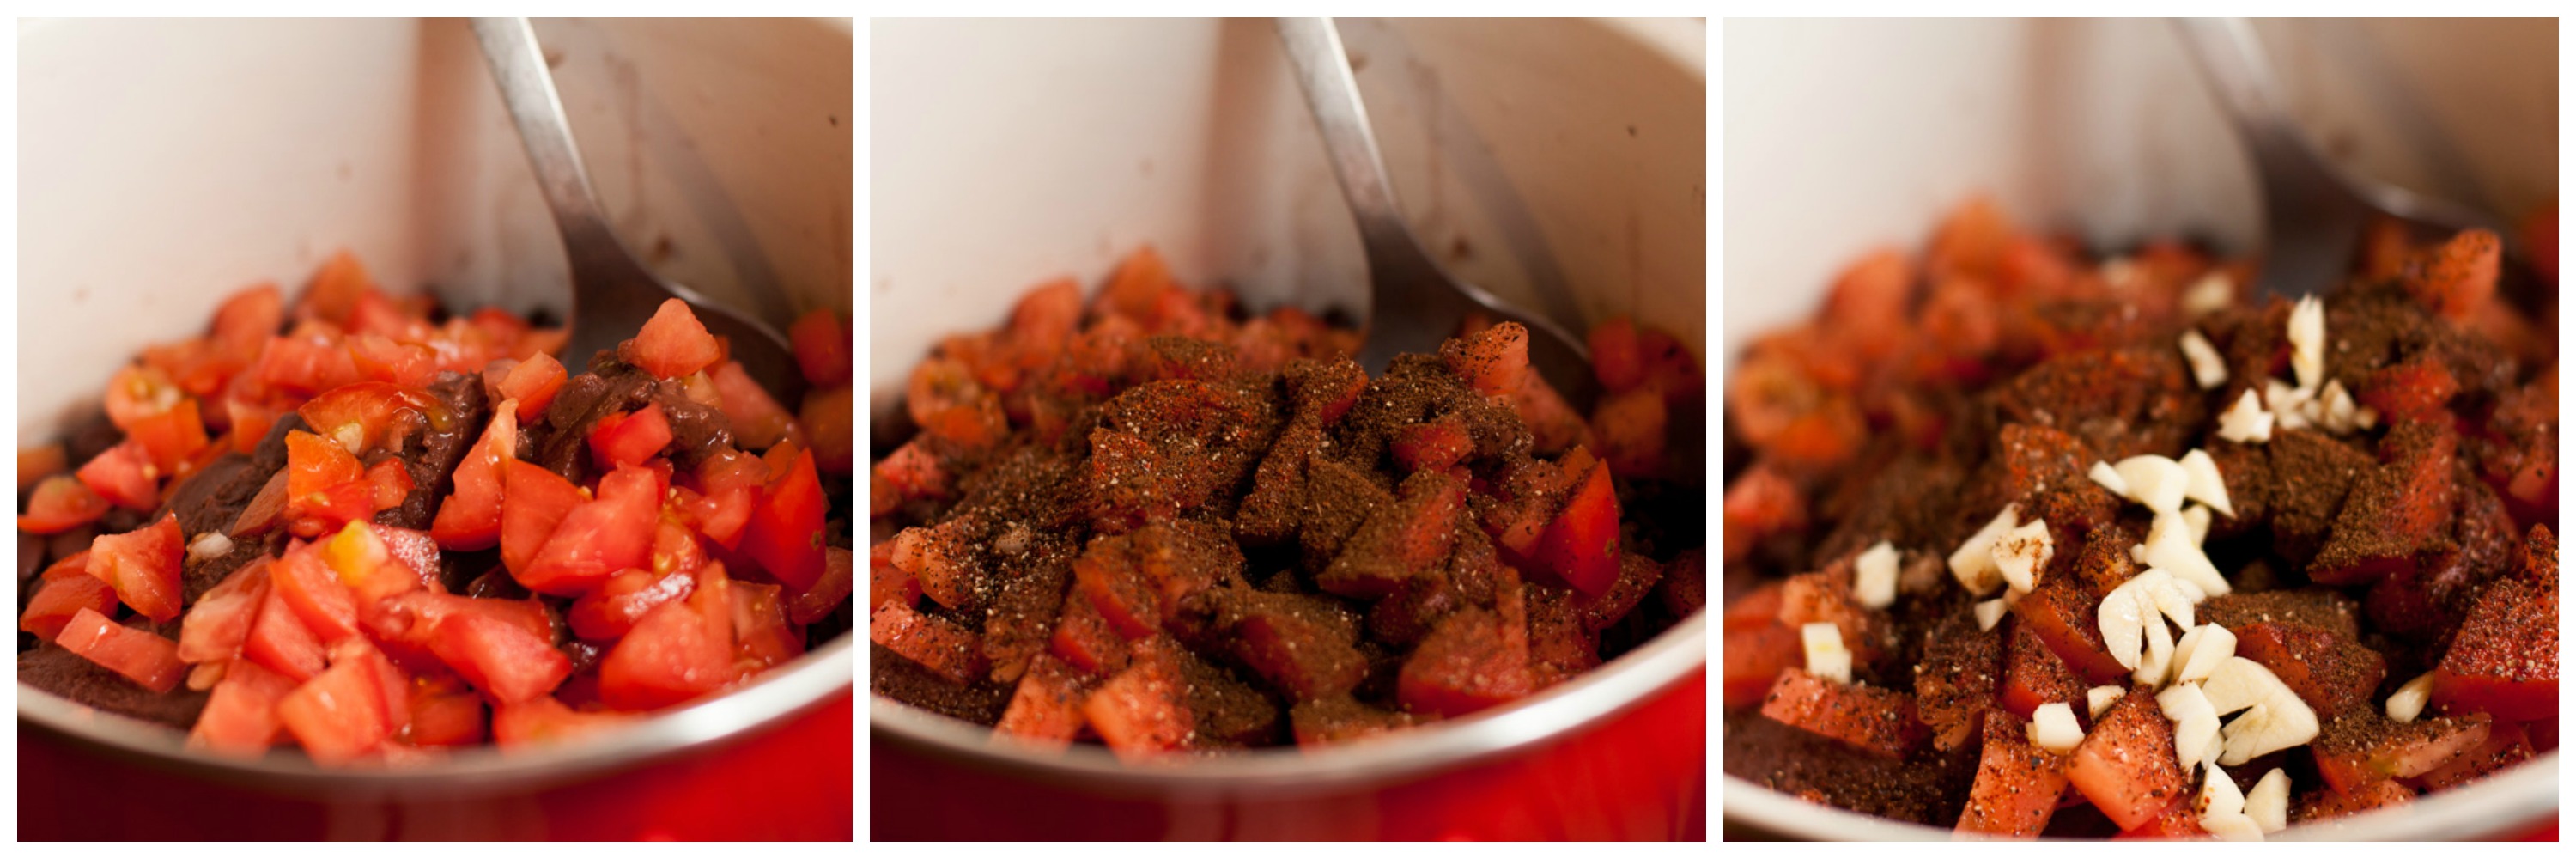
Next, add chopped tomatoes, spices, and minced garlic.

Chili Beans Collage

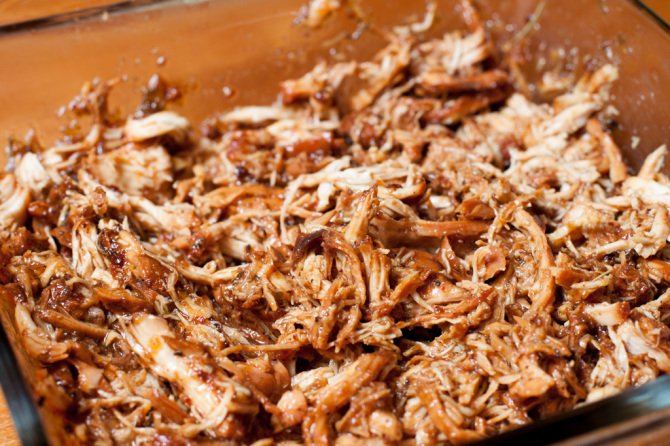
Stir everything together. Put the pot of chili on low and simmer. I added pulled chicken to this recipe but ground beef would be easy and fast too. Just place the chicken in a pan with some spices and cook on low until tender enough to pull apart. This can be done in a crock-pot too.

Pulled Chicken

Add the chicken or the meat of your choice and stir. Let it simmer until you are ready to eat!

Chili-Beans-6

 Black Bean Chili

Ingredients:

4 cups of cooked black beans, juice reserved
1 (15 oz.) can of refried beans
2 large tomatoes, diced
4 garlic cloves, minced
1 small onion, diced
1 Tbs. Cumin
2 tsp. Chili Powder
3 tsp. salt
1 tsp garlic powder
2 cups of pulled chicken or ground beef
green onion for garnish
grated cheese for garnish
sour cream for garnish

Directions:

In a large crockpot, cook down 2 chicken breasts until tender and pull apart with a fork. (about 2 hours). In another large pot, combine the cooked beans, refried beans, onion, garlic, tomatoes, and spices. Mix together and let simmer. Add the chicken (or ground beef if you prefer). Serve warm and top with cheese, green onion, and sour cream.

Enjoy!

Chili-Beans-1

Chili-Beans-2


Read More

Friday Favorites Week 5

TGIF! What a busy week! Hope you all had a wonderful week! I’m really looking forward to the rest of this month with lots of visitors and family. It will keep me busy! I have banana bread in the oven now! Busy, busy!

Here are my Friday favorites! There are some fun things I would love to try!

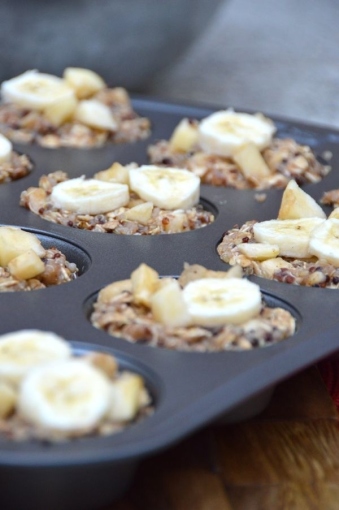
Apple Quinoa Bake

Favorite Breakfast: Apple Banana Quinoa Breakfast Cups

I have a bag of quinoa I need to use up so I am really excited about some new recipes I found this week! Comment below if you have any quinoa recipes that are your favorite!

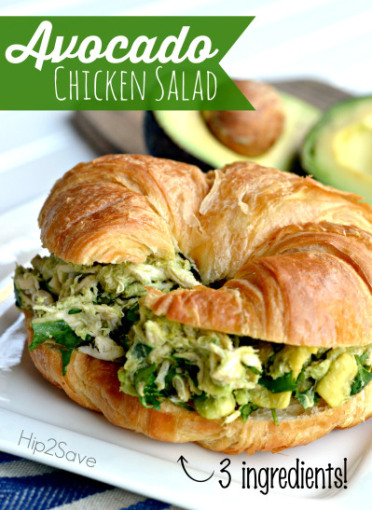
avocado-chicken-salad-easy-recipe-hip2save

Favorite Avocado Idea: Avocado Chicken Salad

Romantic Setting

Favorite Romantic Setting: Romantic Date Night

I would love to do this! Next to the river at dusk would be amazing!

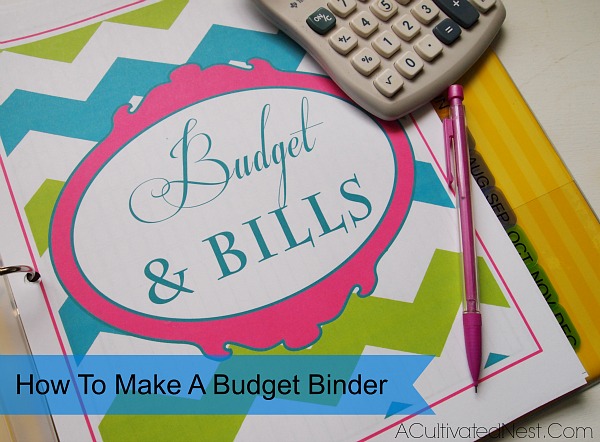
OLYMPUS DIGITAL CAMERA

Favorite Budgeting Tips: How to Make a Budget Binder

There are some good tips here!

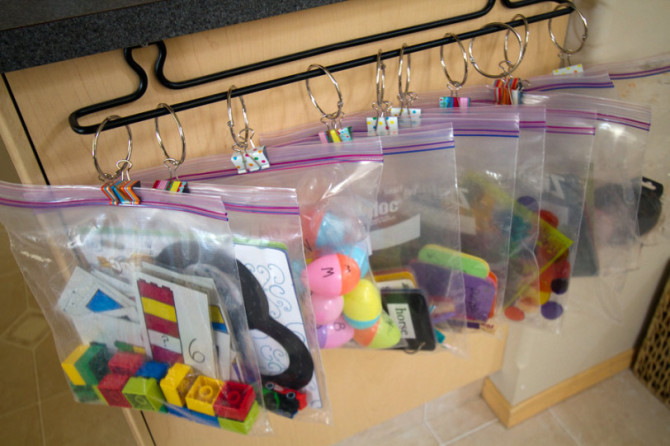
busybags

Favorite Preschool Tricks: Toddler Busy Bags

These are genius! I want to make some!

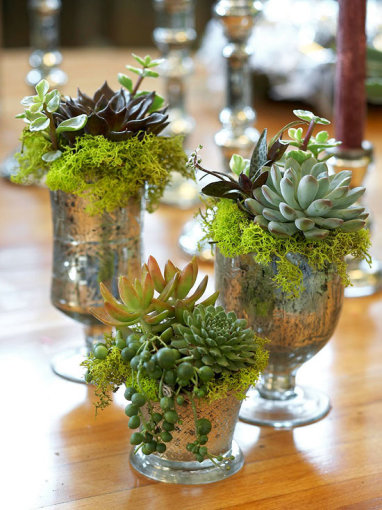
succulent planters

Favorite Center Piece: Succulent Planters

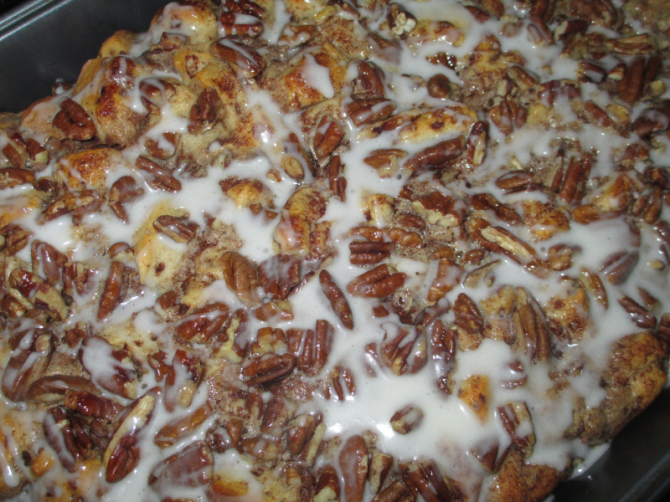
Cinnamon-Roll-Dessert-02

Favorite Dessert: Cinnamon Roll Breakfast Casserole

I know it says breakfast but I’m totally feeling dessert right now so dessert it is!

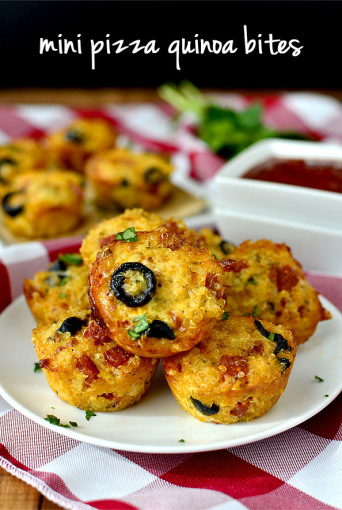
Mini-Quinoa-Pizza-Bites-01_mini2

Favorite Snack: Mini Pizza Quinoa Bites

These look like such an amazing way to use quinoa!

ToddlerArt

Favorite Art Project: Toddler Art

This is a good way to use the art without it looking so messy!

butterfinger-eggs-collage

Favorite Candy: Homemade Butterfinger Eggs

atlantic-ocean-road

Favorite Road: Atlantic Ocean Road, Norway

Oh man, bucket list status. Please. Let’s just go.

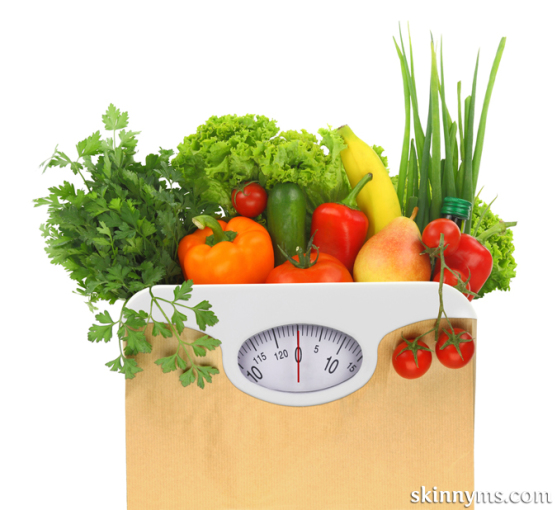
5-Daily-Menus-–-How-I’ve-Maintained-My-Ideal-Weight-for-5-Years

Favorite Weekly Menu: 5 Daily Menus for Weight Loss

funny-thoughts-bored-mouth

Favorite Laugh: Rarely A Good Thing

This was such a great week! I have been getting so much done and really looking forward to family visiting! Hope you all have a great weekend! Feel free to share your favorite quinoa recipes below! I’m looking to try something this weekend!

Alyssa Signature


Read More

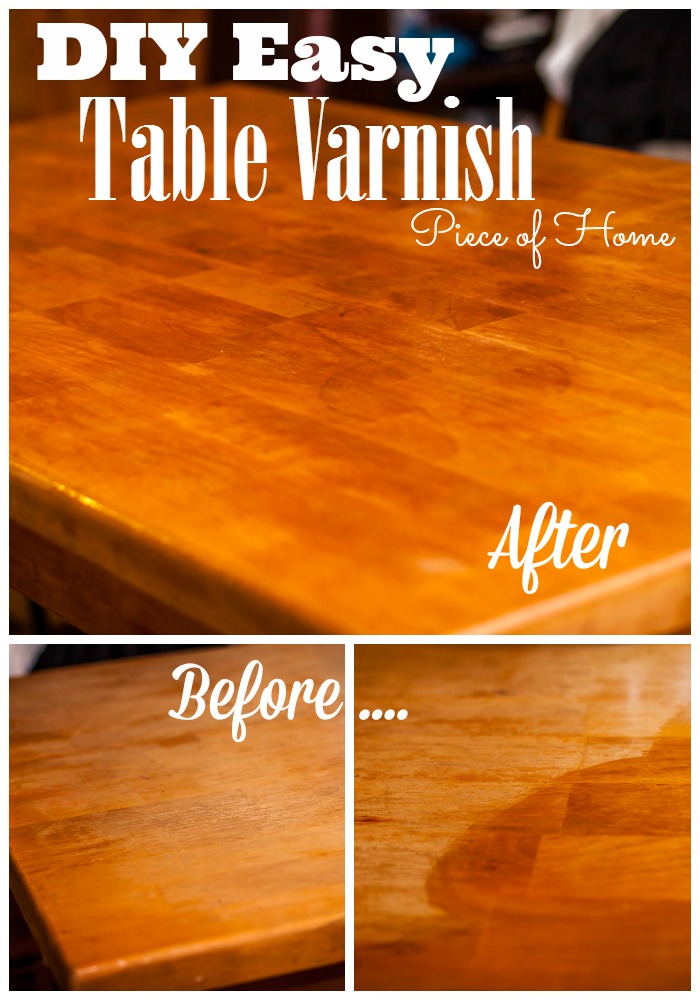
DIY Table Varnish

For a quick fix to make your furniture look amazing, this easy DIY table varnish is the best go-to solution!

Table Varnish

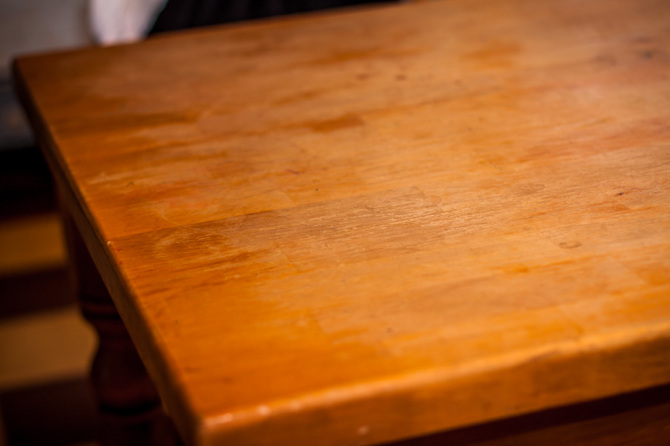
I have been so tired of putting always needing a tablecloth. I love tablecloths, don’t get me wrong but who doesn’t like a nice shiny table! The table we have at our house has been, uh, well loved….

So, I started in on a simple project for the table! I was really excited once I was halfway through and realized how nice it was turning out!

DIY revarnish Before

I didn’t even have to sand anything! Obviously, sanding a table and re-varnishing would make it look really nice but this was just a quick fix, easy project that only took 30 minutes!

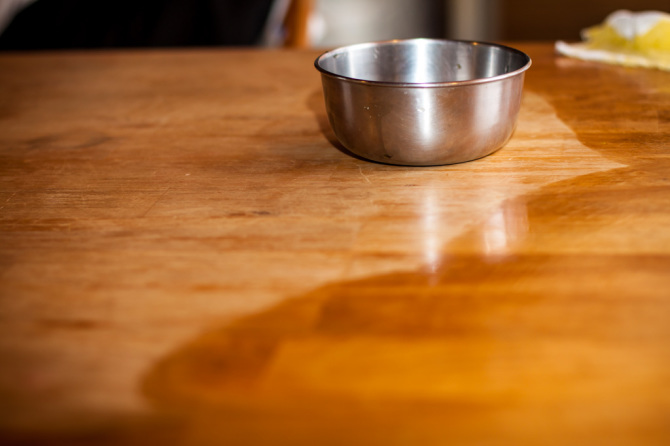
DIY revarnish big difference

You can really see the difference here, each swipe was just making the table look better and better! What’s the trick you ask? Only two ingredients. Vinegar and Olive Oil.

Say What!?

Just mix the two together in a bowl, and using a soft cloth, rub the mixture into the wood.

Just like that, simple and super easy!

DIY revarnish halfway

Once the mixture has been rubbed in, let it soak in and possibly do another coat. Once it has had a good soak then run over it with a paper towel to soak up any excess.

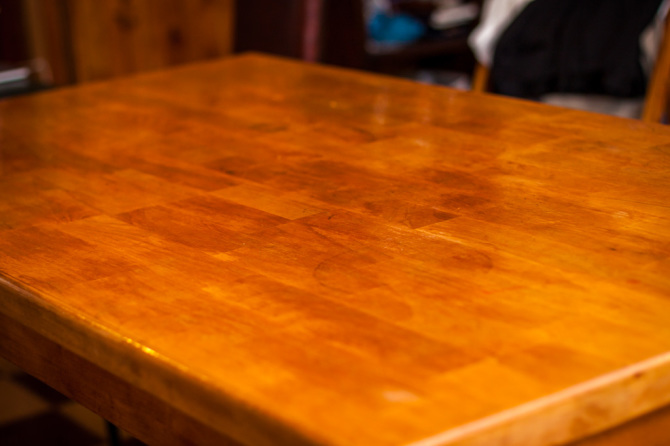
DIY revarnish completed

Just beautiful! I figured it was worth a try and I am so glad I did it! Much better!

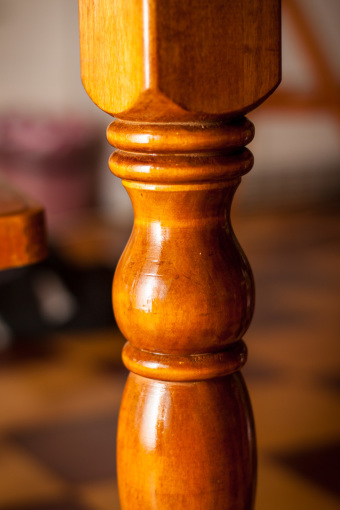
DIY revarnish table leg

DIY Olive Oil & Vinegar Re-varnish

What you will need:
A small mixing bowl
A soft cloth
3/4 cup Olive Oil
1/4 cup White Vinegar

Directions:
Mix together the Olive Oil and Vinegar and using a soft cloth rub into the wood you are re-varnishing. Rub two coats and let soak. Using a paper towel, rub off any excess oil that has not soaked in.

Perfect! The table should look much, much better!

Read More

Apple Cinnamon Rolls

A soft, sweet, roll filled with cinnamon and brown sugar, with a crunch and tang of apple. Apple Cinnamon Rolls are a wonderful fall time treat! 
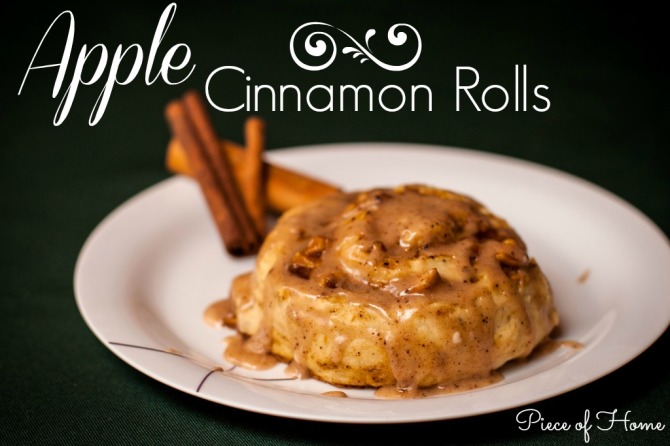
Apple Cinnamon Roll  Piece of Home

Since I have a huge sweet tooth for cinnamon rolls, I could not resist making an apple version!

Well, who can resist cinnamon rolls anyways?

I used my Easy Cinnamon Roll recipe for the dough, because it’s easy and I don’t have to wait. Waiting forever for cinnamon rolls is not my idea of fun. If I want to make these it needs to be done in about half and hour. I love recipes that accommodate that need.

And, I don’t think I’m the only one out there who’s like that… just give me easy!

Making the apple filling is a fun part of the process because of the amazing smell! I just love the smell of warm apples cooking! So just melt the butter, and thrown in the chopped apple chunks, white sugar, brown sugar, and cinnamon.
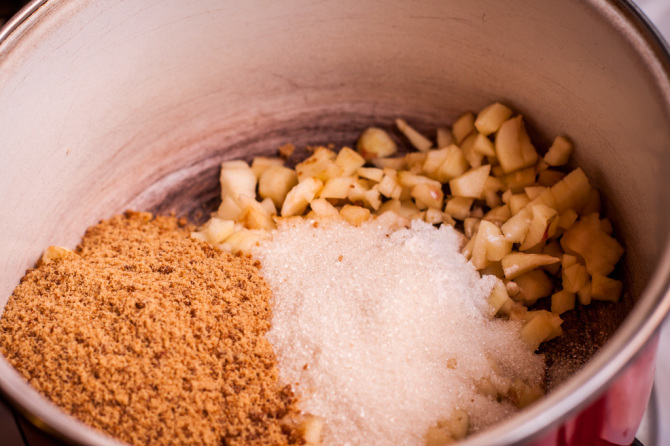
Apple Filling Mixture

Heat on medium heat until you start smelling those wonderful smells! It can simmer while you make the dough.
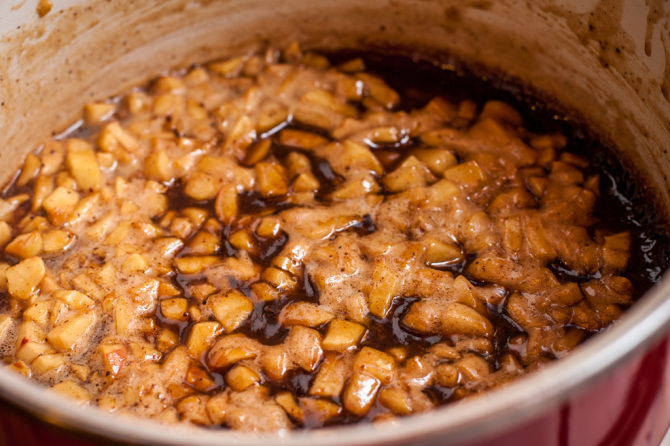
Cooked Apple Filling Mixture

Throw in all the dry ingredients (I added some cinnamon to the dough too!) and work your dough ball into a rectangle as best you can. I used a roller and was able to get a pretty nice sized rectangle.
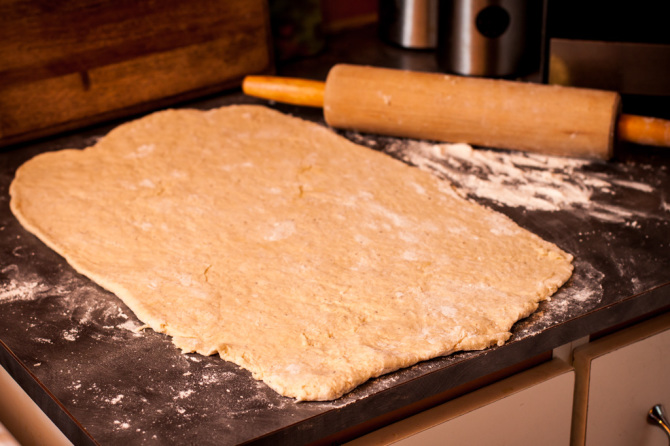
Apple Cinnamon Roll Dough

Don’t be afraid to use lots of flour to keep it from sticking!
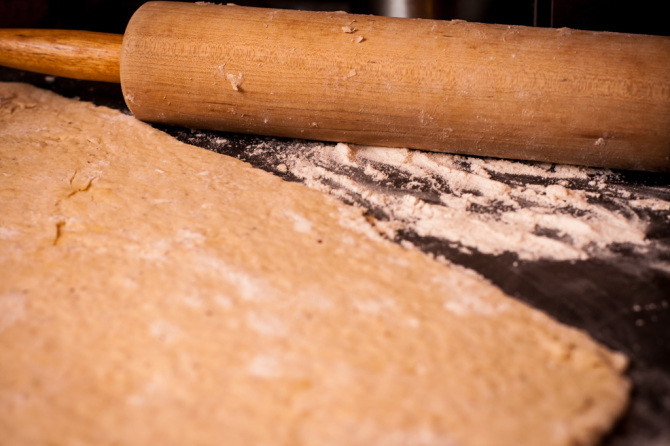
Apple Cinnamon Roll Dough with Rolling Pin

Next, add the apple filling to the dough.
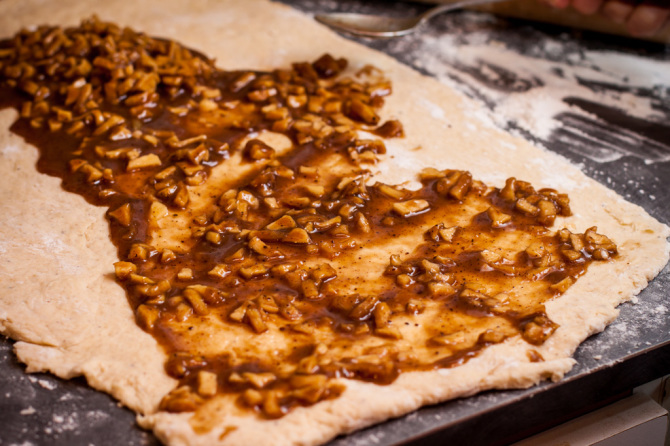
Apple Cinnamon Roll Dough with Apple Filling

Spread it all around until it’s covering all the dough. Try and get as close to the edges as you can because you don’t want the bread to dry out in the oven.

This is so fun. My husband was like, “Ok, ok,  I think you got it good enough” I was just dazing out like “la,la,la,la, just spreading my apples.” *Snap* Oh, yeah… you’re right! To the oven we go!
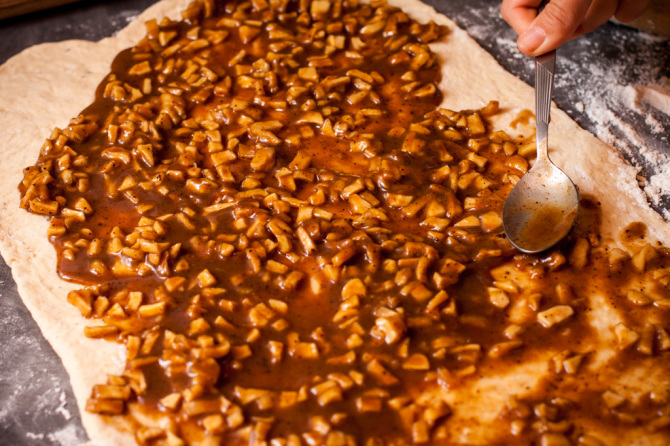
Apple Cinnamon Roll Dough - Spead Filling

Start at one long side of the rectangle and begin rolling. The apples might squish out but try and keep as much as you can in there. You might need to lift and roll.
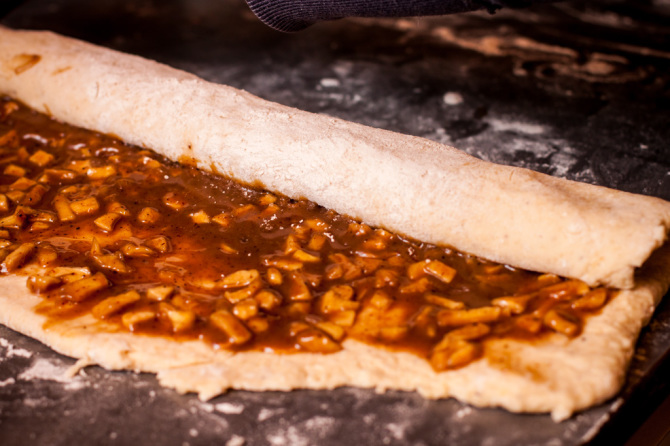
Apple Cinnamon Roll Dough - Rolling

I used the apples that got squished out to put on top of the cinnamon rolls once they were in the pan. So have no fear! They will get used!

We don’t waste sticky, apple, yumminess!
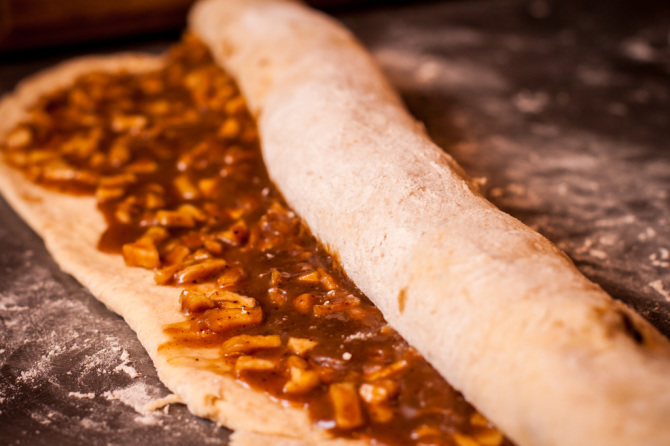
Apple Cinnamon Roll Dough Final Roll

Then you should have a perfect apple dough roll! You can use a drop of water to seal the final flap of the cinnamon roll so it doesn’t come unrolled. Just rub a little water underneath the flap and stick it to the dough.
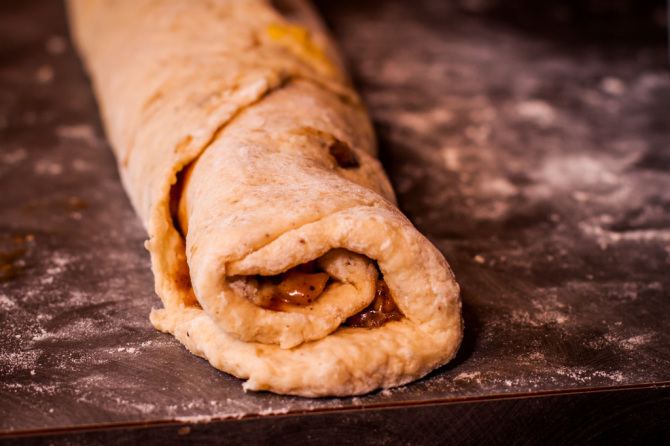
Apple Cinnamon Roll Dough - Completed Roll

Next, using dental floss or a knife, gently cut into rolls. Each roll about 2 inches wide.
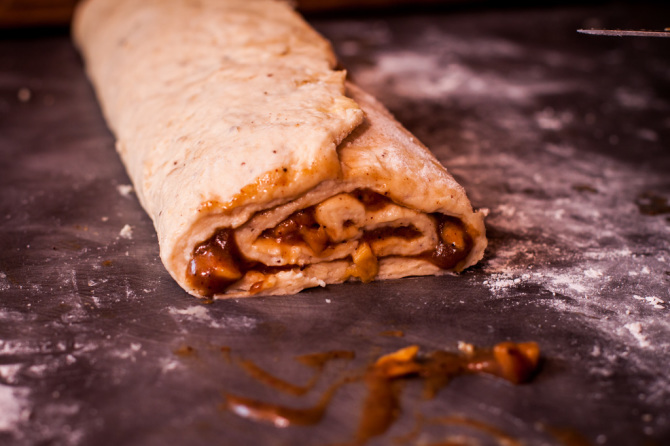
Apple Cinnamon Roll Dough - Slicing off Rolls

Place the rolls in a greased pan and cover the tops with any extra apple mixture that may have sneaked out.
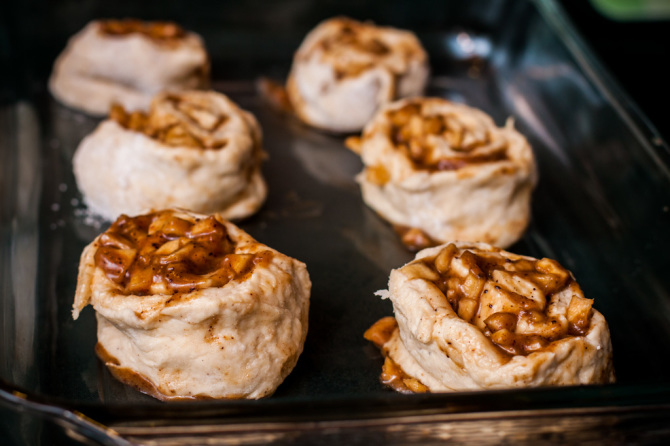
Apple Cinnamon Roll Dough - Ready for the Oven

Bake for about 10-12 minutes or until golden brown.
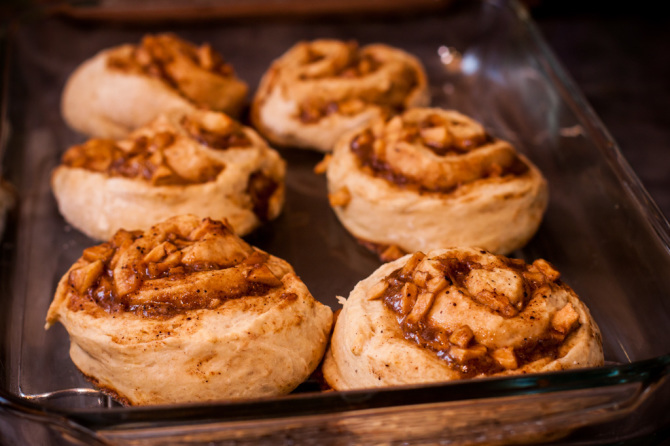
Apple Cinnamon Rolls out of the oven

Top the Apple Cinnamon Rolls with the cinnamon glaze and enjoy them while they are warm!

I made these for some friends of ours and they were just raving about how fast I was able to whip them out and how yummy they were!

Cinnamon Roll Snack

Thank goodness apples are easy to come by in Costa Rica! We are in apple heaven!
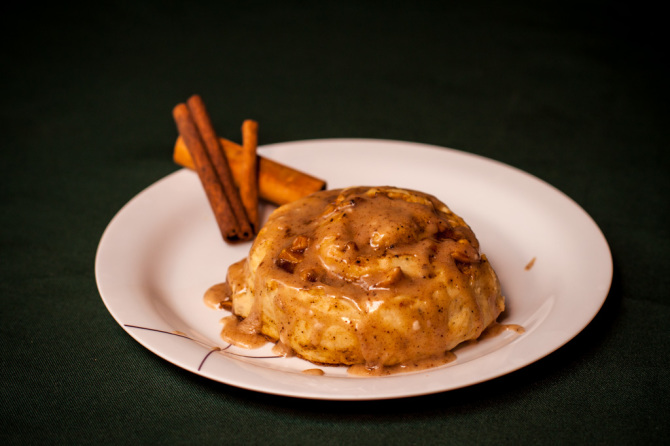
Apple Cinnamon Rolls

For the glaze, melt 1 Tbs of butter and add the powdered sugar, cinnamon, and milk. Stir until well combined. Add more milk if needed to get the desired consistency.
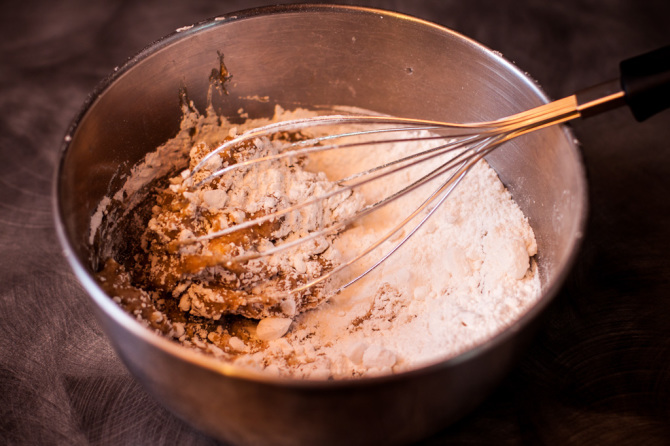
Apple Cinnamon Roll Glaze

This glaze is really yummy! The cinnamon goes perfectly with the apples in the Apple Cinnamon Rolls!
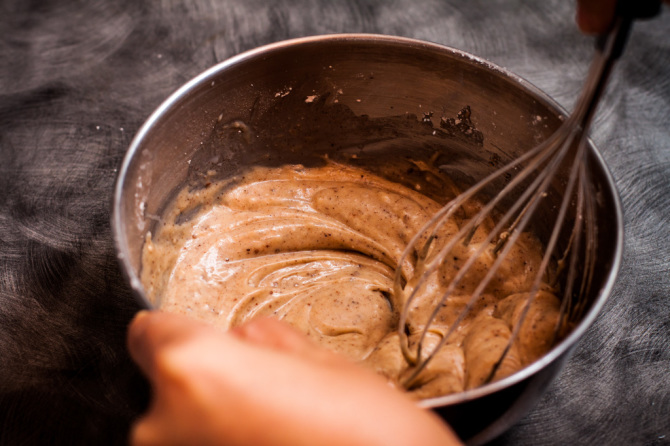
Apple Cinnamon Roll Dough Glaze with Cinnamon

Apple Cinnamon Rolls

Apple Mixture:

2 large apples, peeled and cubed
4 Tbs. of butter
1/2 cup brown sugar
1/4 cup white sugar
1 Tbs. Cinnamon

Cinnamon Roll Dough:

2-1/2 cups all purpose flour, plus more for rolling out dough
1/4 cup granulated sugar
1-1/2 teaspoons baking powder
1/2 teaspoon baking soda
2 tsp. cinnamon
1/2 teaspoon salt
1 cup buttermilk
5 Tablespoons butter, melted and divided

Glaze:

1 Tbs of butter, melted
1 cup powdered sugar
1 tsp. cinnamon
1 Tbs. milk

Directions:

  1. Preheat oven to 425. Combine apple filling ingredients in a small saucepan, and simmer until mixture is thickened.
  2. In a large bowl, combine flour, sugar, cinnamon, baking powder, baking soda and salt. Whisk together buttermilk and 4 Tablespoons melted butter in a separate bowl, then pour into the middle of the dry ingredients. Stir together until dough just comes together, Kneed slightly with your hands until the dough forms into a ball
  3. On a  floured surface roll into a rectangle. Using a rolling pin you should be able to get about a 24×10 inch rectangle. Spread the filling mixture onto the dough making sure to get all the edges well.Then starting from the long side, roll like a sausage. Pinch together the seam and cut into slices.
  4. Place the rolls in a non-stick sprayed 9×13 pan. Top cinnamon rolls with remaining apple mixture that may have squished out when you were rolling and bake for 10-15 minutes, or until tops are golden brown.
  5. To make the glaze melt the butter and stir in powdered sugar, cinnamon. Whisk in milk, until creamy or add more until you reach your desired consistency. Drizzle onto hot cinnamon rolls and spread evenly.

{Inspired by Easy Cinnamon Rolls}

Read More