These tasty, moist scones are a quick creation that are just the right size!

More and more bananas. Sometimes I feel over my head in bananas, I can hardly shut the freezer door! The best part is, these banana scones were one of the best things that came out of my recent banana marathon. They make my heart do flips.
And my neighbors love them.
And of course, my husband!
Would you just look at all these bananas!?


This was right after we chopped the bananas down from the trees out on the farm. These bananas are so small (and dirty) compared to what we are used to buying at the local grocery store with Chiquita banana stickers. No stickers here!
But it is like anything you grow, it is fresh and organic-ish! And yummy! Seriously, I have never tasted such a sweet banana. They are the best snack!
Some of my friends have asked if the machete is my new kitchen tool. (noted in the pictrues above) Well, if I want bananas then I suppose it is! That thing is wicked!
Here are the bananas all prettied up and posing.

Ok, ok, I’m getting to the real deal.
Enter, Banana Scones…….drumroll
These scones are one of the quickest breakfast recipes to make.
Ever.
I made these for breakfast one morning and had them ready for the oven in about 15 minutes. They only take about 7-10 minutes in the oven! Needless to say our guests were impressed (or they just think Americans are funny or something).
Oh, I forgot to mention they are from Guatemala. They get a kick out of our American food – basically something besides rice and beans. So the whole chocolate chips with bananas in a cute little bread form is a little strange to them. What a shame. So glad I can help out with that!
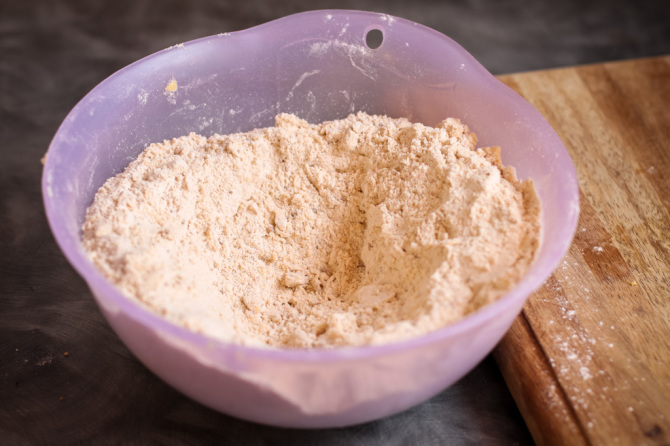
First, add all the dry ingredients together. And stir it all up!
Now the fun part!
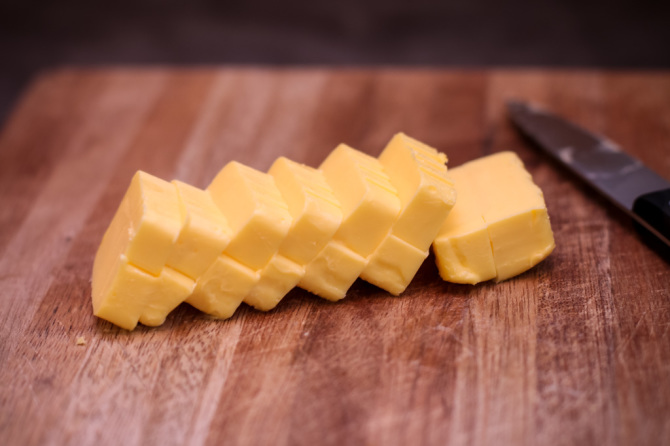
Cube 3/4 stick of butter into small cubes and using a pastry blender, fork, or your fingers, mix together until the butter forms a crumb like texture. I’ve found it’s easier for me to use my fingers.
Besides, who doesn’t want to get up to their elbows in flour!
When you are finished, it should look a little like this. Crumbly and little dry. I cut down the butter in this recipe from the original because I like less butter. Butter=Fat Boo!
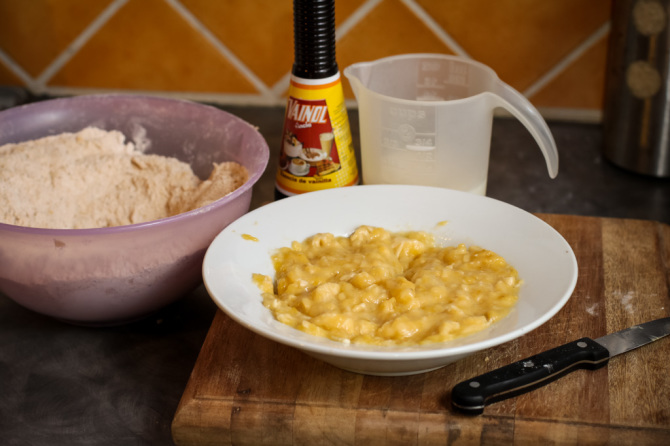
This recipe calls for buttermilk. And what do you know, we don’t have buttermilk here in Costa Rica! So, I have to make my own. I make buttermilk by adding 1Tbs of Vinegar per cup of milk and let it sit for about 5 minutes. Works like a charm . You can get this started while you are mushing those bananas.
Isn’t mush a funny word! Mush-smush!
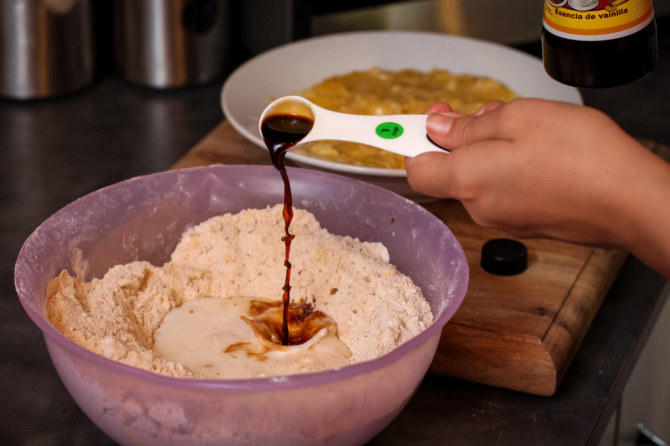
Now, make an indent in the middle of your dry ingredients and add the buttermilk, vanilla, and mashed bananas.
(My husband was pretty excited about this vanilla drip picture so make sure you notice)
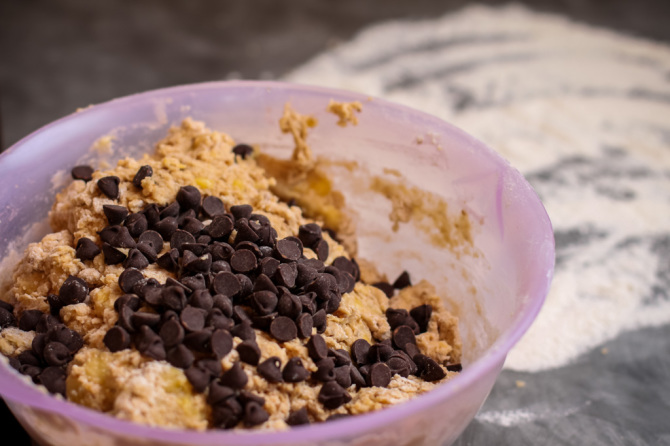
Next, another one of my favorite parts – add chocolate chips! I add about 1/3 cup even though the recipe calls for 1/2 because it’s called marriage compromise and I am nice but don’t mess with a girl and her chocolate! That is why…
I steal a few (Shhh…)
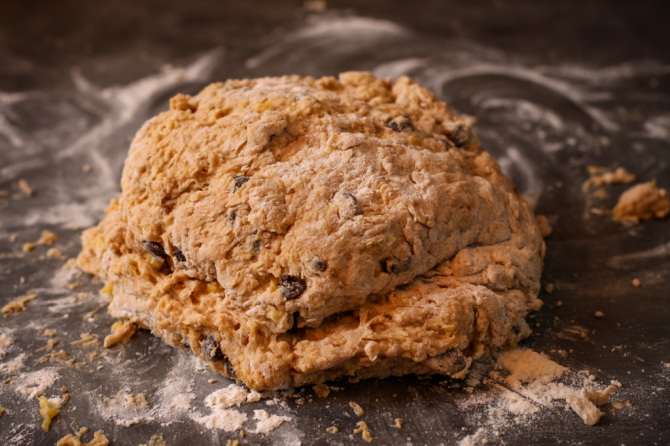
Once the chocolate chips are mixed in, you have a beautiful fat dough ball.
My dough ball looks like it has a mouth, hmm cookie monster?
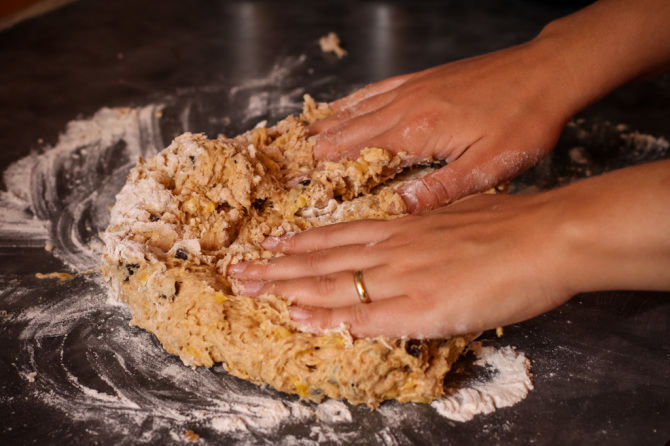
Now roll the dough ball around on a floured surface – I would say lightly floured surface but this dough is STICKY!
It means business – touch me and I will stick to you!
So get lots of flour and work the dough into two 10-inch circles and cut like a pizza. You can also work the dough into a rectangle, cut into squares and then cut each square into 2 triangles (kind of like the PBJ school lunch sandwich. yep.)
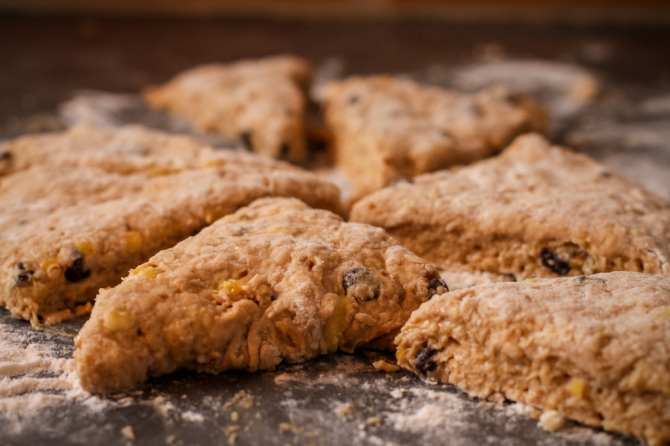
So pretty! This is the step that means you are really close to tasting delicious moist scones that are to DIE for!
Really soon!
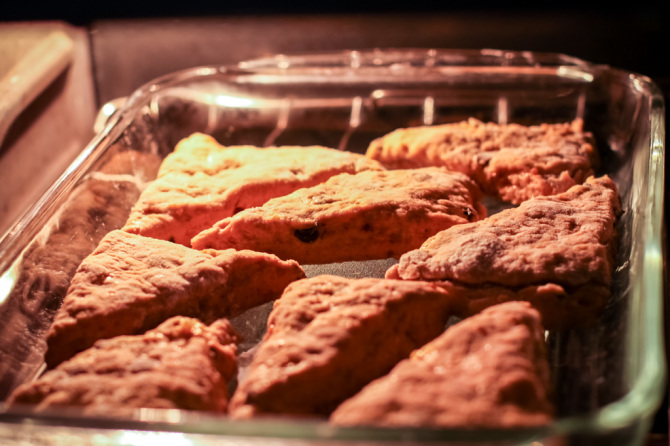
I peek in my oven sometimes because it’s too exciting. Oooo yummy!
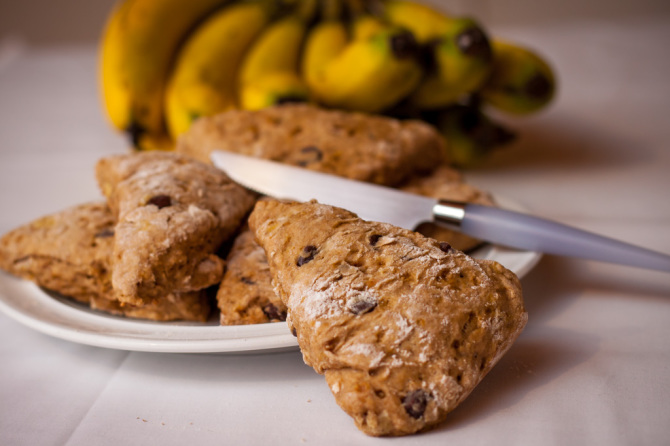
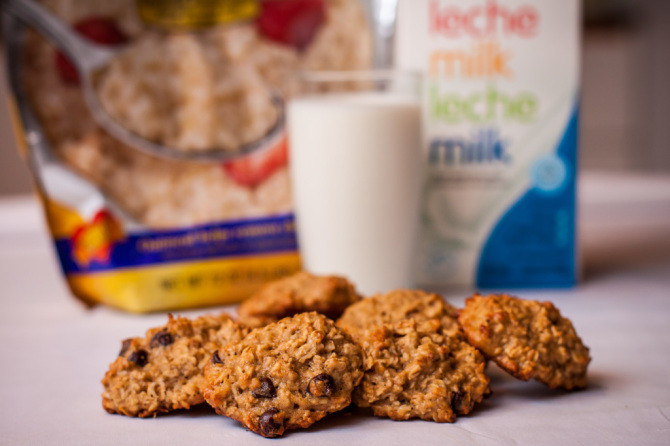
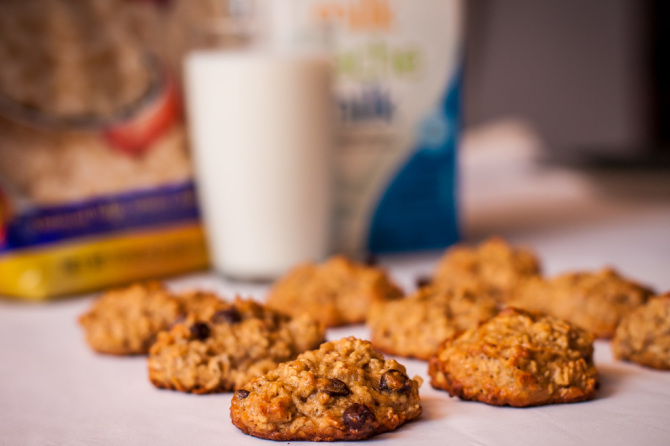
There you have it! Banana Scones!
Banana Scones
Ingredients:
3 1/4 cups all-purpose flour
1/3 cup loosely packed brown sugar
2 1/2 teaspoons baking powder
1 1/2 teaspoons cinnamon
1/2 teaspoon baking soda
1/2 teaspoon salt
3/4 stick cold unsalted butter, cut into pieces
2/3 cup buttermilk
2 teaspoons vanilla extract
2 ripe bananas, mashed (I use around 6 or more small bananas)
1/2 cup mini chocolate chips
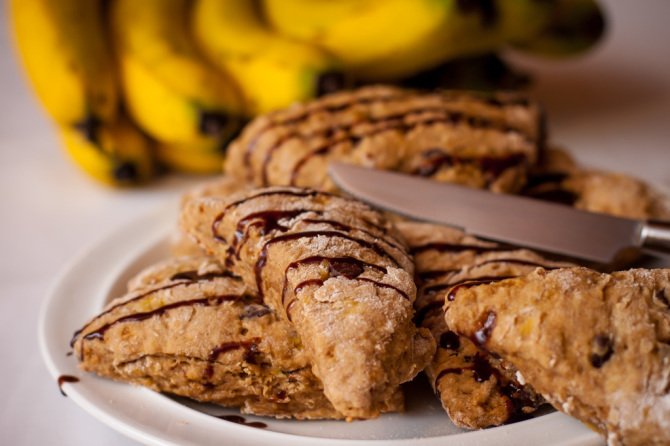
Banana Scone Glaze Options
Brown Butter Glaze
1/4 cup brown butter
1/2-3/4 cup powdered sugar
1/2 teaspoon vanilla extract
1 1/2 tablespoons milk
Cream Cheese Glaze:
1 Tbs milk
2 oz. of Cream Cheese
1-2 cups of powdered sugar
Directions:
Preheat oven to 425 degrees F.
In a bowl, whisk together flour, sugar, baking powder, soda, salt and cinnamon until combined. Cut butter into small cubes. Add butter to the dry ingredients and using your fingers, a fork or pastry blender, mix it together and combine until the butter forms little crumbs. I like using my fingers because I feel like it gets combined better.
Make an indent in the center of the dry mixture and add in buttermilk, vanilla, and the mashed bananas. Mix until a dough forms – this dough is super sticky. Just have some flour handy. Add in chocolate chips. Make sure your counter and hands are really well floured. Divide the dough in half and pat it into two 10-inch circles on the floured surface. Cut like a pizza into 6 or 8 wedges , then place on a baking sheet and bake for 10-12 minutes. Top with glaze and serve! Makes about 12-16 scones
Brown Butter Glaze
In a bowl add brown butter, vanilla, and powdered sugar. Whisk until the mixture is well combined, then add in 1 tablespoon of milk, while mixing. Stir for about 4 minutes. Set a timer too because I once stirred and right at 4 minutes it came together. If it still doesn’t look glaze-like, add 1/2 tablespoon of milk at a time and mix. If you put too much – just add a little more powdered sugar until you get the right consistency.
{adapted by How Sweet Eats}
Enjoy these Banana Scones! Let me know how yours turn out!

 What is Yuca?
 The tree trunks sort of resemble bamboo but a skinnier version!


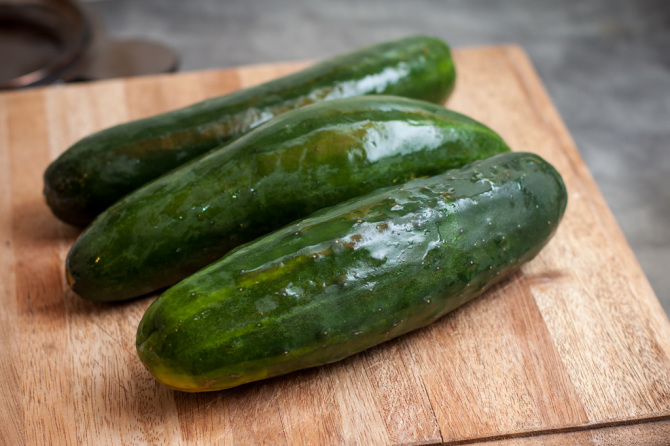
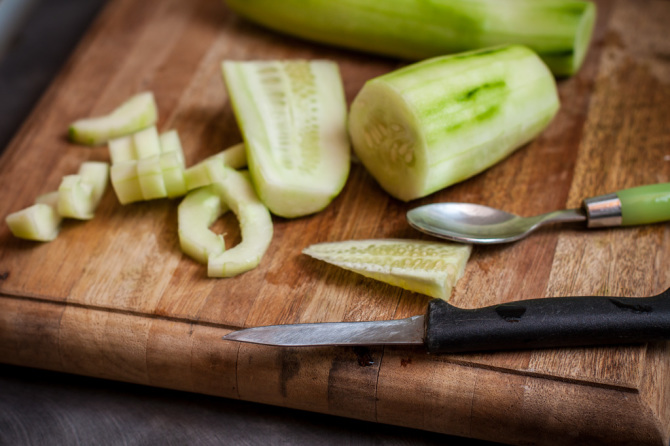
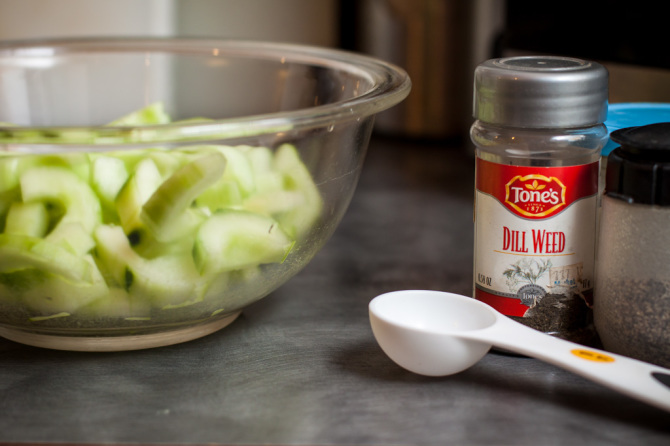
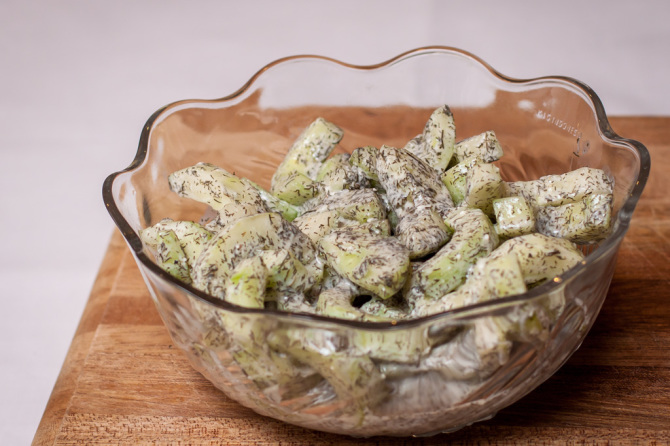
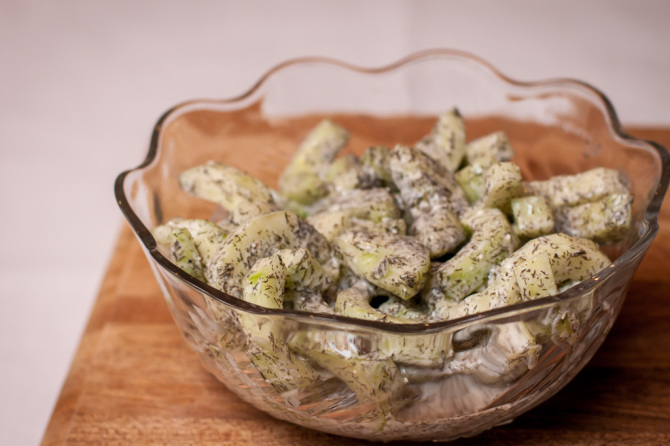
 I was inspired by my friend Lori to make this salad since she shared a picture of her lunch the other day! I was so glad we tried it out. It’s a perfect salad for lunch on a hot day and a great way to get the veggies in!