This loaf of delicious artisan bread won’t be around long, the amazing smells it gives off in the oven is enough to make your mouth water!
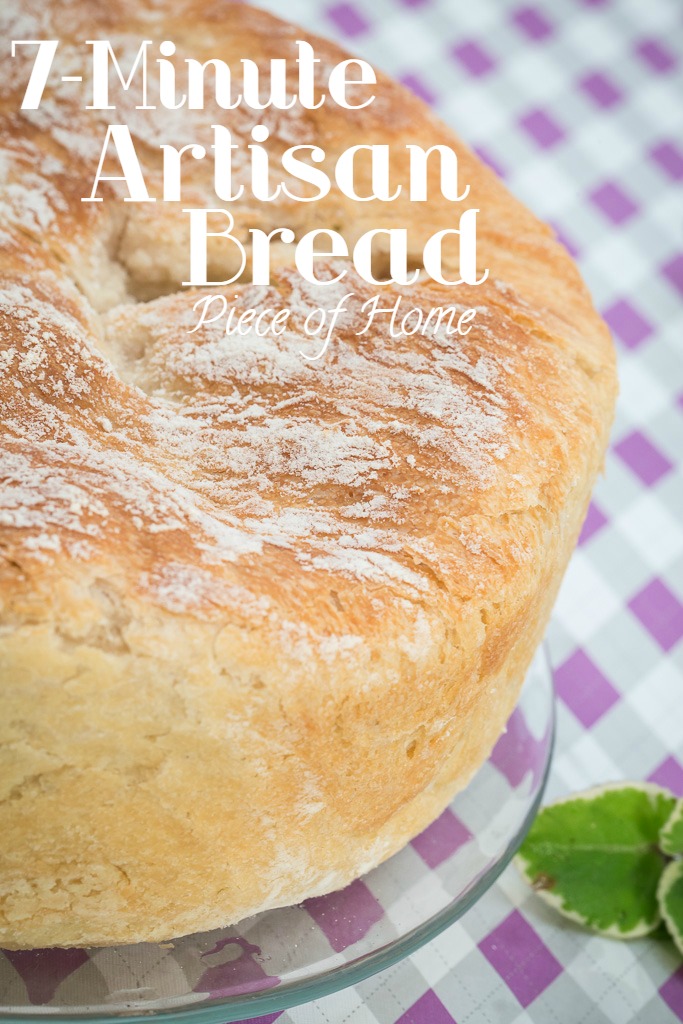
Just the name Artisan Bread has my mouth drooling! This is why I DO NOT make bread folks!
Yum! Just. Yum.
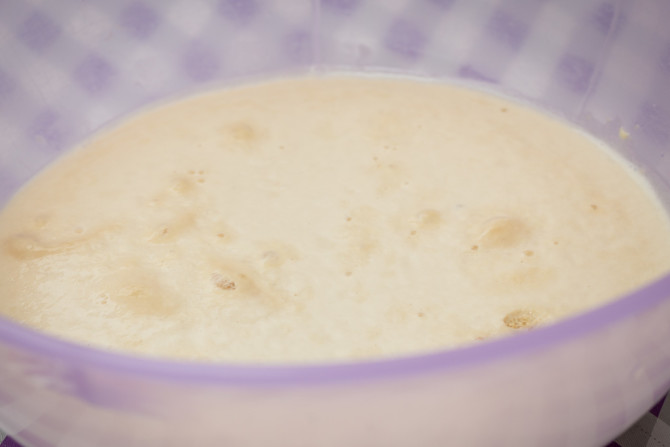
The smell of yeast growing and bubbling, the smell of fresh bread! Ahhh…
This was such an easy fun recipe that I know it will be my go-to bread recipe from now on. It’s just that perfect!
Start by letting the yeast sit, mixed with warm water and sugar, for about 5 minutes until bubbly.
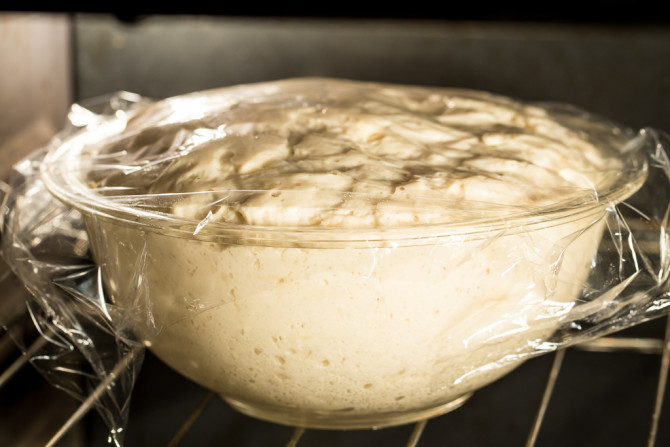
Add the rest of the ingredients and leave it in a warm place to rise.
I was so surprised to see how easily this dough had risen and how perfect it seemed! This is a great confidence booster to bread makers out there! It’s just one of the easy, perfect, recipes!
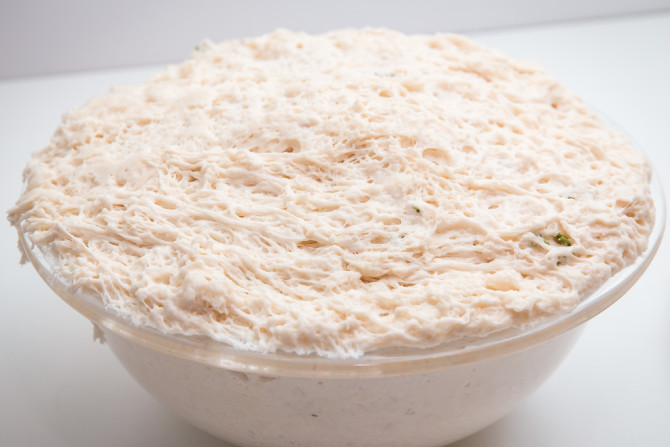
I learned something in making this recipe…
Metal bowls clean up wayyyy easier than glass. #wontforgetthatagain
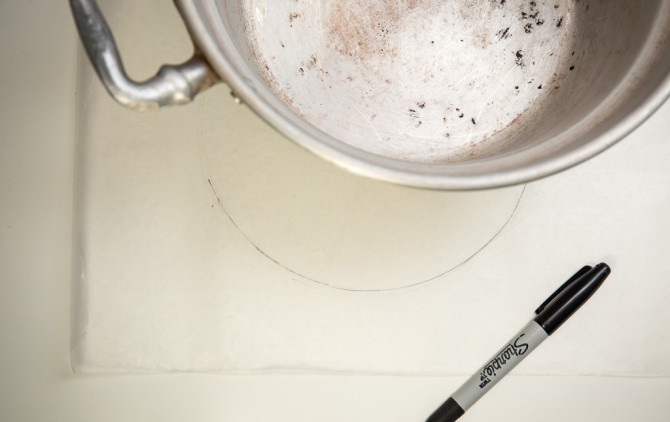
In the meantime, take a piece of parchment paper and trace the bottom of your deep aluminum pan. Sprinkle a little flour on the bottom, then place the parchment paper in the pan. Sprinkle a tad bit more flour on top of the paper to hold it down.
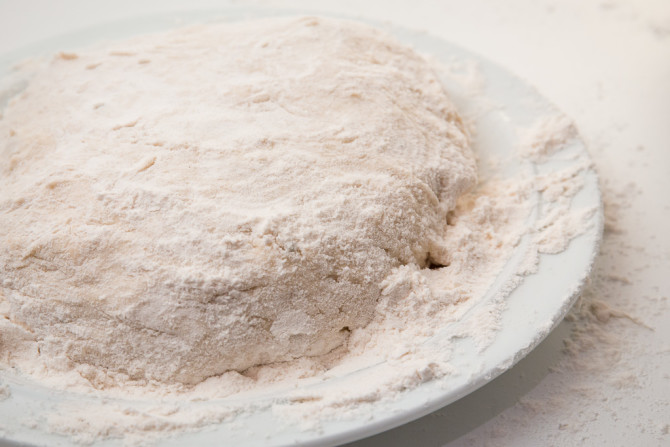
Knead the dough and generously coat with flour shaping into a ball shape.
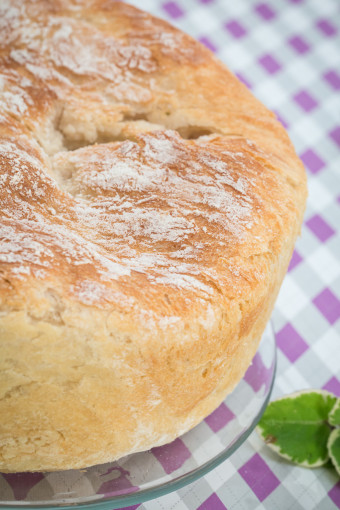
Let the dough rest in the prepared pan another 30-40 minutes. Score the bread, then bake for about 30 minutes with the lid on. Remove the lid and bake for another 15-20 minutes or until golden brown on top.
*Note: I did not have success scoring my bread because I am using terrible knives. I’m looking into getting a Bread Scorer which should make things so much easier!
Say hello to the most wonderful smells and the most beautiful loaf of bread ever! YUM!
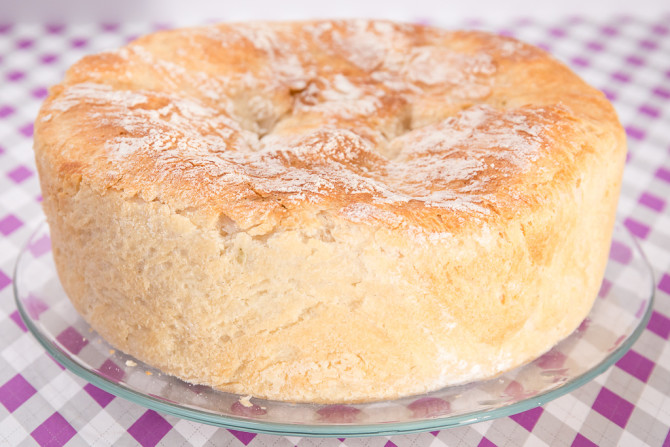
7-Minute Artisan Bread 
![]()
Ingredients:
1 ⅓ cups warm water
2 ¼ teaspoons granulated yeast (1 pkg)
1 teaspoon salt
1 tablespoon sugar
2 tablespoons olive oil
1 tablespoon fresh finely chopped herbs
3⅔ cups all-purpose flour
Directions:
- Add warm water to a large bowl. Stir in yeast and sugar and let sit for 4-5 minutes till mixture begins to bubble a bit and get foamy.
- Add remaining ingredients and stir with a wooden spoon. Stir until all flour is mixed in.
- Cover bowl loosely with plastic wrap and allow to rest at room temperature until dough rises, 45- 1 hour.
- While the dough is rising, take a 3-4-quart pot and trace the bottom onto parchment paper. Cut out the circle.
- Sprinkle the bottom of the pan with 2 teaspoons of flour. Fit the parchment paper circle you cut out into the bottom of the pan and sprinkle another teaspoon of flour on top of the paper. This will keep your bread from sticking to the pan and parchment paper.
- On a dinner plate place 1/4 cup of four. After dough has risen and collapsed, dump it out onto the floured plate. Flip several times to generously coat dough with flour.
- Shape into a smooth, flat ball by stretching and tucking the top. Dust with more flour from the plate as needed to prevent stickiness, but don’t try to incorporate a lot of extra flour into the dough.
- Preheat oven to 400˚F.
- Transfer the ball of dough to the prepared pot and cover with lid. Let it rest for 30-40 minutes or until doubled in size.
- Remove cover and sprinkle top of dough lightly with flour.
- With a sharp knife or bread lame make parallel cuts, 1½ inches apart across the top of the loaf.
- Place pot in oven with the cover on. Bake for 30 minutes, then remove cover and bake another 15-25 minutes, or until bread is golden brown.
- Allow to cool on a cooling rack, uncovered for 15 minutes. Remove bread by inverting onto a cooling rack. Flip over and let cool.
{adapted from The Cafe}
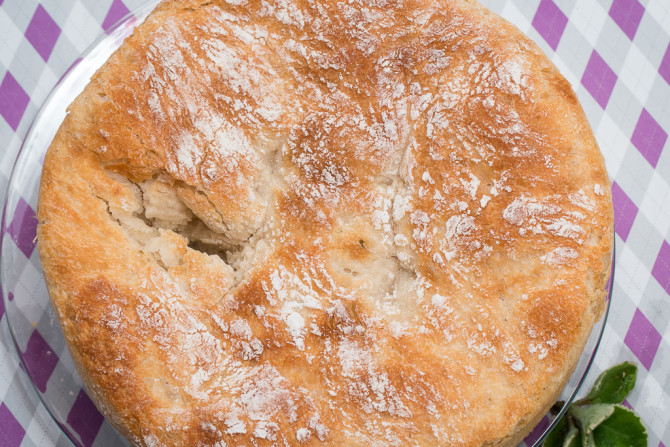
Just Perfection! You will want to eat this whole loaf! It goes fast so since you are at it, make two! (or three or four!)
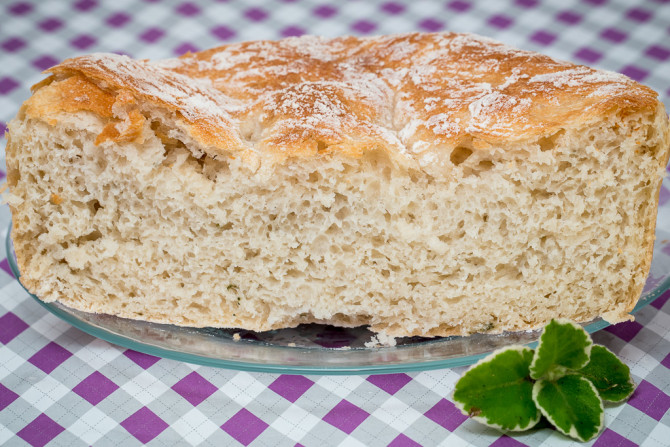
Enjoy!

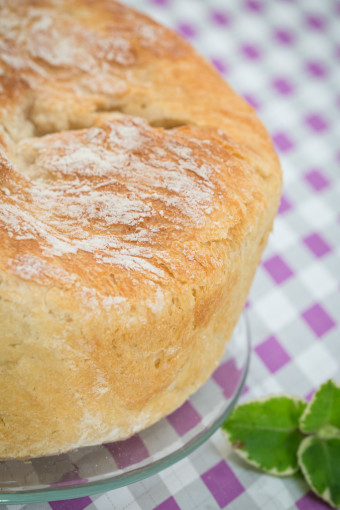
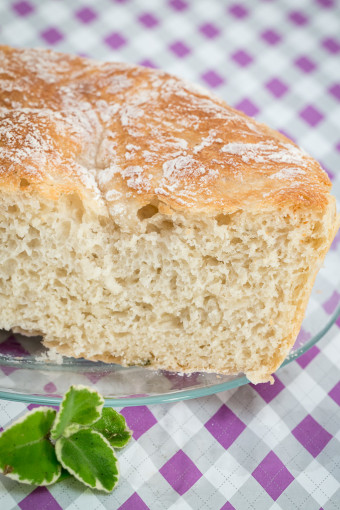



I’ve always been a little too nervous to try baking my own bread… your’s turned out beautifully! (: Thanks for linking up this week!
Andie Conn recently posted…DIY Painted Rocks: A Kindness Challenge
I’ve always been nervous too but I’m getting more confidence! Thanks for stopping by!